Ready to process Xero invoice payments with Helcim? This guide will walk you through setting up the Helcim to Xero integration so your customers can pay with ease.
In this article
Video
Before you connect
Before you get started, ensure you have the following:
Connecting Helcim to Xero
Login to your Helcim account
Go to the All Tools menu and select Accounting Center.
Choose Xero Integration from the menu.
Click Connect

Completing the Xero integration setup wizard
After clicking Connect, you'll be guided through a setup wizard to configure the integration. Here's a breakdown of each step.
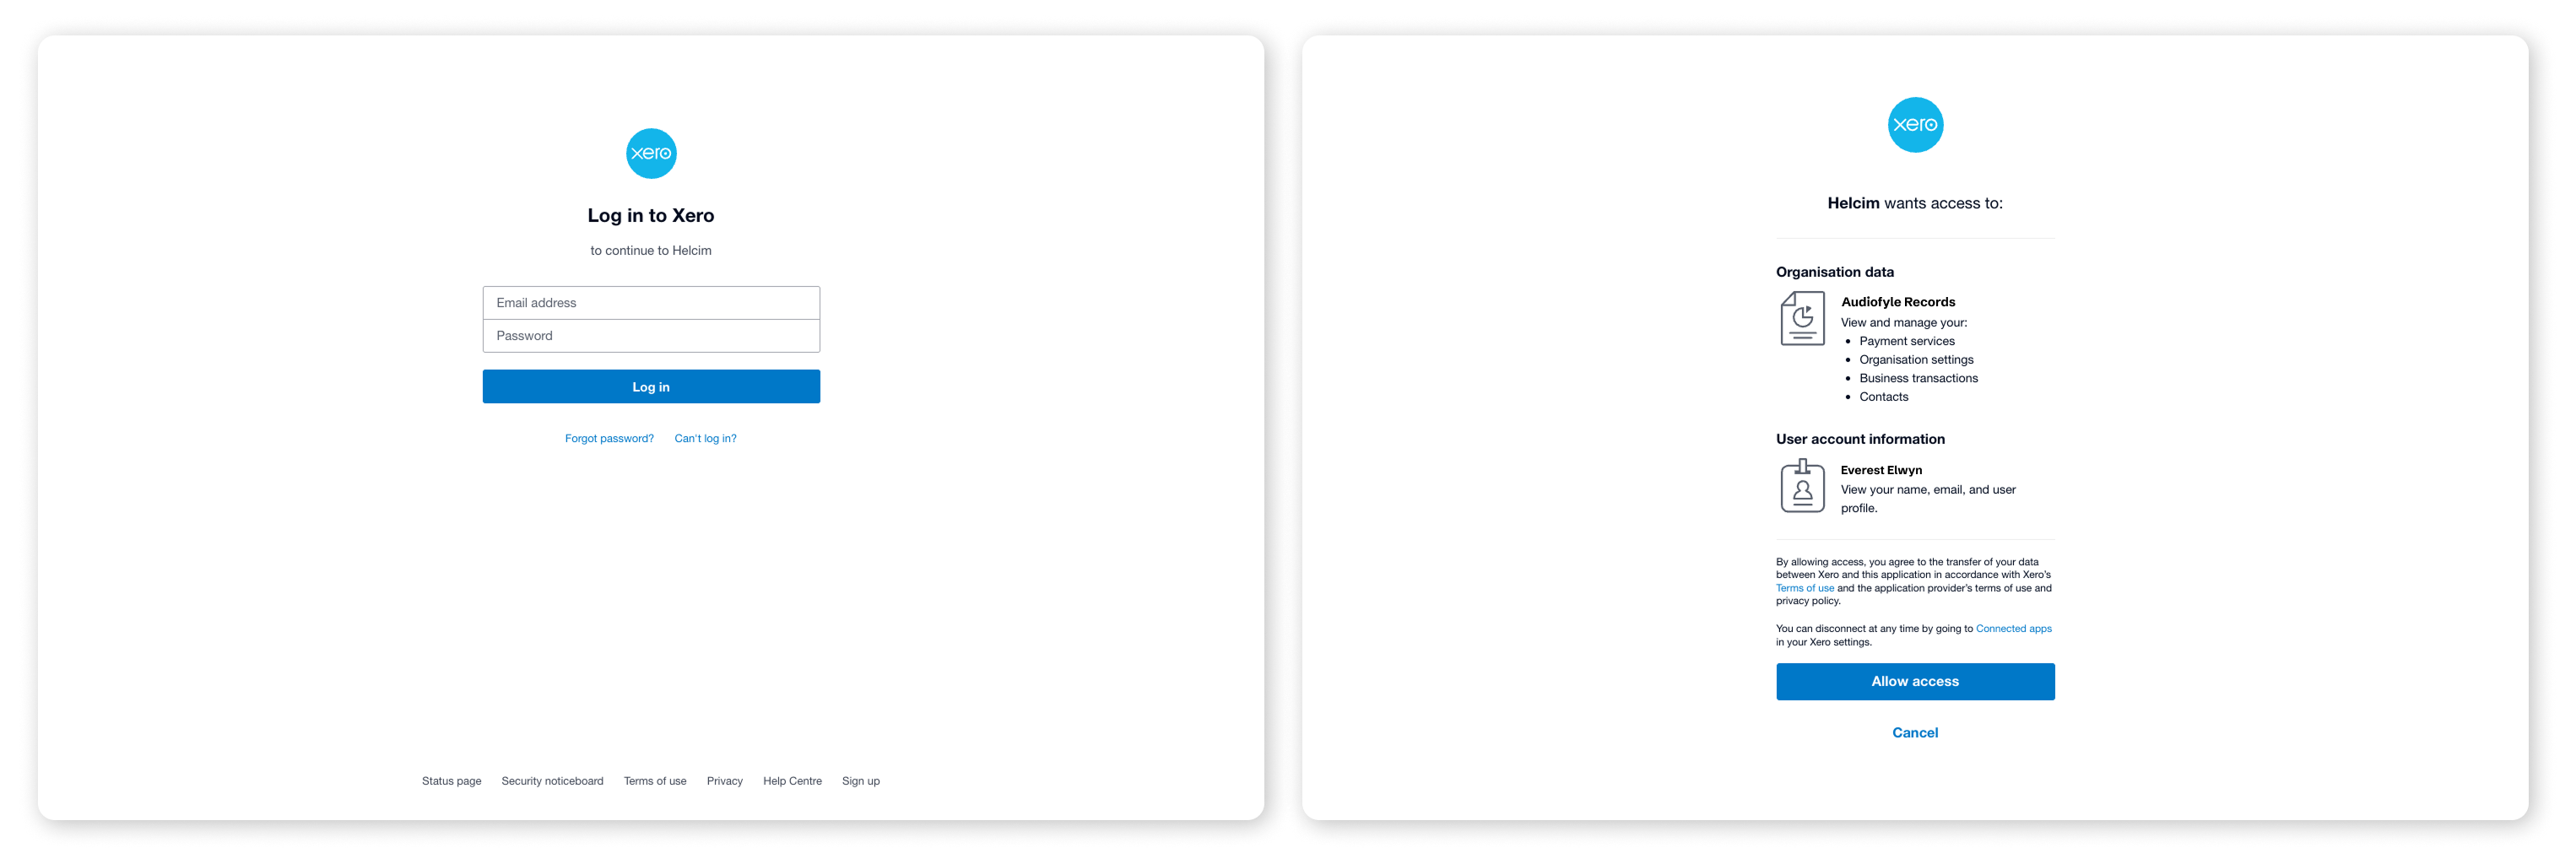
Step 1: Login to Xero
Enter your email and password for your Xero account, and then select Allow access to start the connection with Helcim.
Step 2: Select a payment method to accept on your Xero invoices
Choose whether you want to take credit card or ACH payments on your Xero invoices, or both. You can adjust this later in your Xero settings.

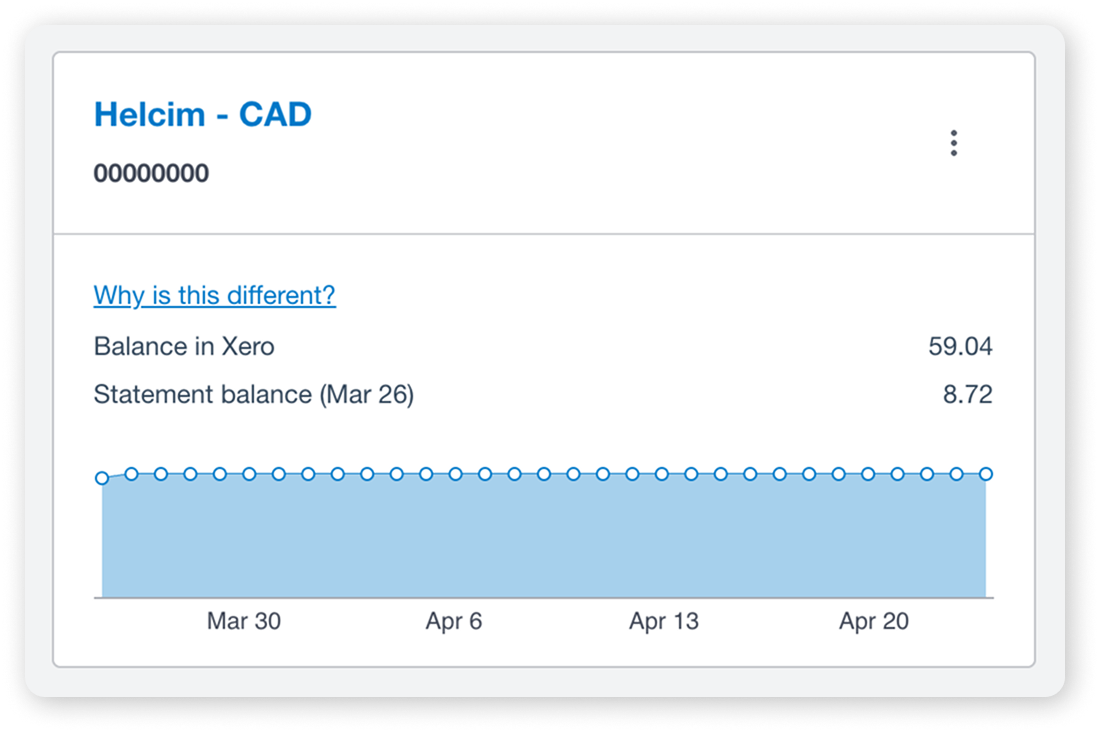
Step 3: Helcim clearing account
A Helcim clearing account will be automatically created in your selected Xero organization. This account is where payments, fees, and bank transfers from Xero invoices paid through Helcim will be recorded.
You’ll be able to see this in your Xero account after the setup is complete.
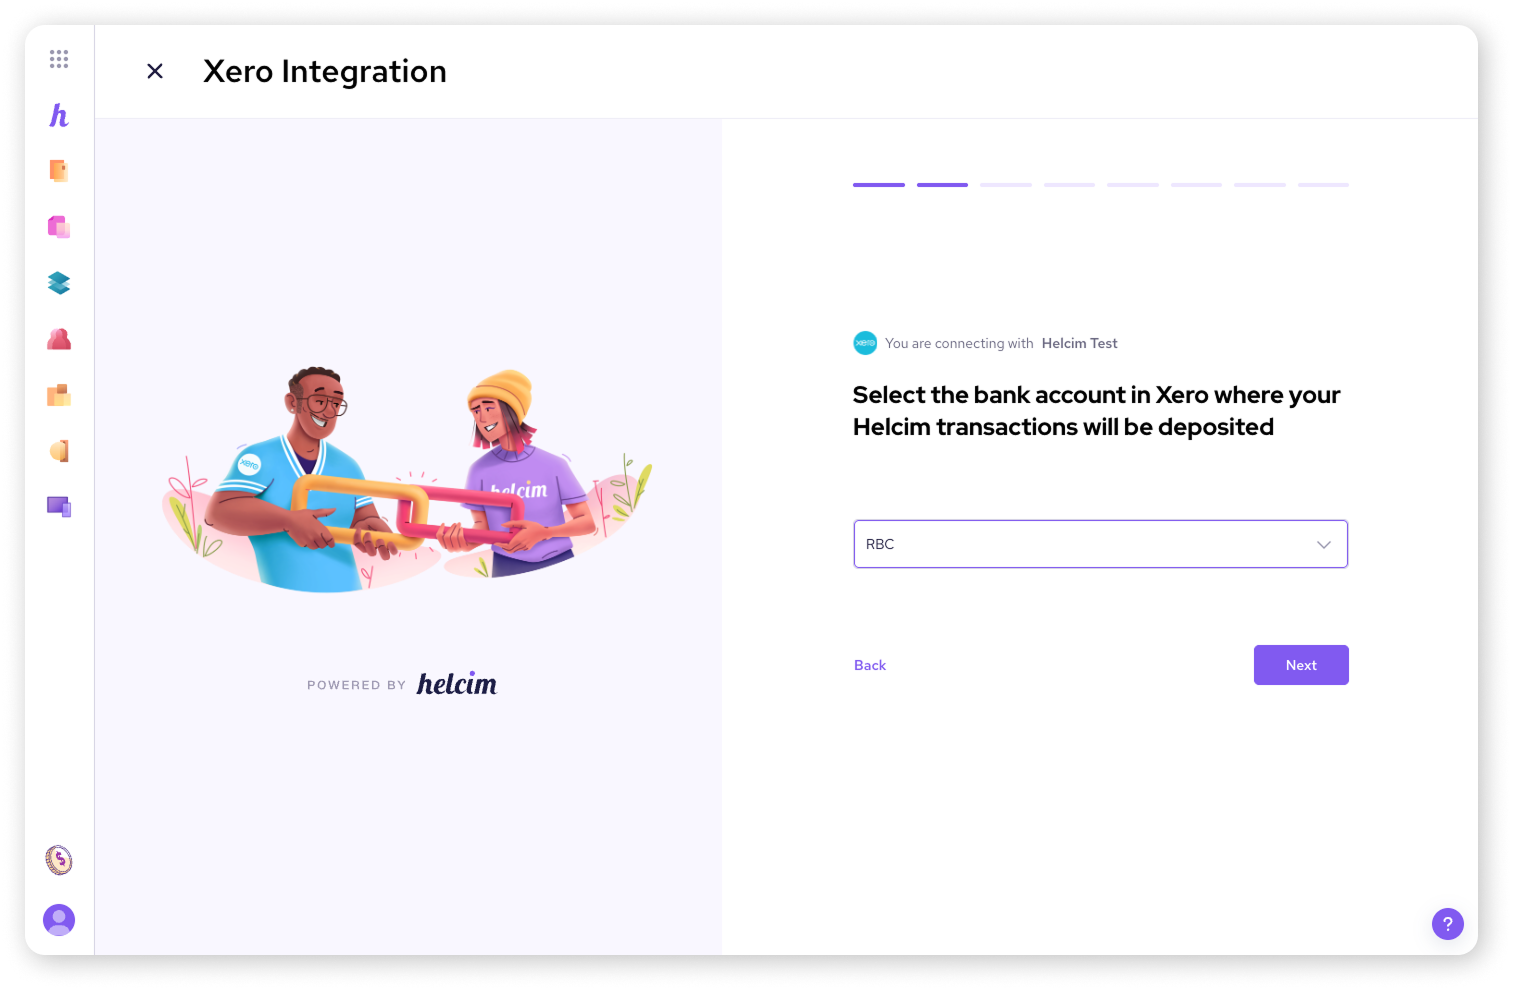
Step 4: Select the bank account for payouts
Choose the bank account where Helcim payouts will be deposited. Ensure this is the same account linked to your Helcim account for deposits.
If you haven’t linked a bank account to Helcim yet for your deposits, you’ll be given the opportunity to do so here.
If you have a separate account for USD payments, check out our FAQ for further instructions.
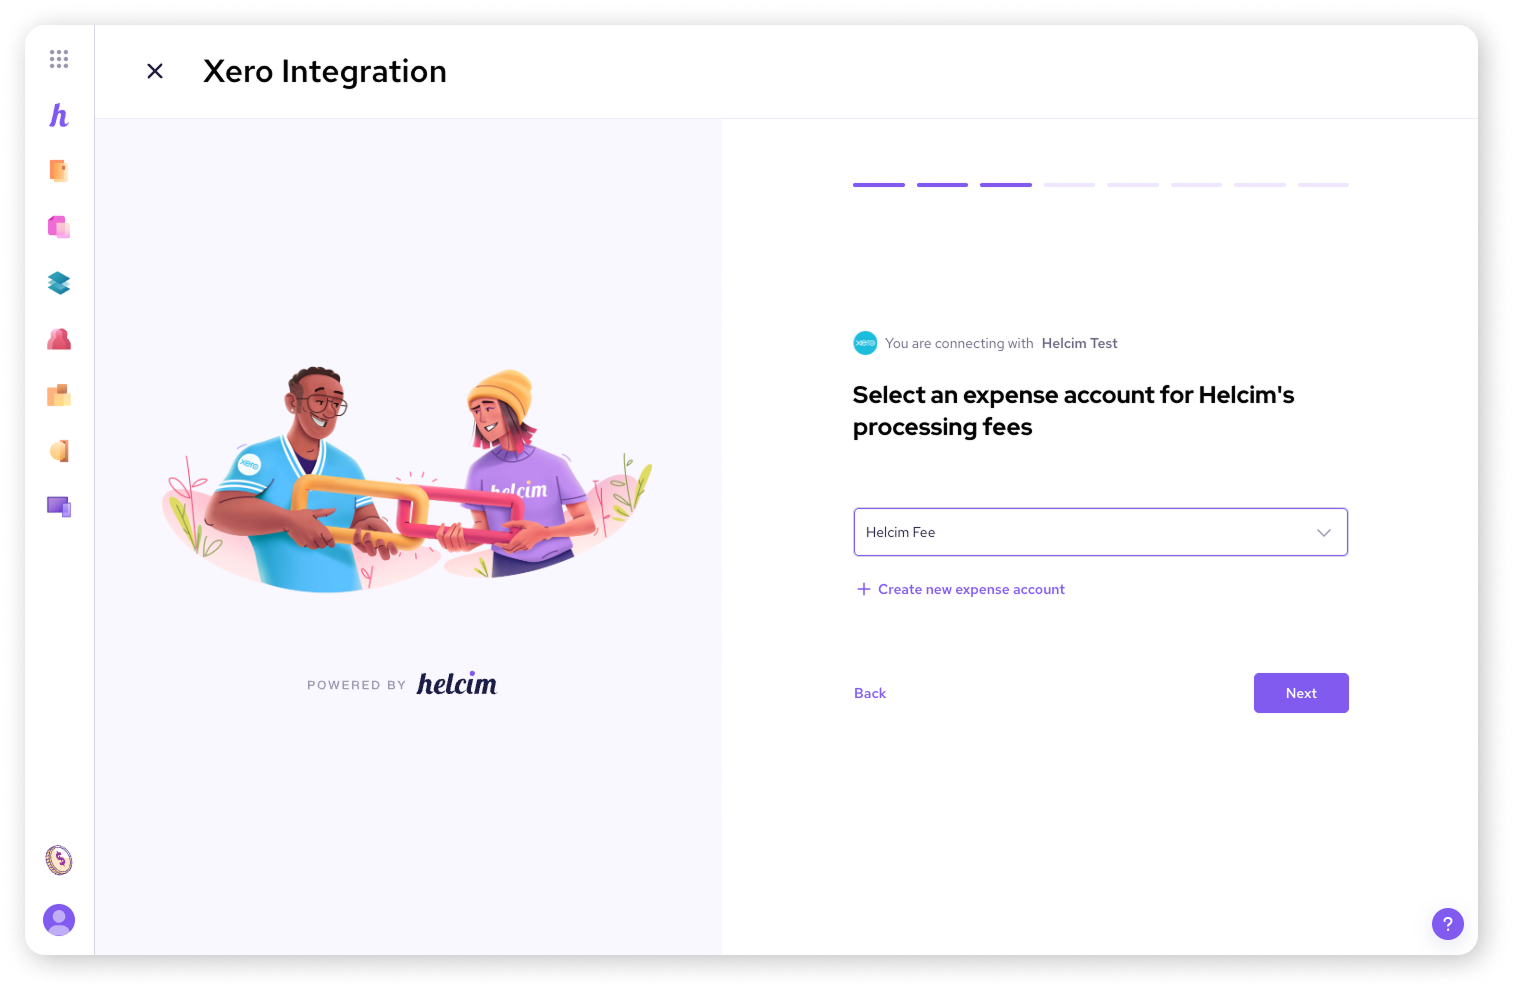
Step 5: Select the expense account for Helcim's processing fees
Select an account from your Xero Chart of accounts to record Helcim's processing fees.
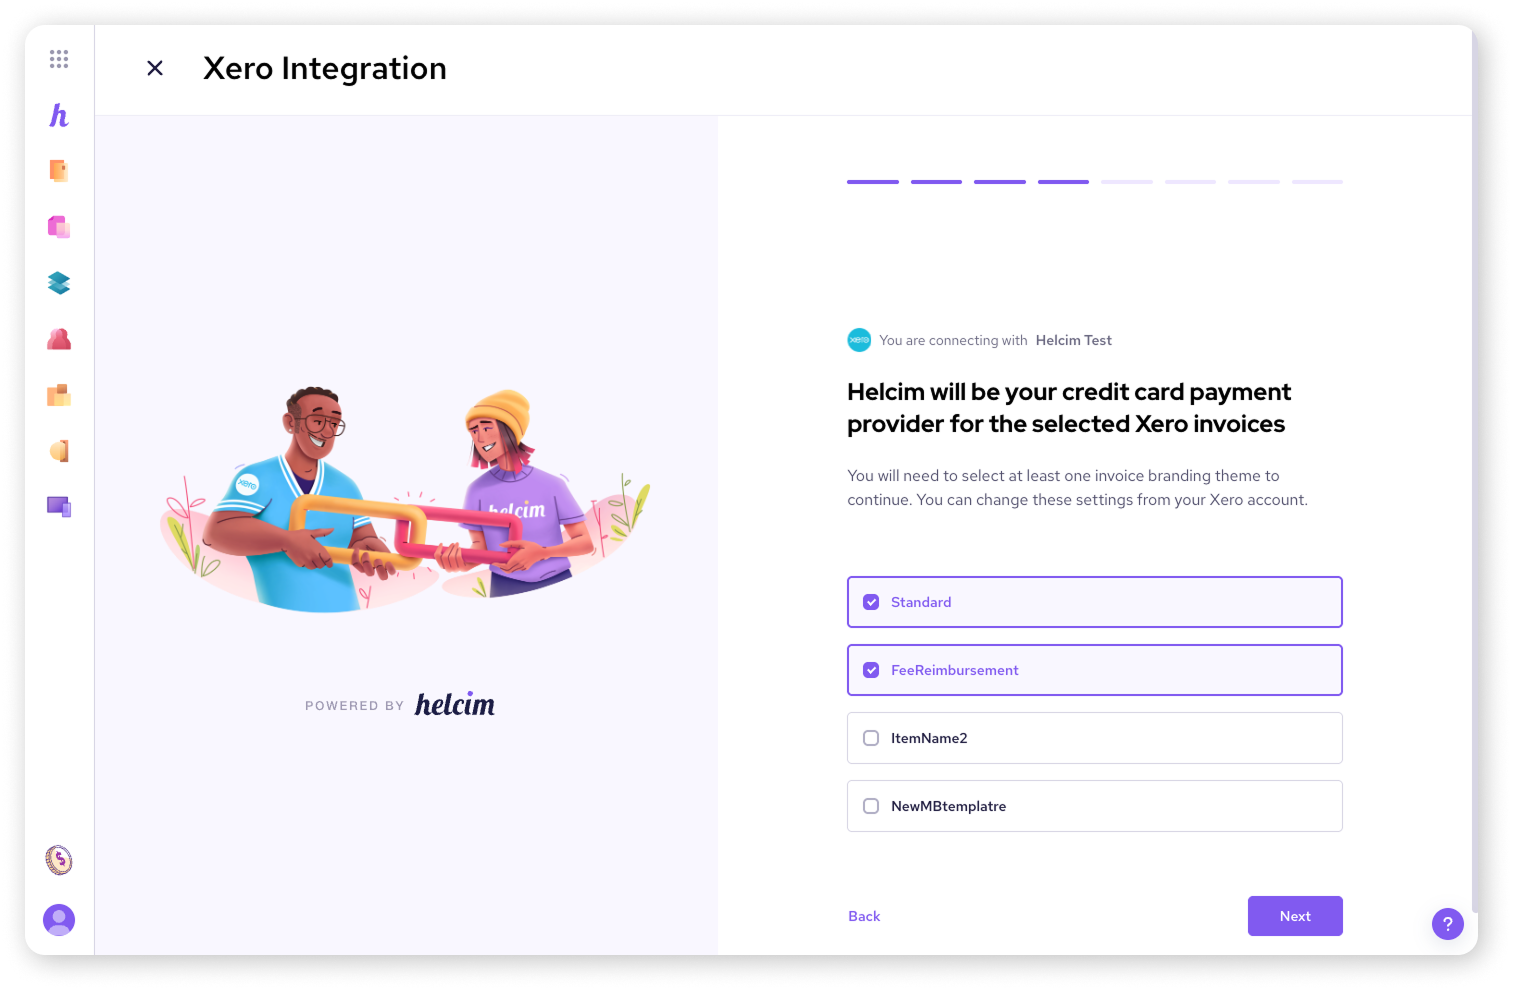
Step 6: Select which invoices Helcim will process payments for
Choose which Xero invoice branding themes will offer Helcim as a payment service. You must select at least one branding theme.
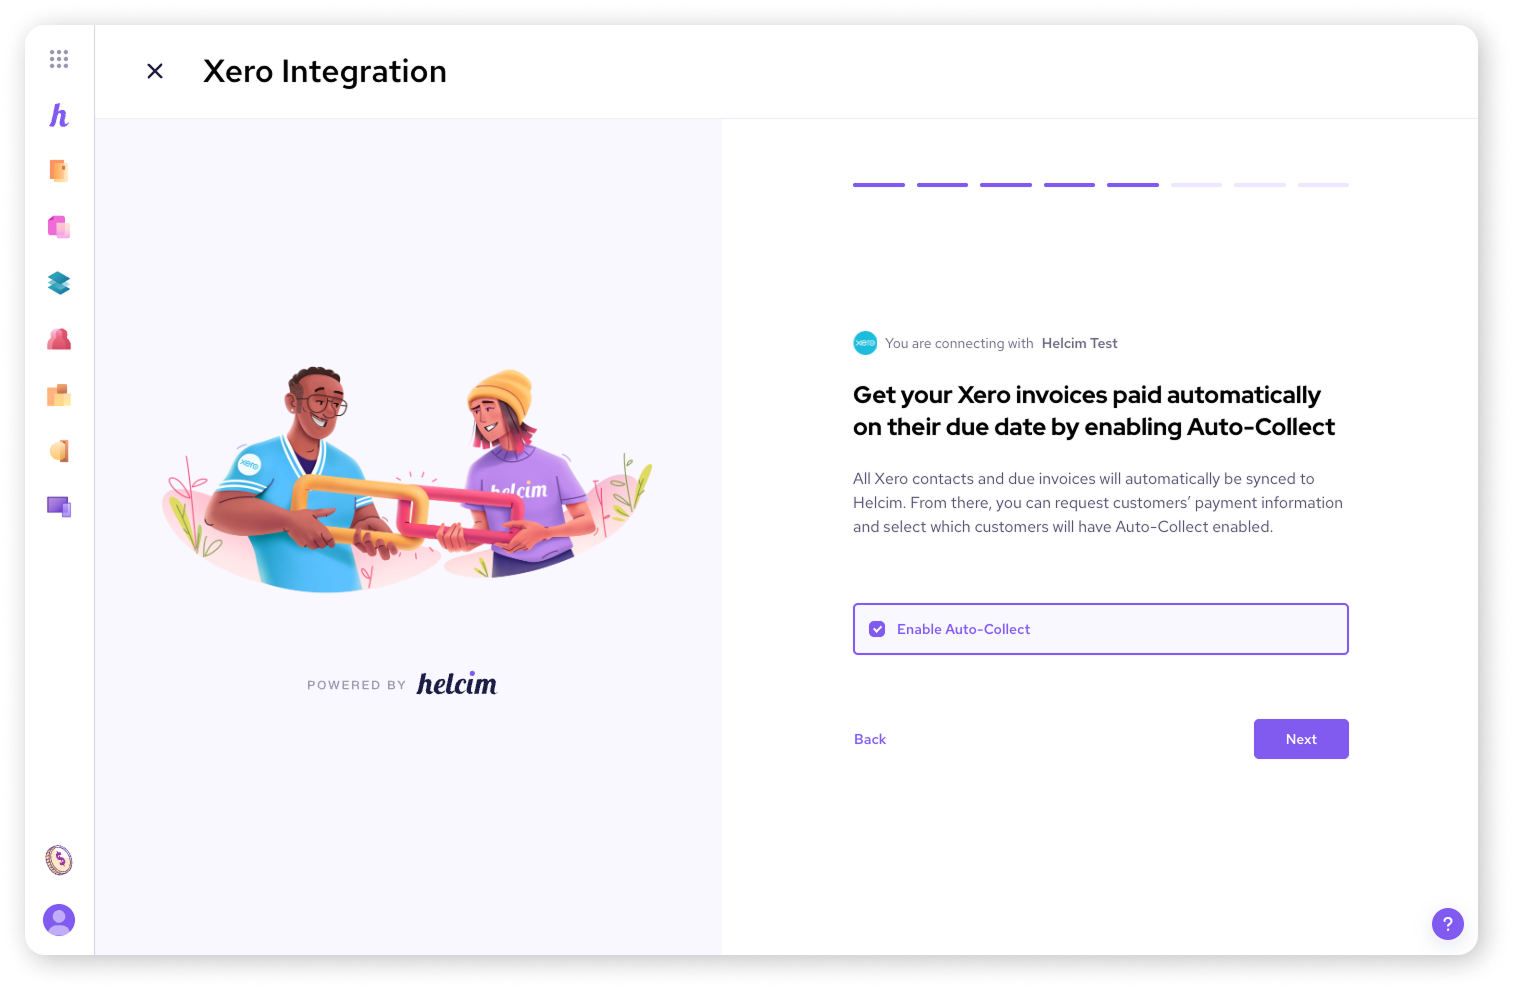
Step 7: Select whether you’d like to enable Auto-Collect
Auto-Collect automatically processes payments on invoices on their due dates. If you checked the box, see the remaining steps for setting up Auto-Collect here.
Important note about the Xero connection
The connection between Xero and Helcim is 1:1. This means one Xero organization can only be connected to one Helcim account, and vice versa.
| Example If you disconnect Xero organization A from Helcim account A and connect it to Helcim account B, only Helcim account B will sync with Xero organization A. Invoices from the original connection (Helcim account A) will not be collected automatically, and new contacts and invoices won't sync. |
Next steps
Now that you've connected Helcim and Xero, you're ready to start using the integration! Here's what we recommend checking out next:
Using the Helcim Xero Integration: learn how to take a payment on a Xero invoice with Helcim, and how to reconcile your payouts.
Xero Auto-Collect: learn how Auto-Collect can automatically process payments on your due Xero invoices through Helcim.
For more in-depth information on managing your Xero account, check out Xero's support resources.
FAQ
I have multiple Xero organizations. Can I connect them all to my Helcim account?
Great question! The Helcim and Xero integration is designed for a 1:1 connection.
This means one Helcim account connects to one Xero organization. If you have multiple Xero organizations, you'll need a separate Helcim account for each one.
What happens if I disconnect my Xero organization and connect a different one?
You can only have one Xero organization connected to a Helcim account at a time. If you switch to a different Xero organization, only that new organization will sync with Helcim.
I'm in Canada, and I want to accept USD payments. How does that work with the Xero integration?
If you're a Canadian merchant set up to accept USD credit card payments, you’ll see an option to connect a USD bank account during the Xero integration setup.
Here’s how it works:
First, select the bank account you use for your main currency.
Then, click Add a USD bank account.
Choose the correct bank account from the dropdown menu and click Next.
To select a second currency for Xero, you must first add that currency to your Helcim account. To do this, reach out to our support team.