Creating a Payment Page from a Template
- 01 May 2024
- 4 Minutes to read
- Print
Creating a Payment Page from a Template
- Updated on 01 May 2024
- 4 Minutes to read
- Print
Article Summary
Share feedback
Thanks for sharing your feedback!
Creating a New Payment Page
To quickly create a new payment page from a template,
1) Click on All Tools and select Payment Pages

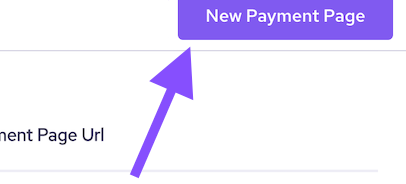
2) Click New Payment Page
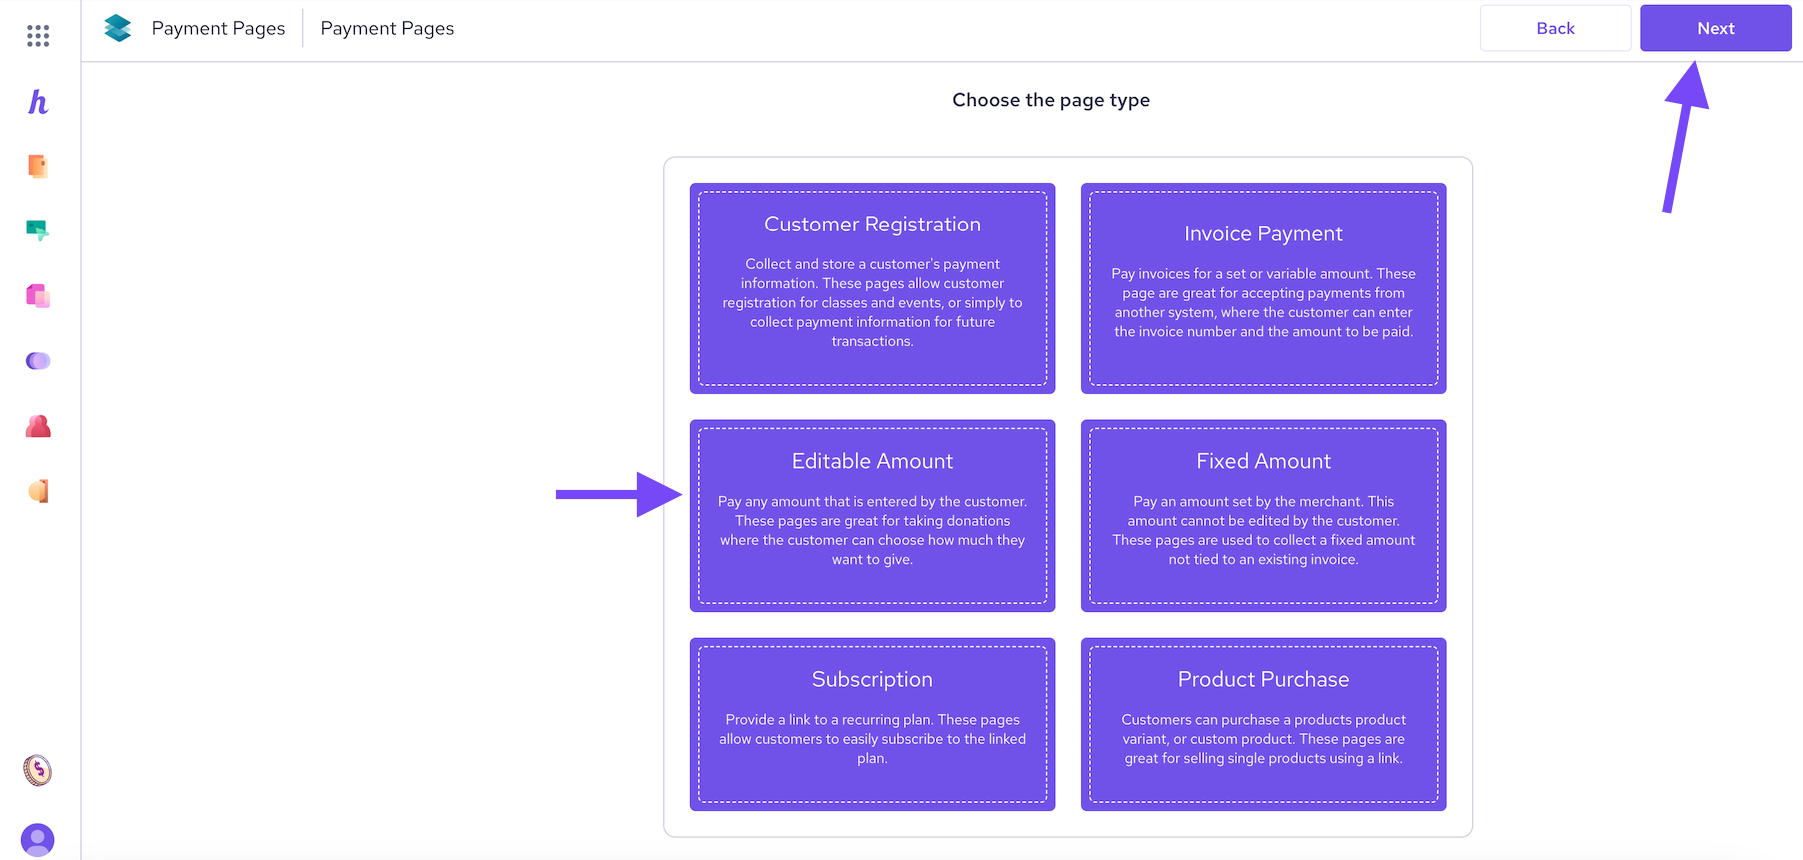
4) Choose the type of page you want to create from the options provided. Each page type will set the default fields suggested for each use case.
Customer Registration: Collect and store a customer's payment information. These pages allow customer registration for classes and events, or simply to collect payment information for future transactions.
Invoice Payment: Pay invoices for a set or variable amount. These pages are great for accepting payments from another system, where the customer can enter the invoice number and the amount to be paid.
Editable amount: Pay any amount that is entered by the customer. These pages are great for taking donations where the customer can choose how much they want to give.
Fixed amount: Pay an amount set by the merchant. This amount cannot be edited by the customer. These pages are used to collect a fixed amount not tied to an existing invoice.
Subscription: Provide a link to a recurring plan. These pages allow customers to easily subscribe to the linked plan.
NOTE: this feature is only available to merchants using Legacy Subscriptions. If you are using the new Subscription Manager, you will be able to send links to Subscriptions through the Payment Link option found in the manager overview. Click here for more information.
Product purchase: Customers can purchase a product's variant, or a custom product. These pages are great for selling a single product using a link.
Then select Next
Payment Page Settings
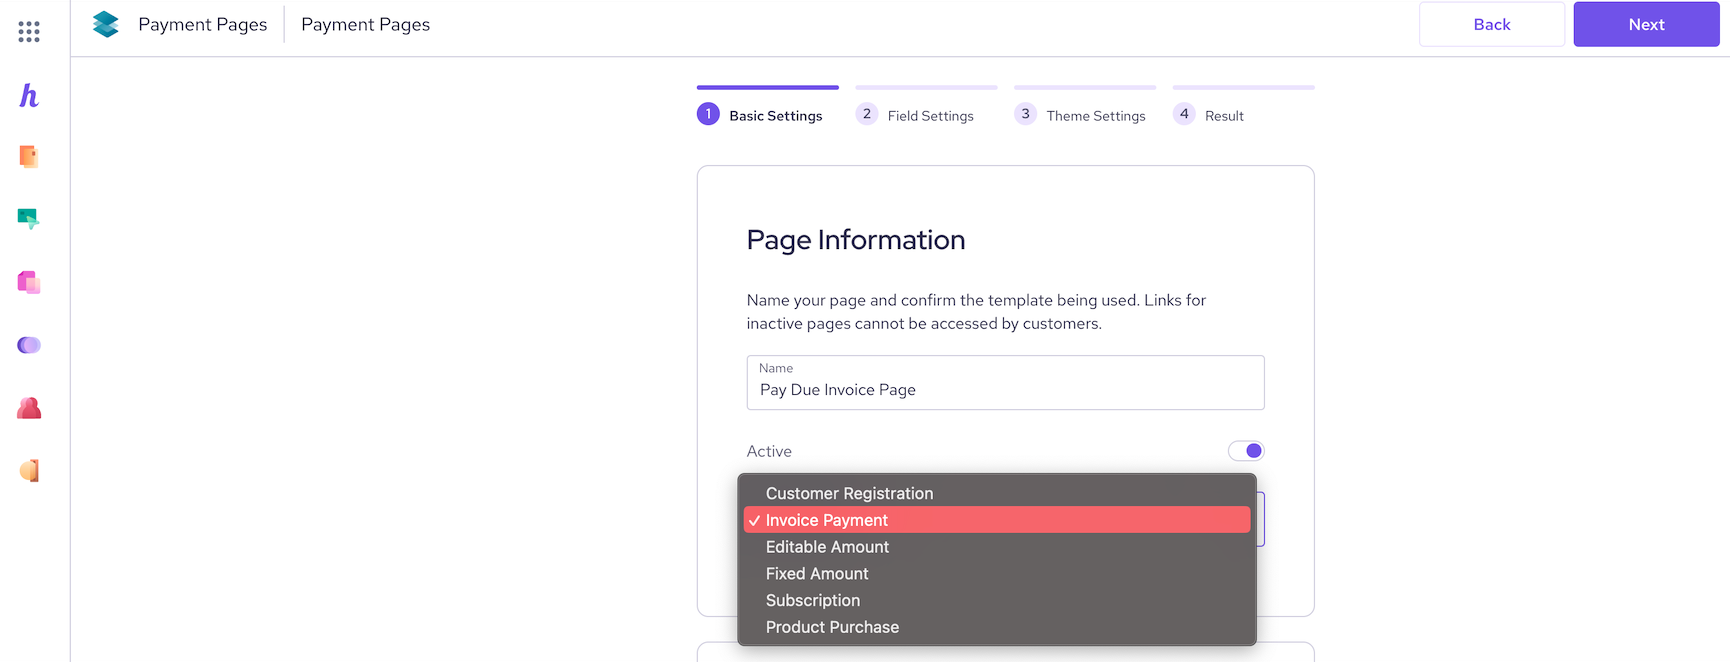
1) Configure your basic settings:
Name your page
Keep active or disable if you want to stop using the link
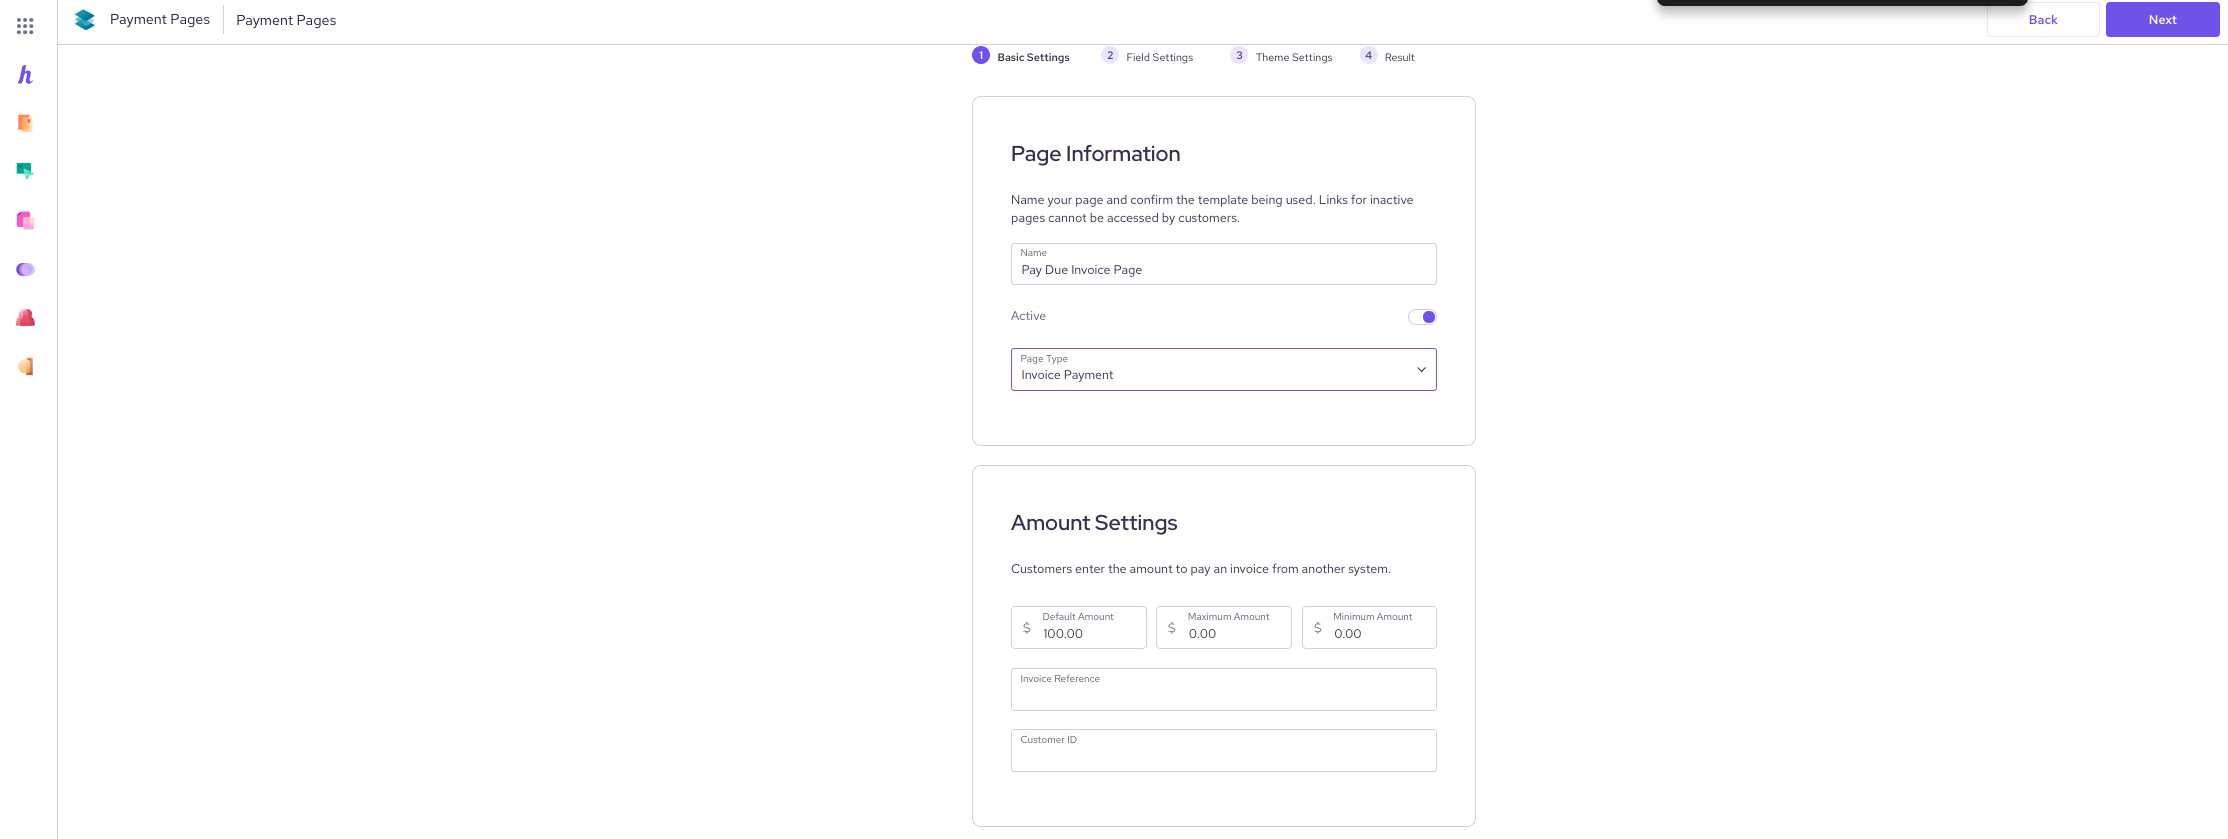
Confirm the page type selected in the previous step

2) Configure the settings for the page type you selected such the amount, product, or subscription to be displayed on the page.
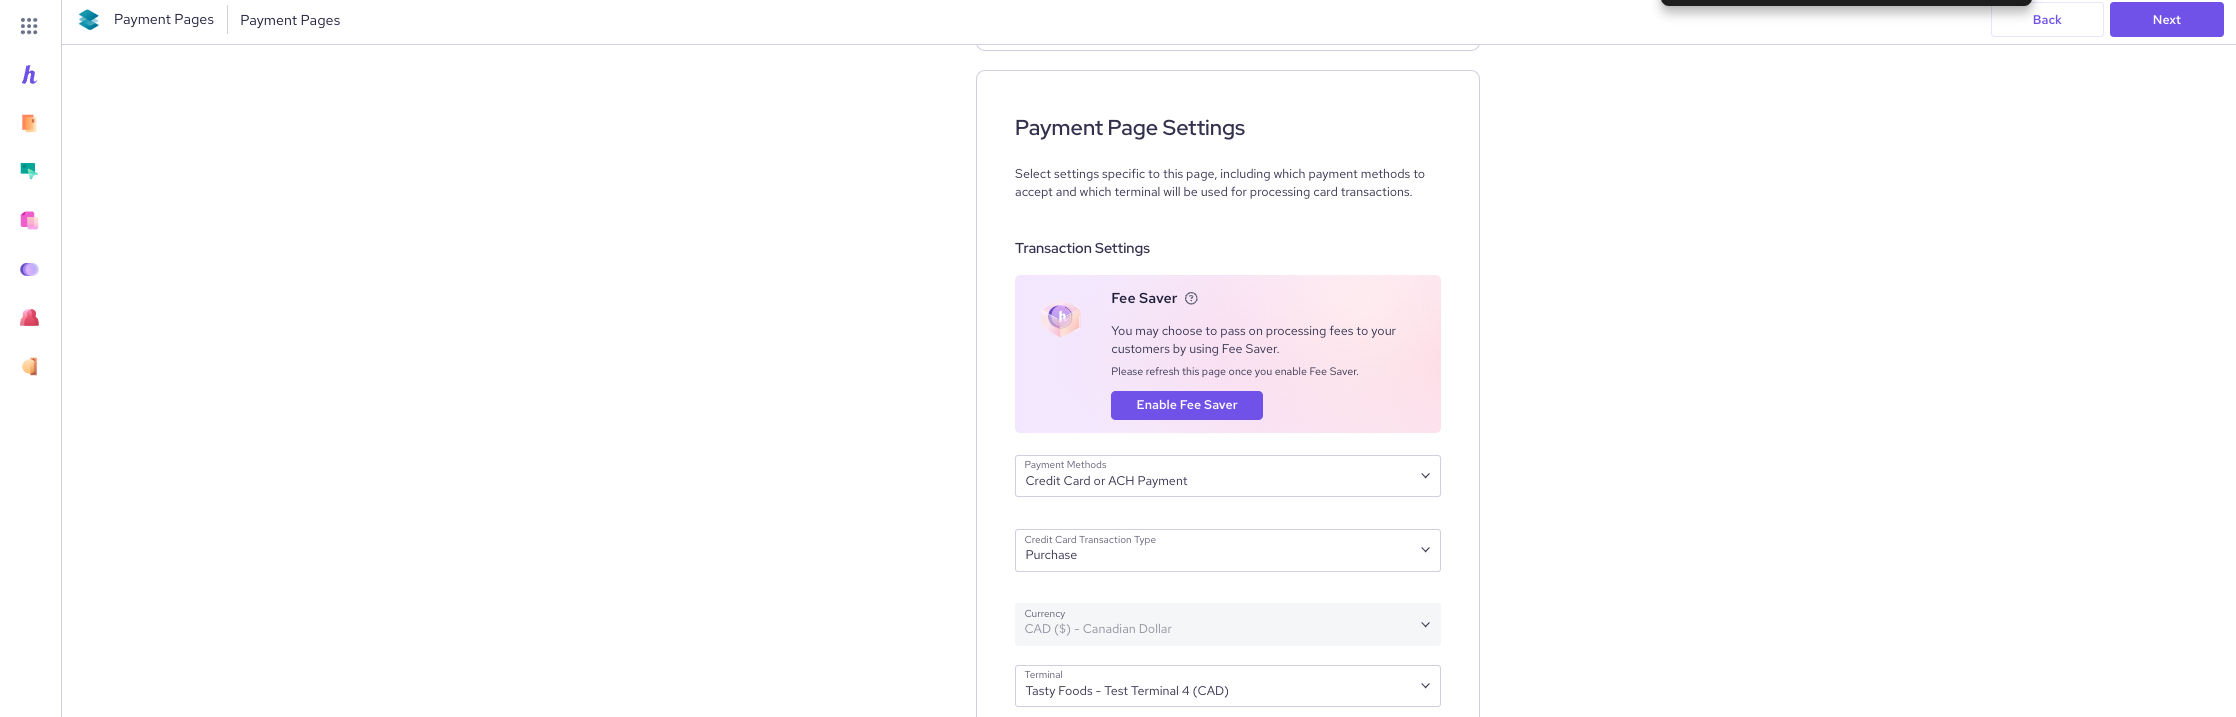
3) Select how you want to accept payments for the specific Payment Page. the options include:
Enable Fee Saver - enabling Fee SAver will allow you to pass processing fees on to your customer when they choose to pay with credit card (Enabling Fee Saver will lock in the payment page to accept both Credit Card or ACH as well as set the transaction type as Purchase)
Payment method - Credit card, ACH bank payment, or both
Credit card transaction type - purchase or pre-auth
Currency - Canadian merchants can accept payment in both CAD and USD
Terminal - Merchants with multiple terminal can select which terminal to be used for processing card transactions
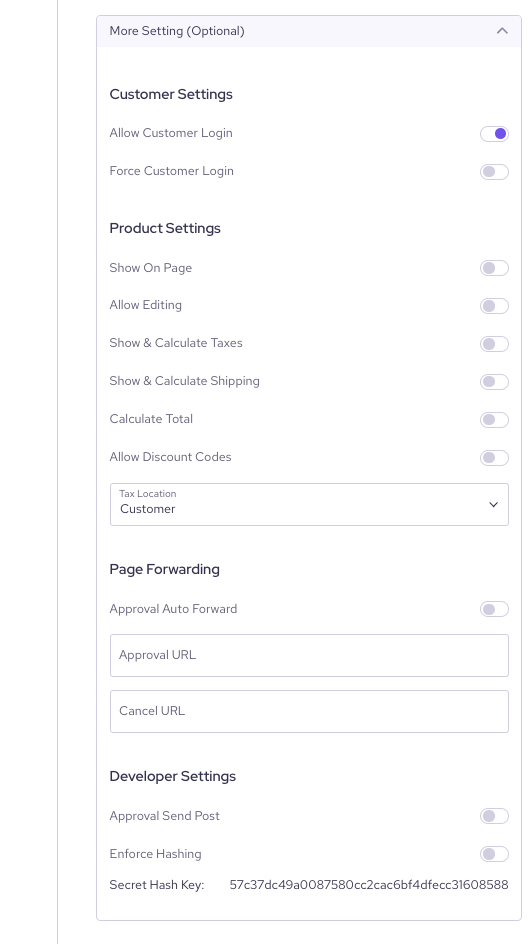
4) Customize the payment page using optional settings.
Customer Setting - allow or force customers to login in order to view a payment page. This steps will allow transactions from returning customers to be linked under a single customer profile in Helcim.
Product Settings - these settings are only visible the the Page Type is set to "Product Purchase" and will customize how products and totals are displayed and what actions customers can take to edit their purchase.
Page Forwarding - Enter a URL that customers will be redirected to after a successful transactions or when a transaction is cancelled.
Developer Settings - These settings are used by developed using a custom integration with Helcim's Payment Pages. Hosted Payment Pages are intended to be a no code solution that gives merchants a quick and easy to set up way to take payments online. They can be used in more complex integrations and the Developer Settings section of More settings will allow access to a couple of additional features that can be used in these integrations:
Approval Send POST - When Approval Send POST is enabled, the Helcim system will send a POST response to your Approval Auto Forward URL when a payment is processed through your Hosted Payment Page.
This response can be collected using an event listener and the response details can be stored in your system or used to trigger some other event or action. The POST response will include the following information.
When using Approval Send Post, you must also have Approval Auto Forward toggled on to receive the POST response.
Enforce Hashing - Enforce hashing can be toggled on and used with Hosted Payment Pages with a Fixed Amount only. It will ensure that the amount for a transaction was not manipulated during the transaction process.
An amountHash will be generated by the Hosted Payment Page using the Secret Key for your Hosted Payment Page. When Helcim receives the transaction amount, we will complete a hash of the amount we received and if our hash does not match the hash from your Hosted Payment Page, an Amount Error message will trigger and the transaction will not process.
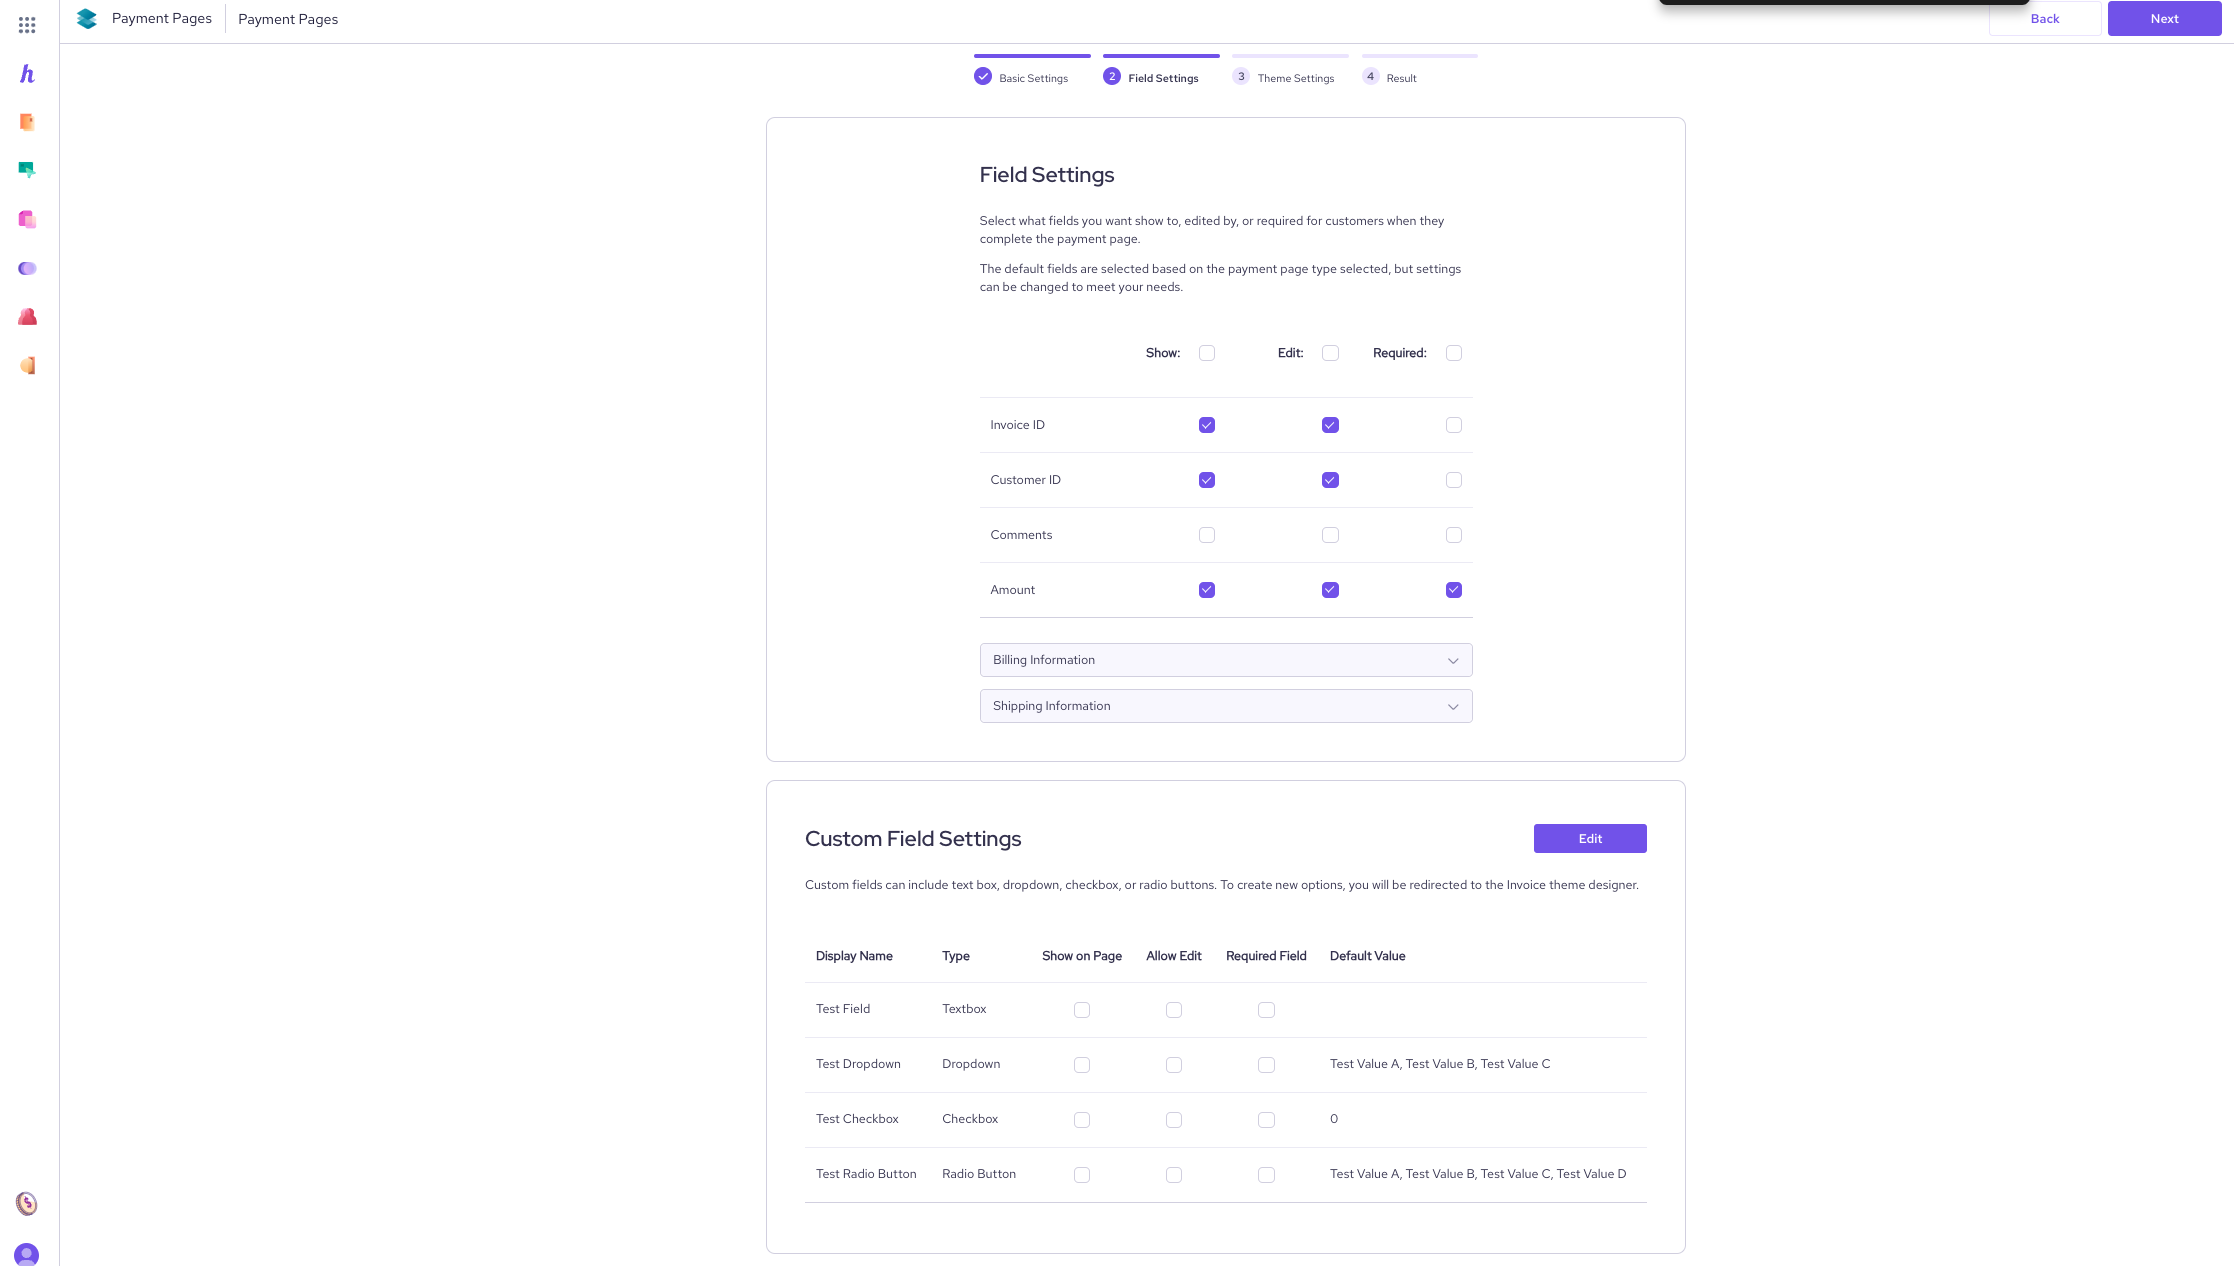
5) Select the fields you want to be displayed to the customer while completing the Payment Page.
Fields are set to Show, Edit, or Require based on what information you want to collect from the customer.
By default, the minimum required fields are selected for each Page Type.
Custom fields are also available if you want to request specific information to match your payment page needs. These can be created by selecting the Edit button. You can find more information on this process here.
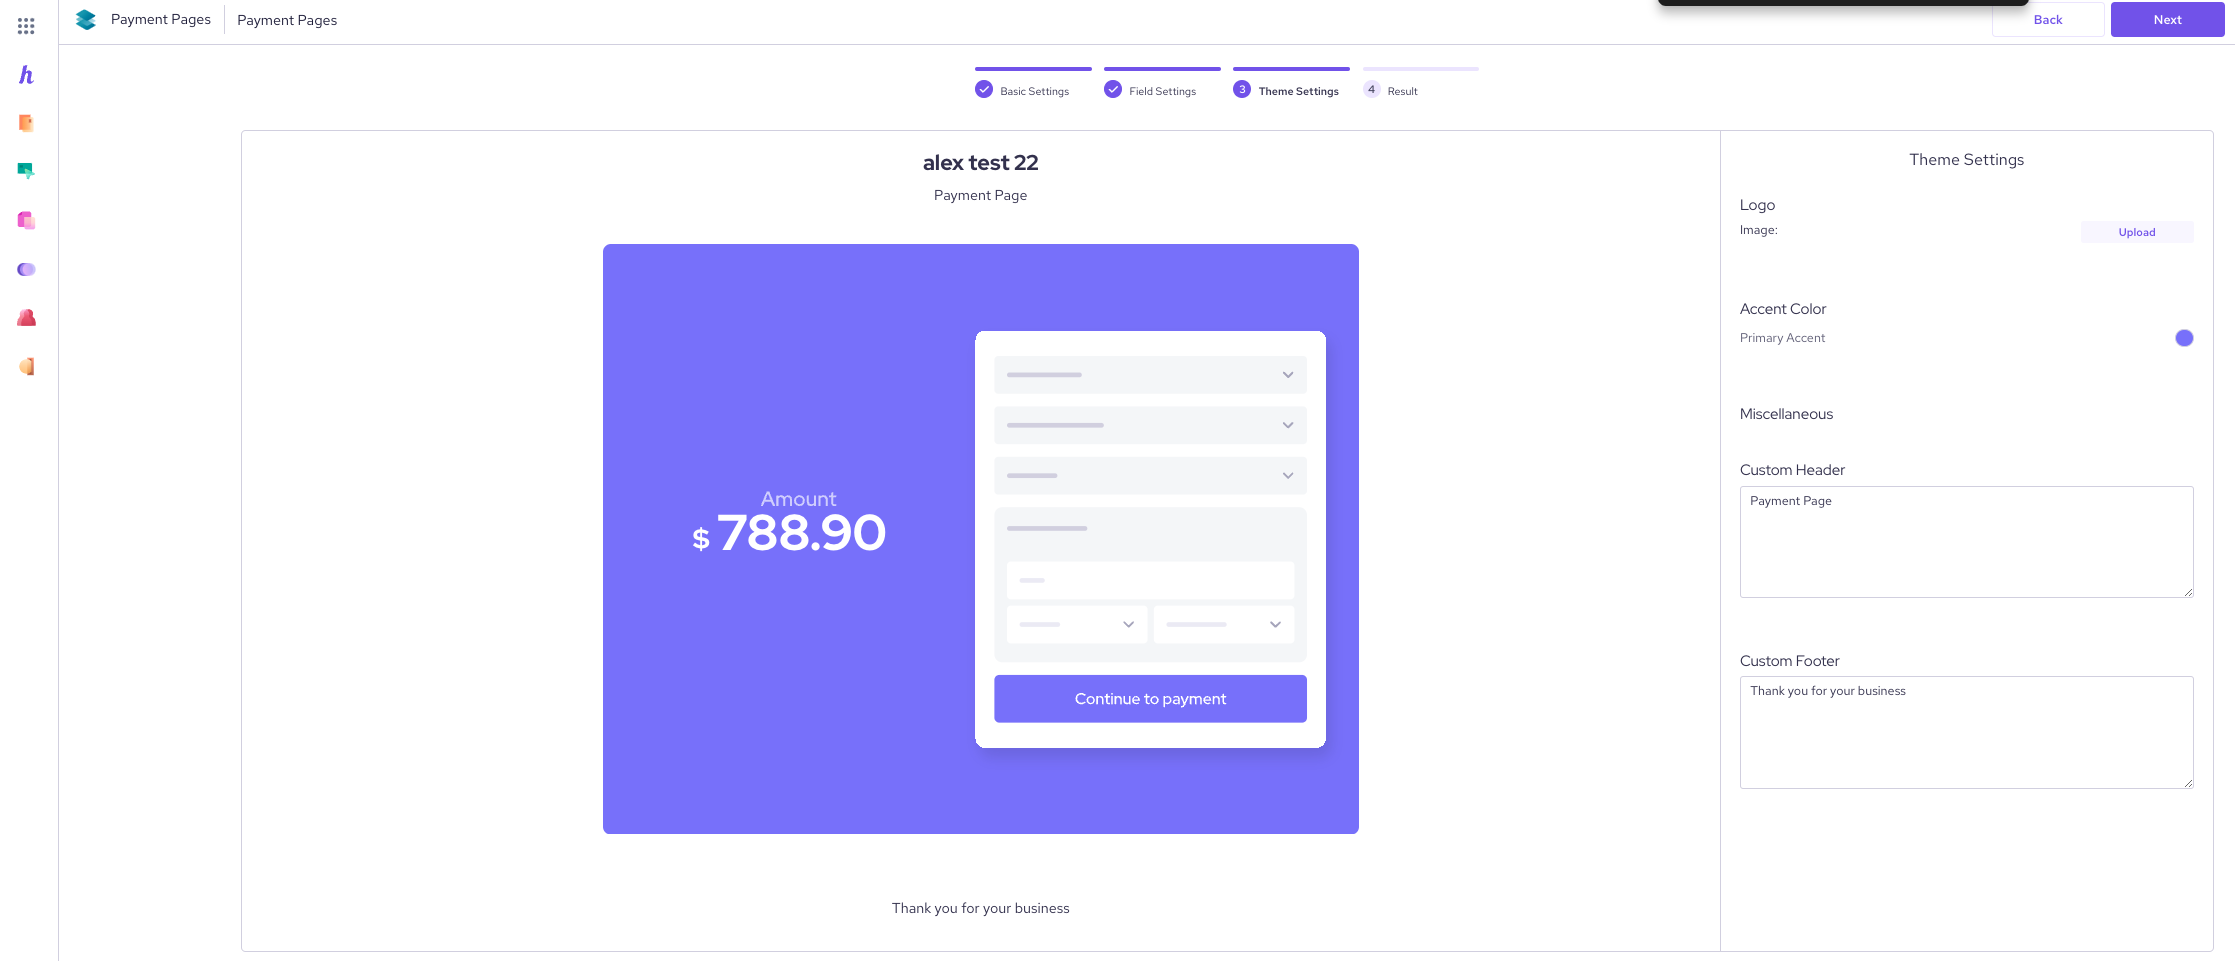
6) Select next and customize the page using the theme designer. The theme design preview is not a detailed preview of the Payment Page, but an overview of the page type and colour. The theme designer allows the following actions:
Upload a logo
Select colour
Add custom header and footer
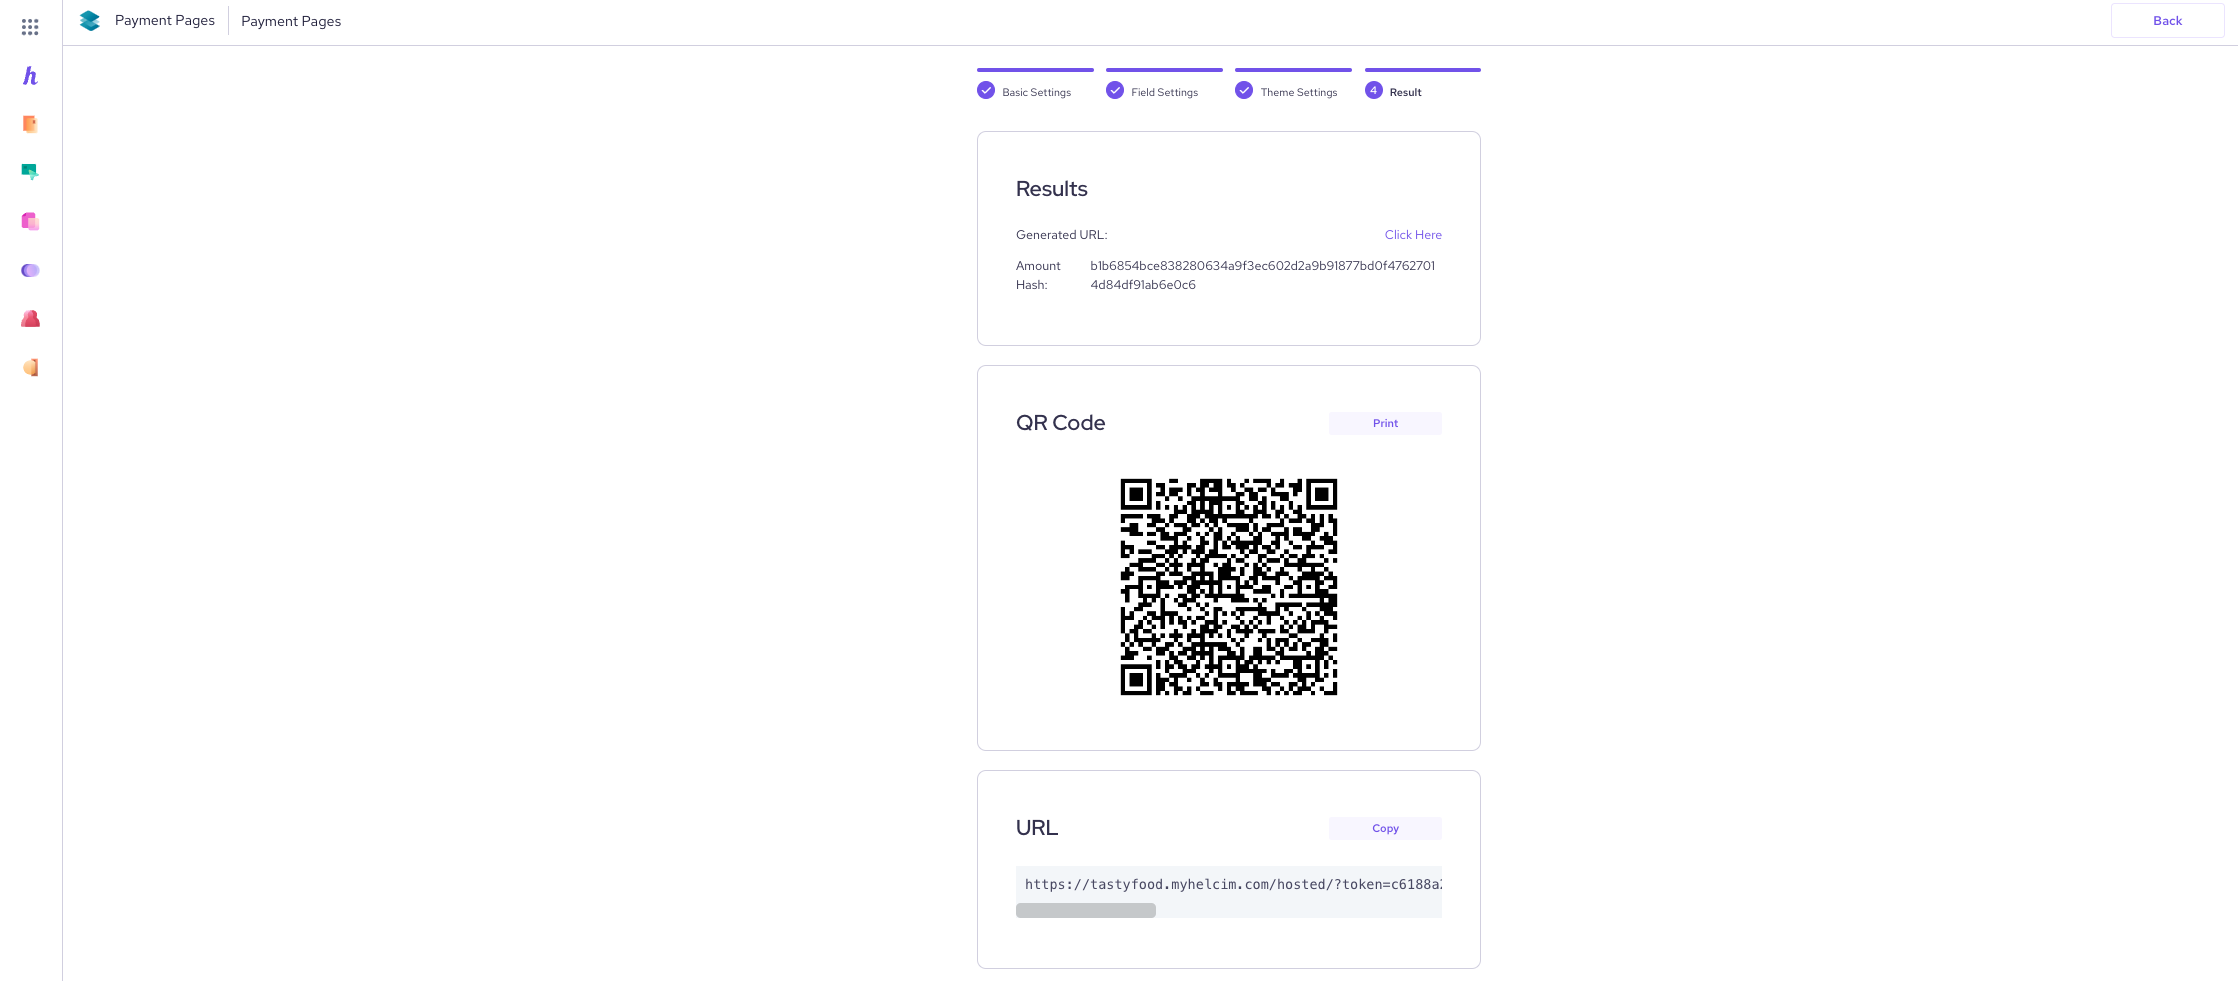
7) Select next to save your page and share it with customers. From this page you can:
Copy the link and add to email to customers, or added to websites, invoices, newsletters, etc.
Print a QR code
Copy HTML links to be embedded in your website
Please note, once you leave this page the uniquely generated QR code/URL will be regenerated next time you follow through to the Results page. Any changes made to the Payment Page settings prior to this last step will reflect in your saved QR codes and links.
Was this article helpful?