Configuring the Helcim payments plugin for WooCommerce
- 07 Feb 2024
- 2 Minutes to read
- Print
Configuring the Helcim payments plugin for WooCommerce
- Updated on 07 Feb 2024
- 2 Minutes to read
- Print
Article Summary
Share feedback
Thanks for sharing your feedback!
Configuring the Helcim payments plugin for WooCommerce using Helcim.js
If you have not yet installed the Helcim payments plugin into your WordPress website, you can find more information here.
Step 1 | API Configuration
The Helcim payments plugin requires you to create an API access token in order to secure your payment processing through WooCommerce.
- Login to your Helcim account
- Click on Integrations in the left menu
- Click on New API Access from the main page
.png)
- Create a configuration using the following Access Restriction settings:
- General: Read & Write
- Settings: Read
- Transaction Processing: Admin
.png)
- Click Save
.png)
.png)
This will create a unique API Access token that you will copy and paste into your WooCommerce settings later in the configuration process.

Step 2 | Helcim.js Configuration
The Helcim payments plugin uses Helcim.js in order to verify and encrypt credit card details before processing them through the Helcim Payment API. You will create a Helcim.js configuration in order to keep your website and processing out of scope of the stricter PCI compliance requirements.
- Click on Integrations located in the All Tools menu
- Click on Helcim.js Configurations in the left sub-menu
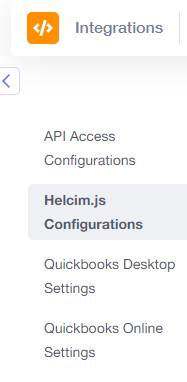
- Click on New Configuration in the top-right

- Create a configuration using the settings below
Status: Active
Include XML on Response: On Name: WooCommerce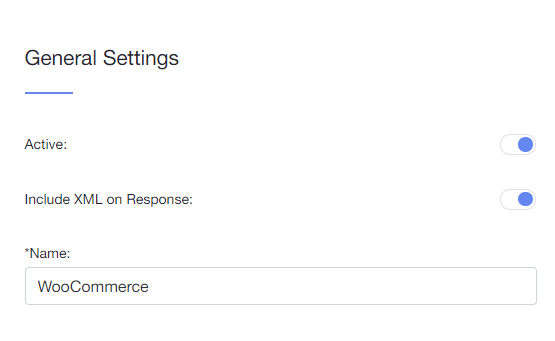 Test Mode: No
Currency: please select one
Transaction Type: Verify
Terminal: Select your preferred processing terminal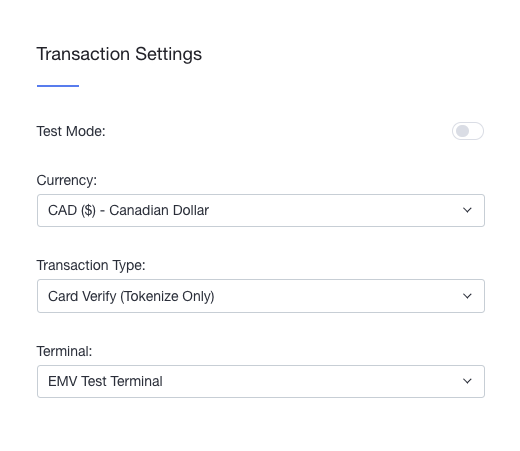
Enforce hashing: No
Amount Minimum: 0
Amount Maximum: 0
Require Captcha: Yes
Captcha Score Threshold: We recommend starting with 0.5.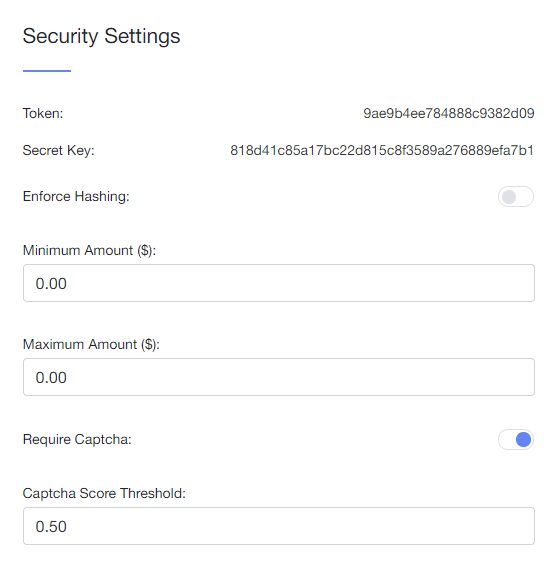
- Click Save


This will generate a unique Helcim.js token and secret key, that will be copied into your WooCommerce settings. (Be sure to copy your own token, the one in the screenshot below is just an example)
Step 4 | WooCommerce Settings
Once your Helcim API access configuration and Helcim.js configurations have been created, you can complete the configuration in your WooCommerce plugin.
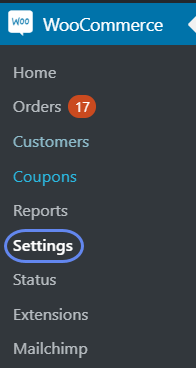
- Configure the module by selecting WooCommerce and Settings on the right-hand side of your screen.
 Click on Payments from the tab in the middle of your screen.
 Scroll down to Payment Methods where you will see HelcimCommerce listed.
- Click the Enable/Disable box to enable the plugin
- Test Mode - click checkbox for ON or OFF
- Select Helcim.js for Payment Method
- Enter the Helcim.js Token generated in your Helcim.js Configuration
- Enter the Secret Key generated in your Helcim.js Configuration
- Enter your Helcim commerce Account ID (This can be found by selecting All Tools, Settings, and then My Account in your Helcim account).
- Enter the Helcim API token generated in your API Access Configuration
- Choose between Purchase and Pre-auth for transaction type
- Enter your Terminal ID (This can be found by selecting Payments, Terminals, and then selecting your default processing terminal)
- Enter the description your customers will see on the checkout page for this payment option (This is a required field)
- Choose whether or not you would like to show the Helcim logo on the checkout page
- Select Require Captcha if also set in Helcim.js setup


Was this article helpful?