Setting up the ECWID Configuration
- Login to your Ecwid account
- Click on Payment on the left navigation panel
- Click Choose Payment Processor under the Other ways to get paid header
- Select Credit Card: Authorize.Net SIM
- Click Account Settings under Credit or debit card at the top of the page
- You should see the settings below. Click Advanced Settings to see the Endpoint URL setting
- Set these settings as follows
A. API Login Id - Enter your Helcim commerce account
B. Transaction Key - Enter any value here. It's not used in our system
C. MD5 Hash Value - Enter a unique number here that you will later configure on your payment page
D. Endpoint URL - Enter as follows: &emulator=ecwid&flush=1 - Click Save
Payment Page Configuration
- Login to your Helcim account
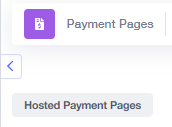
- Click on Payment Pages and Payment Page List
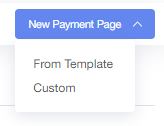
- Click on New Custom Page in the top right-hand corner of your screen, then proceed to fill in the fields as follows:
- Under Page Information, fill out your name in the Name field
- Set Status to Active
- Under Page Forwarding, set Approval Auto-Forward to YES
- Set Approval Send POST to YES
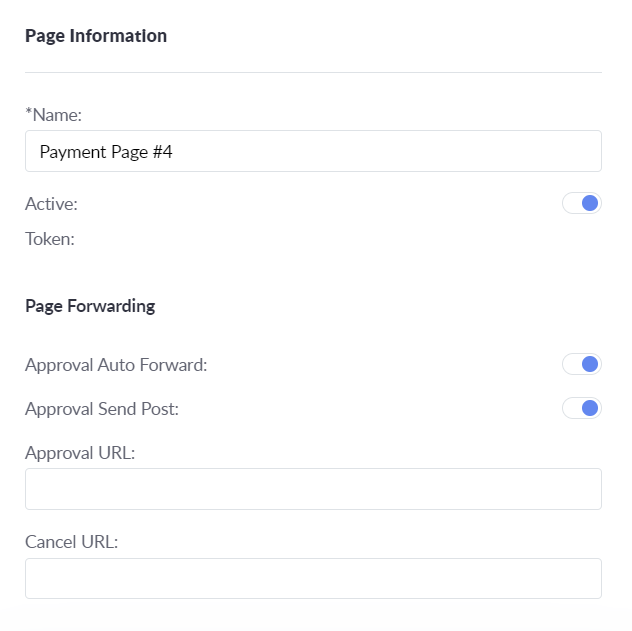
Click Save
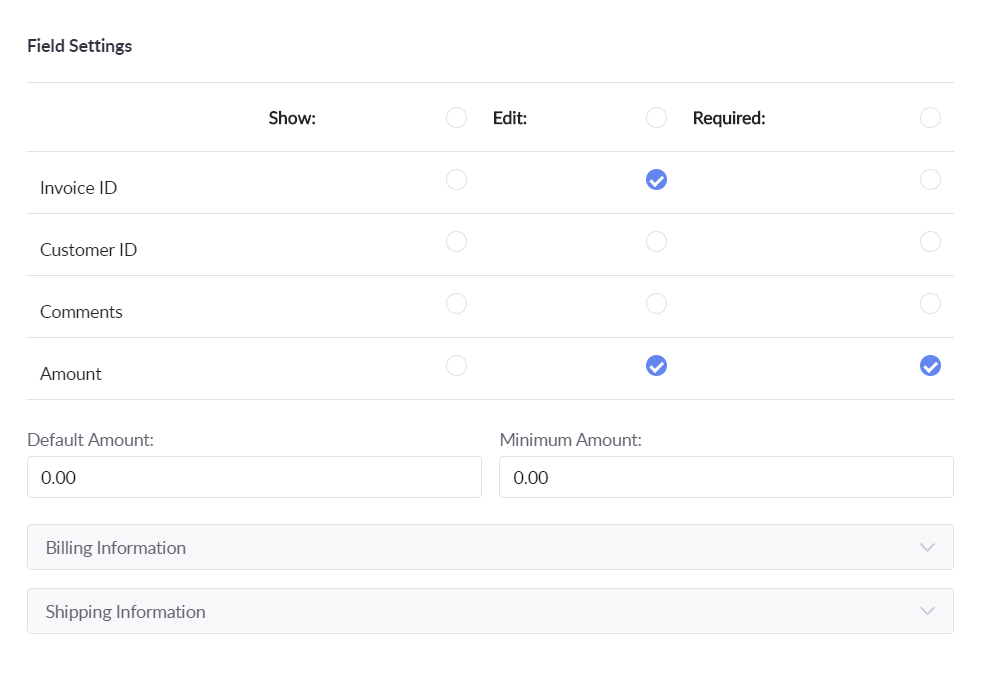
Next, select Field Settings from the menu on the right-hand side of your screen
- Under General Fields, check Amount to Required
- Check Invoice ID to Required
Click on the Invoicing icon, then Invoice Theme Designer and then you can select Custom Fields.
Enter a name for the field and Click on Add to create a new Custom Field
Click on the Custom Group you just created then click Add New Field and enter the fields as follows:
A. For Name enter "cst_MD5_Hash" For Display Name, enter "Hash" For Default Value, enter the hash configured in Ecwid's Settings. In this case "5" Set Required to YES Click Save
B. Repeat steps above with fields as follows: Name: "cst_accountId" Display Name: "Account ID" Default Value: leave blank Set Required to Yes Click Save
C. Repeat steps above with fields as follows: Name: "cst_emulator" Display Name: Emulator Default Value: "Ecwid" Set Required to Yes Click Save
Go back to Payment Page List, then click on the payment page edited with steps from above
On the right-hand side under Payment Page, click Custom Fields
Make sure that the Custom Settings are as shown above
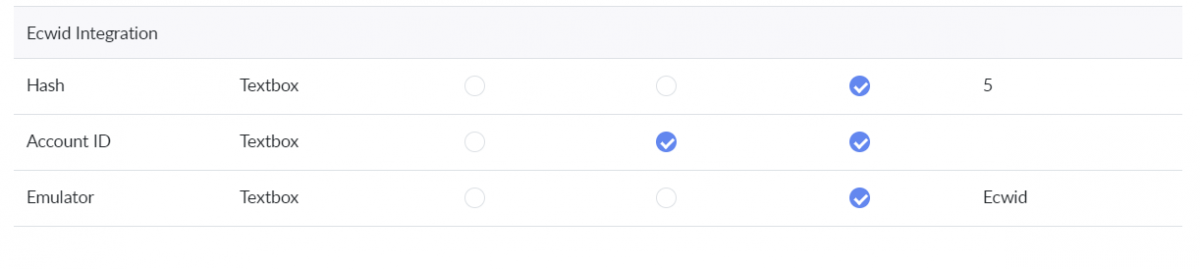 A) "Hash" should be set to Required Field. Set Default Value to the one in Ecwid Advanced Settings B) "Account ID" should be set to Allow Edit and Required Field. Leave Default value blank C) "Emulator should be set to Required Field. Set Default Value to "Ecwid"
Go back to Payment Pages, then click on the Ecwid page edited above
Under Manage Page, click Edit
Click Advanced Settings near the bottom of the page
In the Endpoint URL field, enter the URL below followed by the store ID, then click Save:
http://app.ecwid.com/authorizenet/
Finished!
Your are now ready to use your Ecwid shopping cart with your Helcim payment page.