Once you have downloaded the Helcim Payments app on your laptop or desktop computer, you are ready to connect your Helcim Card Reader with the Helcim Payments app.
Configure Your Device
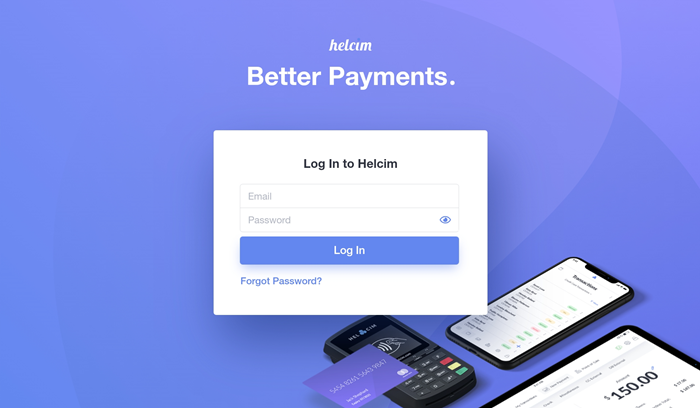
Begin by opening up the Helcim Payments app and logging in.
You can now begin configuring your device. Enter your Device Nickname and use the dropdown menu to Select a terminal to accept payments through on your device.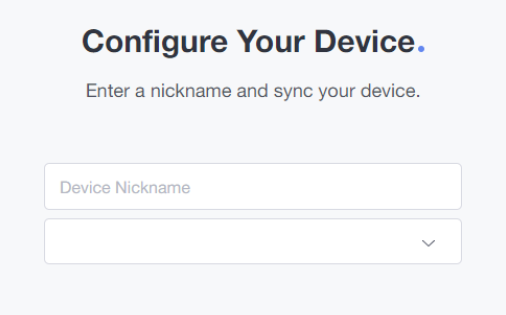
Once you have entered your information, click on Save.  You will see a confirmation screen confirming the device has been saved, click on Got it to continue.
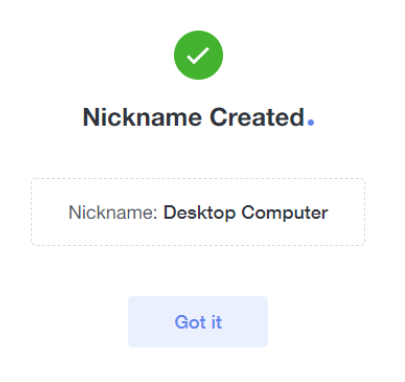
Now you can connect your Helcim Payments app with the Helcim Card Reader. To get started, click on Connect. 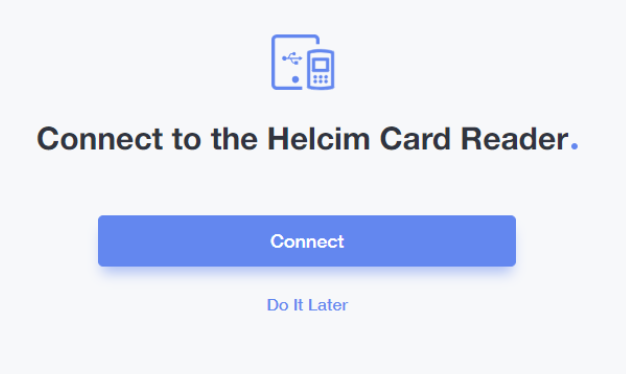
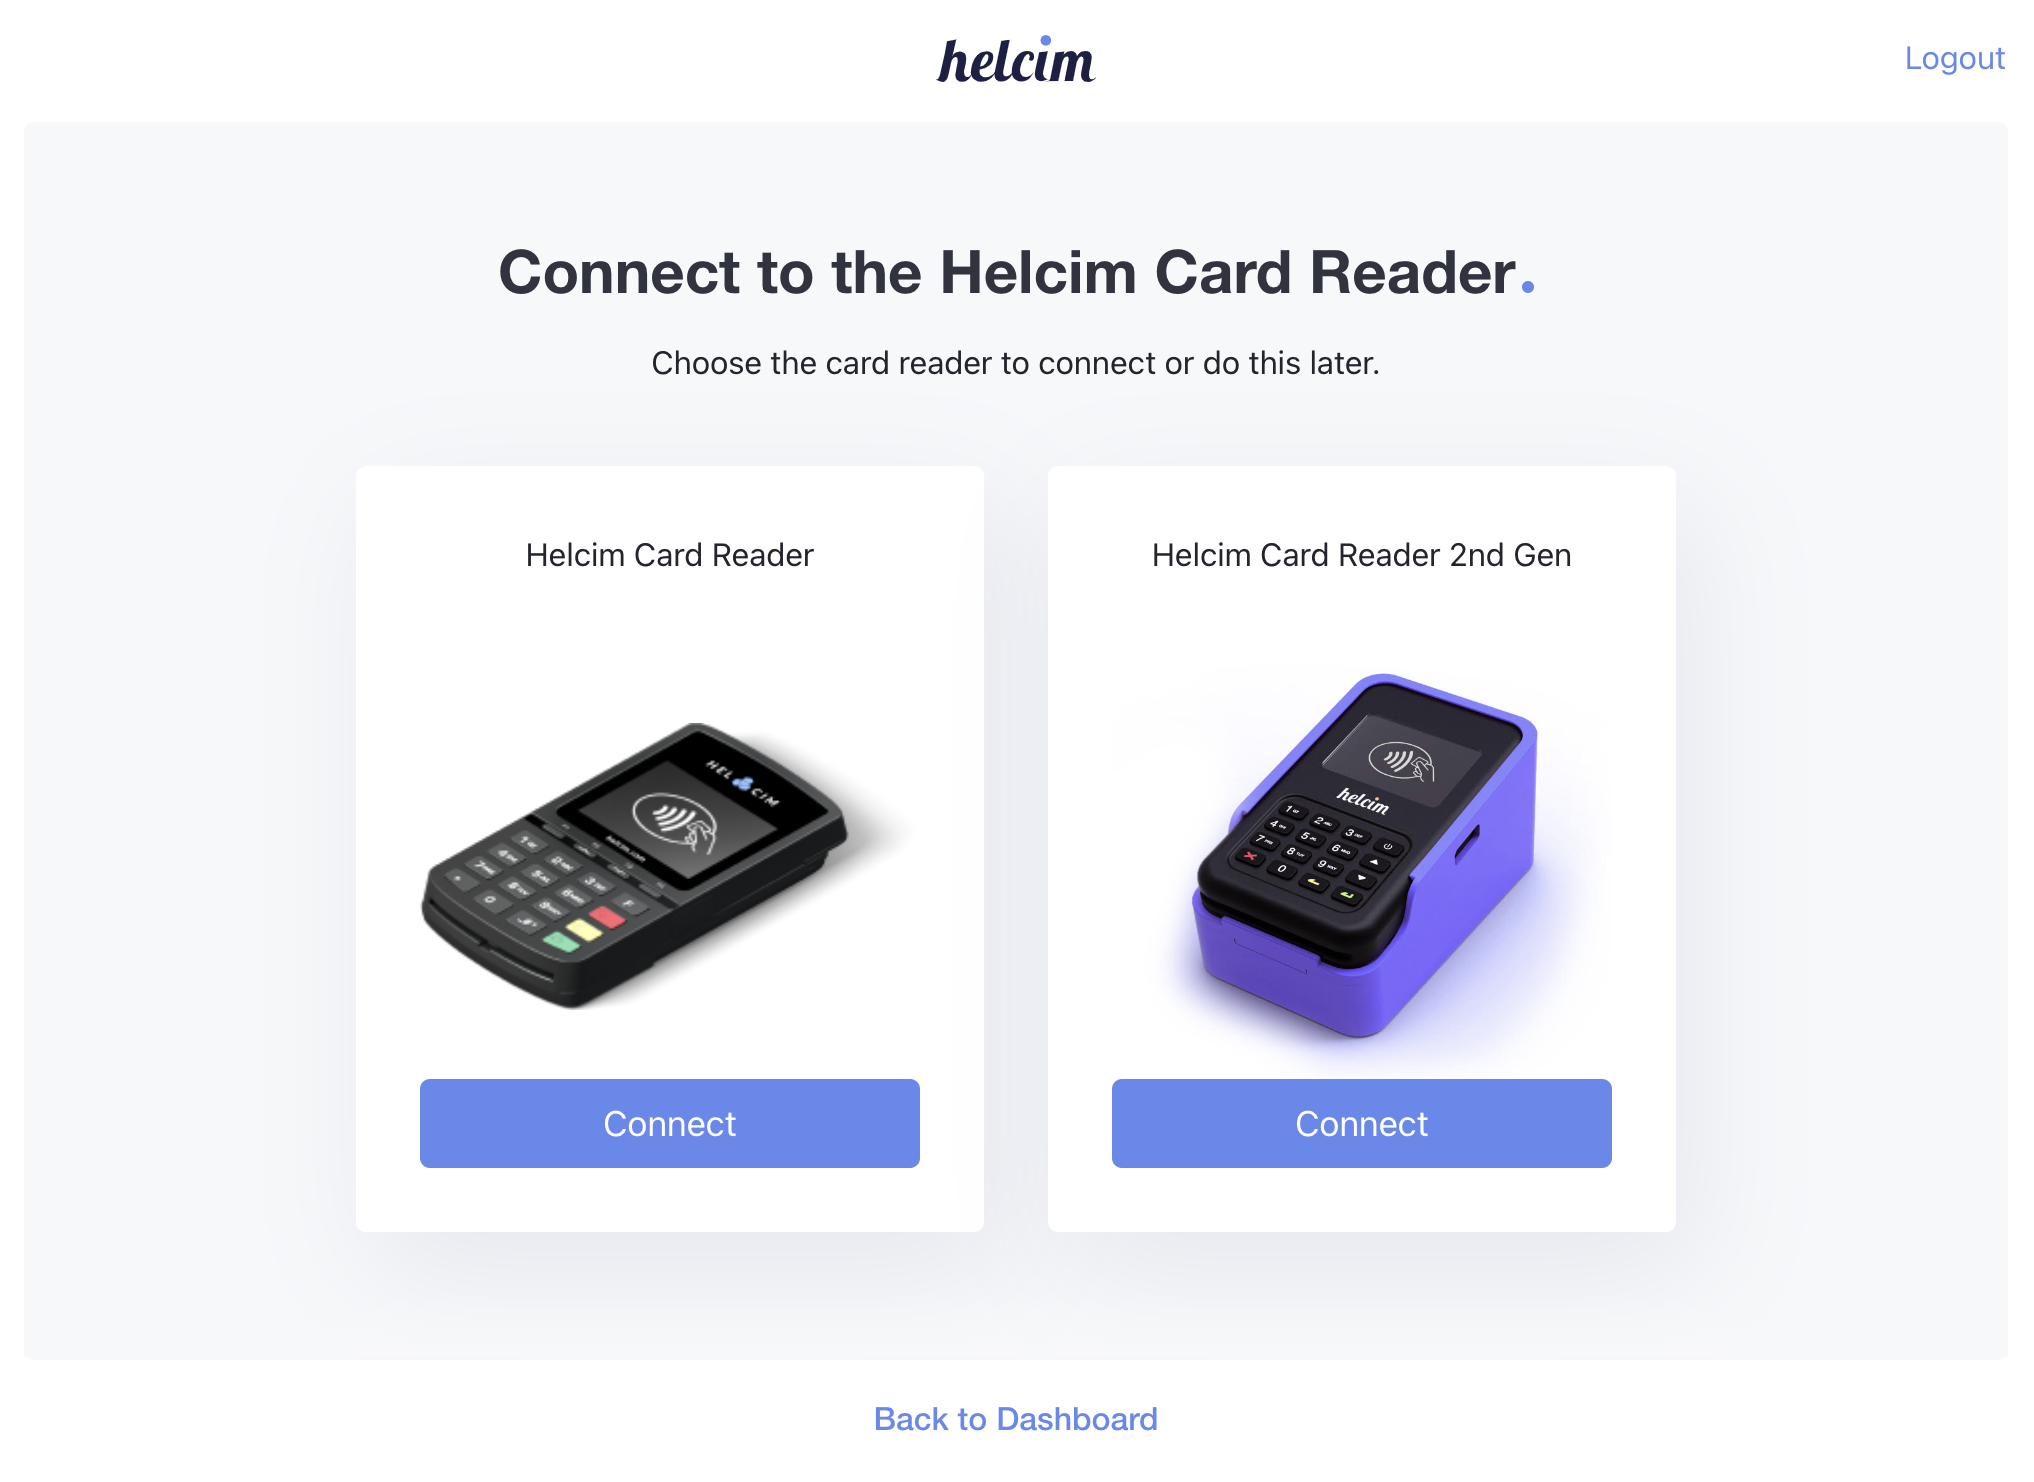
Select the Helcim Card Reader and click Connect to continue.
USB Connection
Next, please use the USB cord provided to connect the Helcim Card Reader to your device.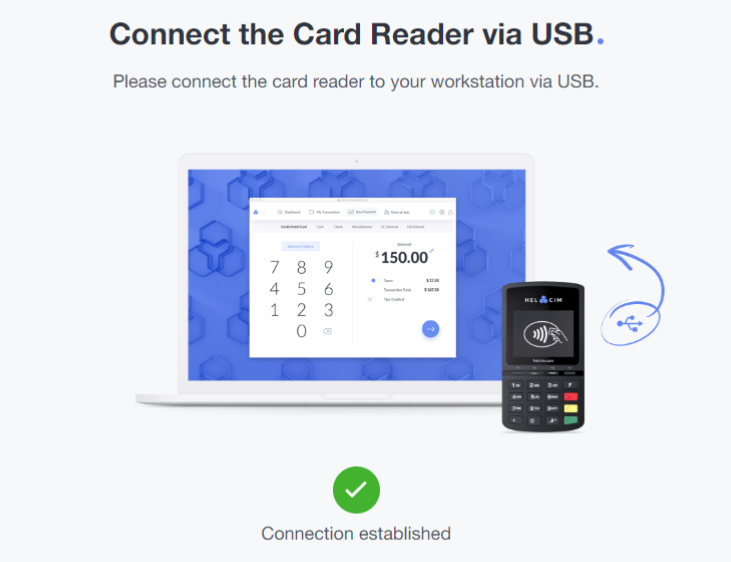 Once you see the Connection Established notice, click on Next.
The app will now configure the Helcim Card Reader, this may take a few minutes to complete. 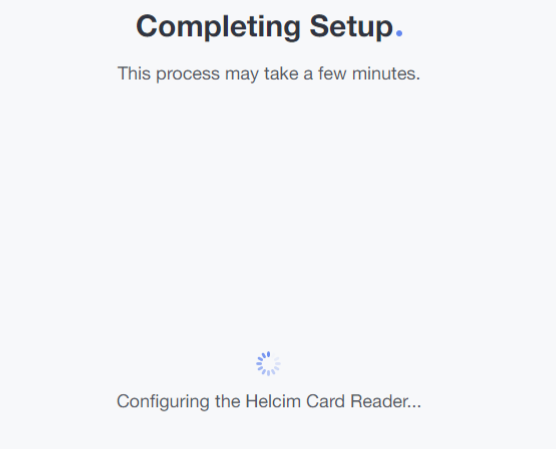
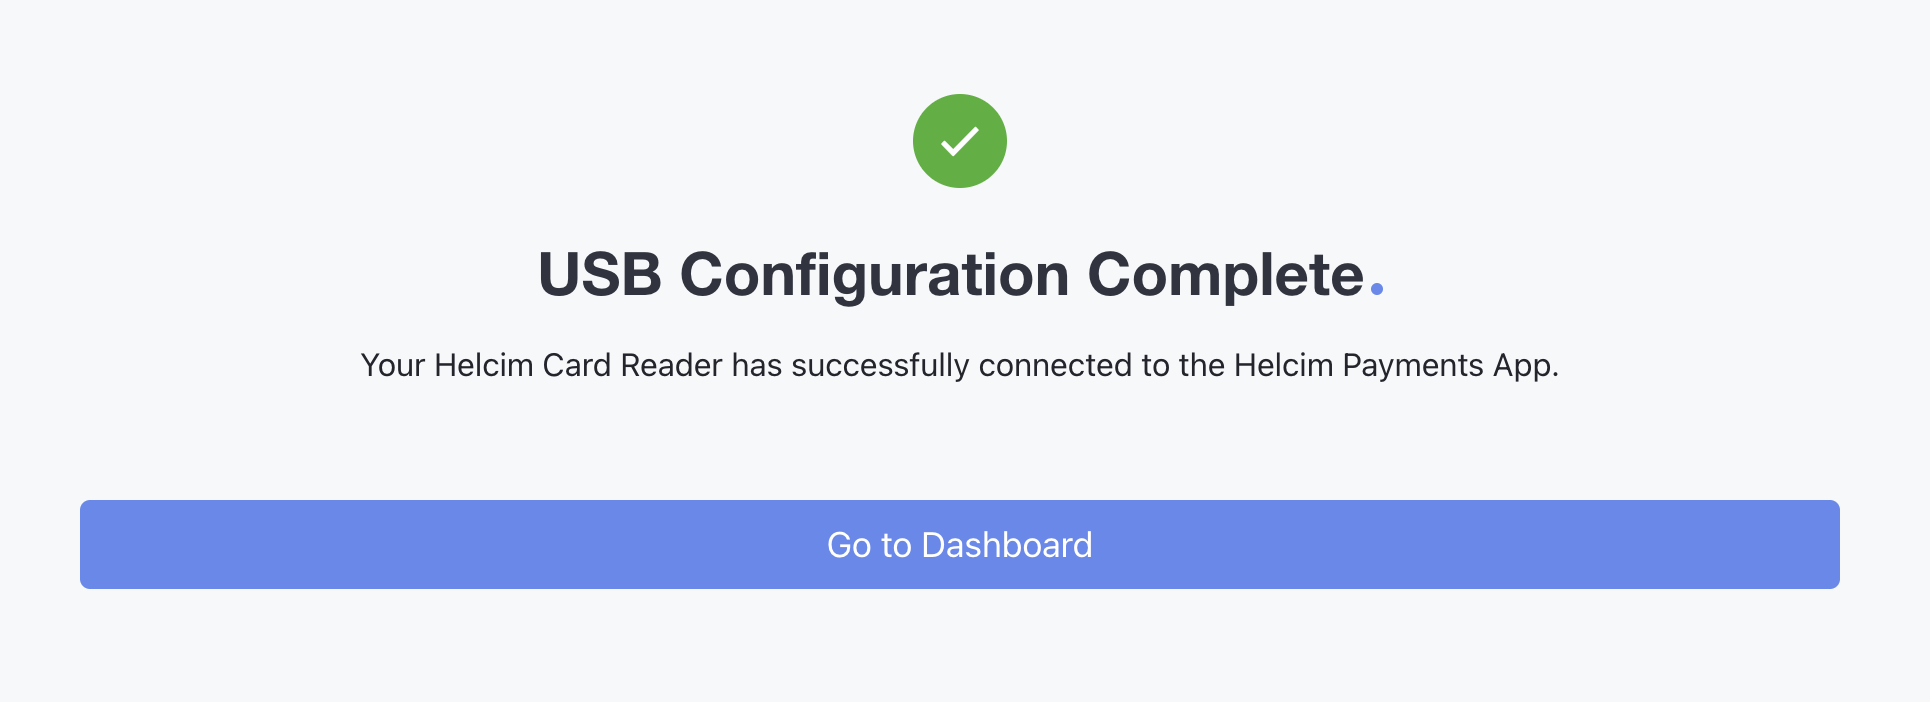
Once this process is complete you will see a confirmation screen and you can select Go to Dashboard to begin accepting payments. 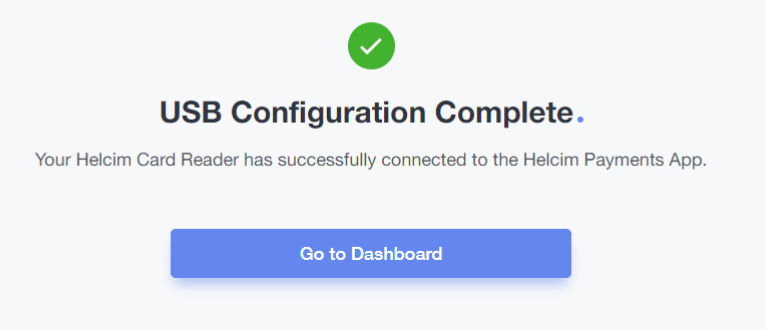
WiFi Connection
During the initial setup of your Card Reader, you will first need to connect your Card Reader to your device via USB before you can establish a WiFi connection. Once you have completed the USB Configuration, you can switch your connection type to WiFi. To do this, click on Connect via WiFi on the bottom of the USB Configuration Complete screen. 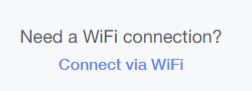
You will be prompted to enter your network credentials for your desired WiFi network or select the WiFi network you want to connect to from a list of available networks.
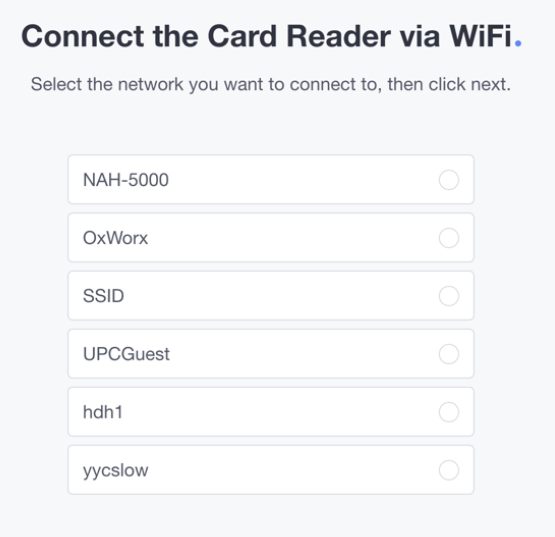 Select your desired WiFi network and click Next to continue.
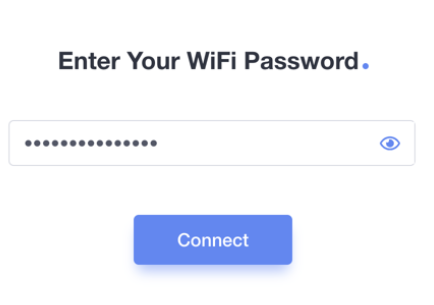
Next, enter your WiFi password and click Connect.
If your device has not prompted you to select from a list of available networks, you can manually enter the network credentials for your desired WiFi network.
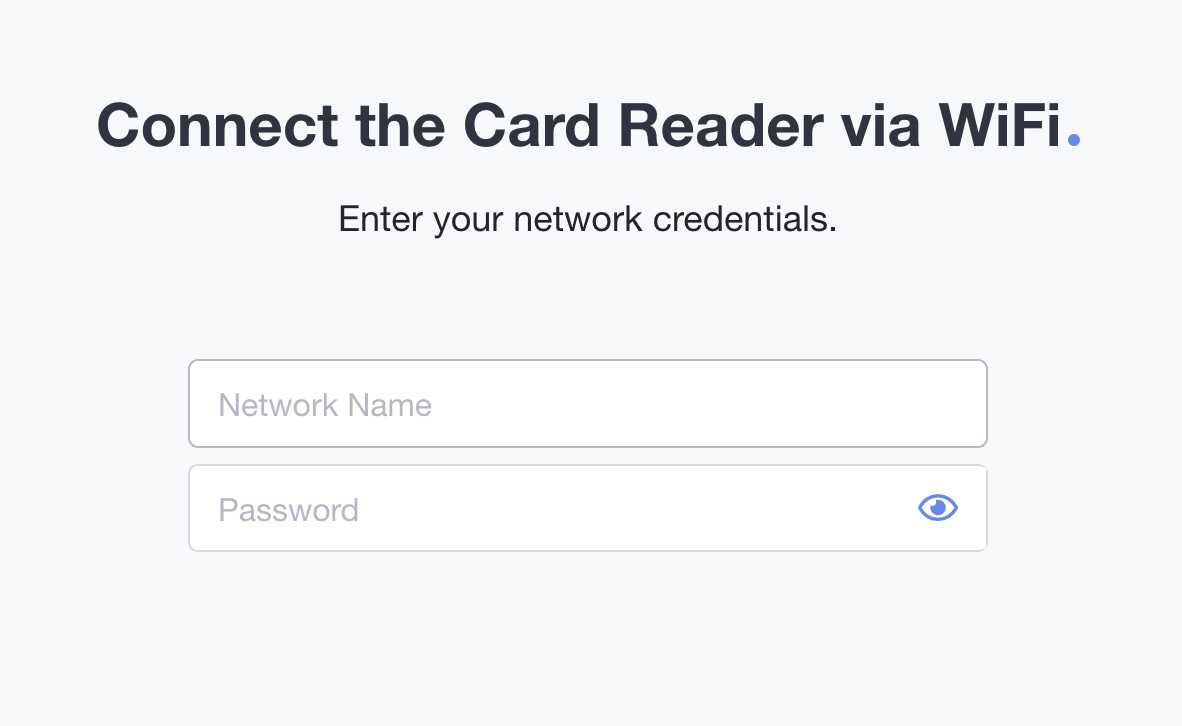 Enter your WiFi Network Name and Password before clicking Continue.
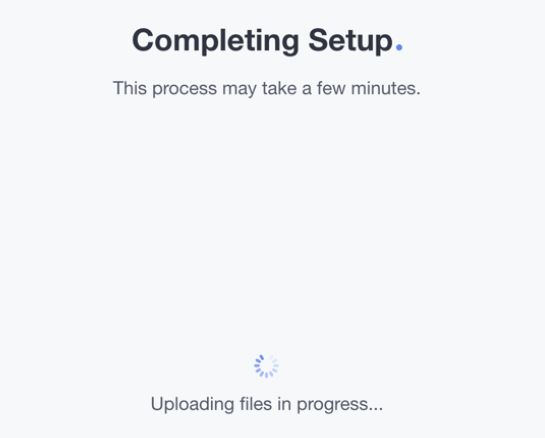
The app will now complete the setup. Your Card Reader may reboot while the setup is being completed.
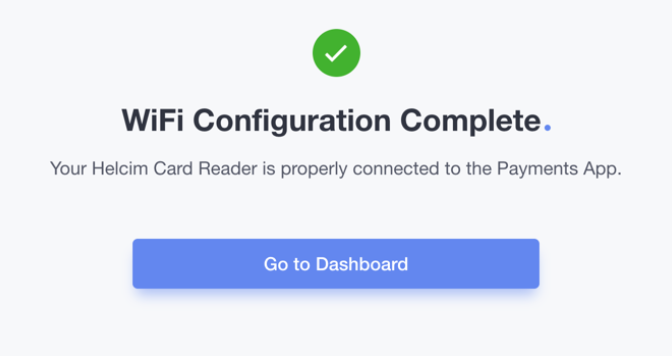
Once connected you will see the WiFi Configuration Complete screen, from here you can select Go to Dashboard to begin accepting payments.
Troubleshooting WiFi Connection Issues
Reconnection Issue or You Have a New Internet Service Provider (ISP)
If your WiFi is having issues reconnecting, or if you have recently switched internet service providers, try the following two tips:
- Reboot the Helcim Card Reader by holding down the # and Yellow key
Not Found : 12000 or Not Available : 12000 Messages
This error message can occur when the incorrect WiFi SSID or password has been entered.
- Double check that you are using the correct SSID and password for your WiFi
- You can click on the Eye Icon to see the password being entered and verify it's correct
If You're Using a Dynamic IP
A dynamic IP can cause connection issues because once the IP changes, the Helcim Payments app will no longer recognize the IP address to connect to the Helcim Card Reader. This issue will only affect WiFi connections, to avoid this issue repeat the Setup Wizard and connect the Helcim Card Reader to the Helcim Payments app using a USB connection if you're using a workstation or Bluetooth if you're using a tablet or mobile device.
Using a USB or Bluetooth connection will avoid the Dynamic IP connection issue because they do not require an IP for the connection.
Switching to a Static IP - Receiving "Not Available: 12000" error message
You may see a Not Available:12000 error message on your Helcim Card Reader after completing the Setup Wizard and selecting WiFi if you're using a Dynamic IP. If this is the case you can try switching to a Static IP to resolve the error. You will likely need to reach out to your ISP to get them to set up a static IP for you.
Once your have your Static IP information, please follow the steps below. You do not need to reboot the terminal, or close the app.
- Press 0001
- Select 2 for WiFi Parameters
- Select 3 for My Networks
- Press the Green Key to select the network
- Scroll down using the F3 key to IP Configuration and select it
- Next, select DHCP Activation and #2 for Off
After completing these steps your card reader should return to the IP Configuration Menu, from here follow these steps:
- Select IP Address
- Enter the Static IP Address
- Press the Yellow Key until you return to the Admin Menu
- Select 4 for Default IP Configuration
- Next, select DHCP Activation and #2 for Off
These steps should bring you back to the IP Configuration Menu, from here select IP Address and enter the IP Address.
Switching from WiFi to USB Connection
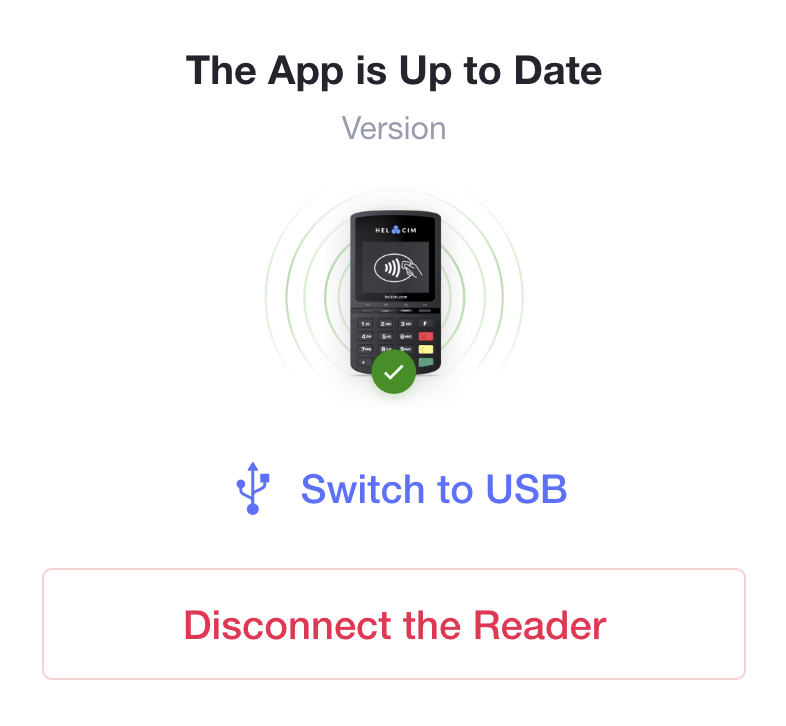
If you want to switch from a WiFi to a USB connection you can do so by repeating the steps in the Setup Wizard. Begin by logging into the Helcim Payments App and clicking on the Card Reader Icon, then Switch to USB.
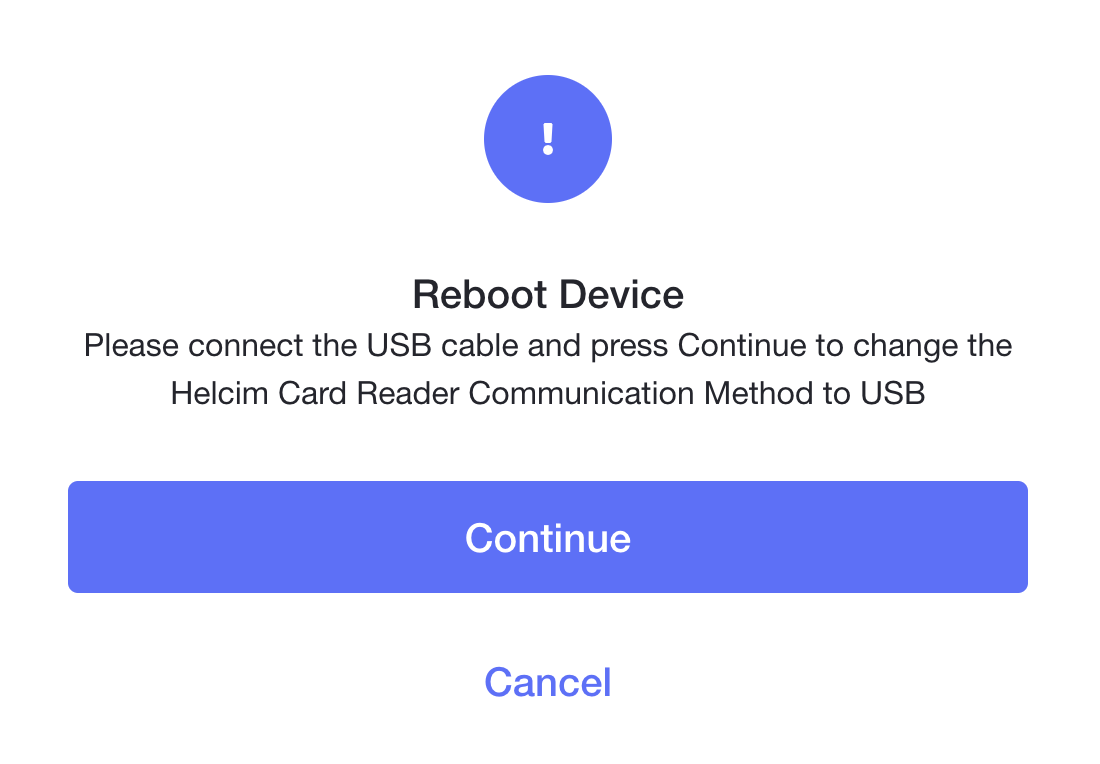
Connect the USB cable to your device and the Card Reader. When you see the following screen, click Continue to reboot your Card Reader and complete the switch to a USB connection
You will receive confirmation once your card reader has successfully connected to USB. From there you can click Go to Dashboard to continue accepting payments.