Want your invoices to reflect your brand and make a lasting impression? Helcim Invoicing gives you the power to personalize your invoice template to match your unique style and business needs.
In this article
Opening the Invoice Theme Designer
The Invoice Theme Designer helps customize the look and feel of your invoices.
You can access it by opening the Branding section in your settings page.
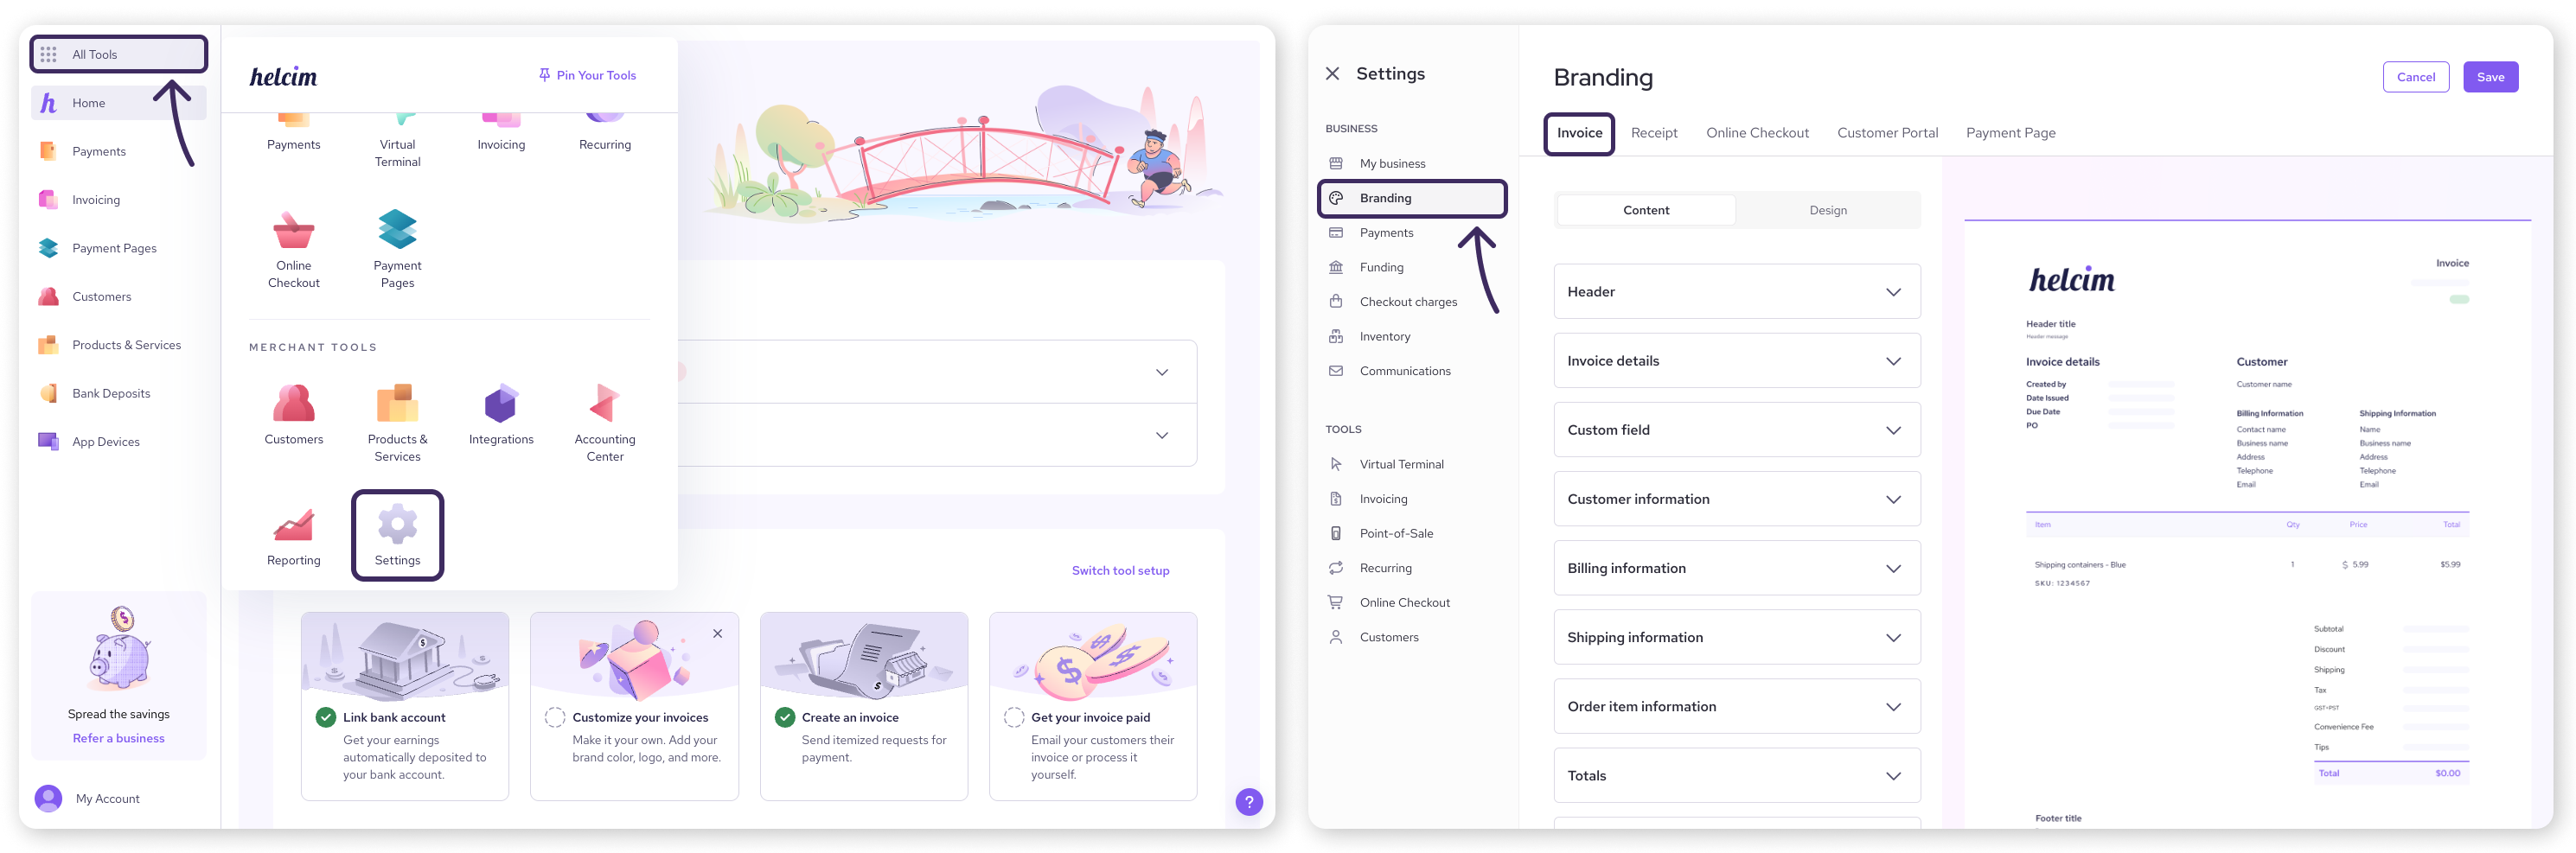
Select All Tools and then Settings.
Select Branding from the left-side menu.
Select the Invoice tab from the top.
From there, you’ll see two tabs that you can explore:
Content: for changing which sections and fields on the invoice are included, and changing any default messages
Design: for changing the theme of the invoice, including colour, logo, and fonts
Using the Content tab
Use the Content tab to choose which fields you want to include or remove from your invoices.
To edit a section:
Select the tile to open it (e.g. Invoice details).
Use the provided toggles to determine whether the section is visible.
Use any provided text fields, radio buttons, or dropdowns to change how the section appears.
Click Save in the top-right corner to save your changes.
| For instance, in the Invoice details section, you can toggle fields like ‘Created by’, ‘Issued on’, ‘Payment terms’, and more. |
Here are some tips for editing the specific sections in the Content tab. Click on an option to reveal more.
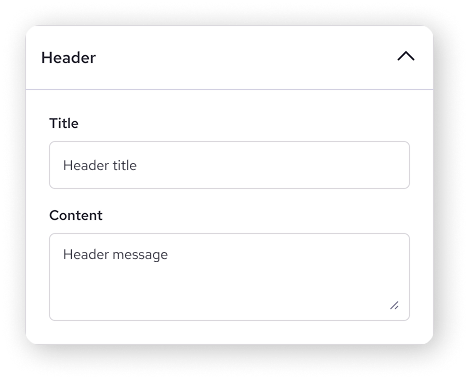
Header
Add a personal touch by including a custom message at the top of your invoice.
Enter a Title for your header and your desired message in the Content box.
Invoice details
Using the toggles, choose whether the following fields are visible in the top-left of the invoice.
Created by
Issued on
Payment terms
PO#
Tip: You can also change the words ‘Payment terms’ to ‘Due date’ if you prefer.
.png)
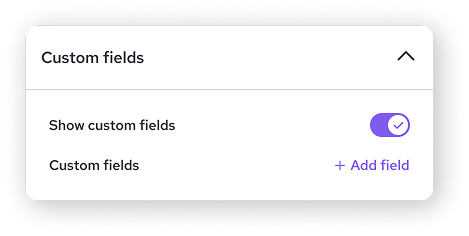
Custom field
Need to add specific information to your invoices? Create custom fields to capture unique data points relevant to your business.
Make sure the Show custom fields toggle is on.
Click on Add field.
Enter the a name, type, and default value for the custom field in the pop-up window.
The field type can either be a textbox, or a set of options to select on each invoice.
For the Dropdown or Radio Button options, type your options under Values, hitting enter each time.
Check the Make field required box to make it mandatory.
Click Save.
.png)
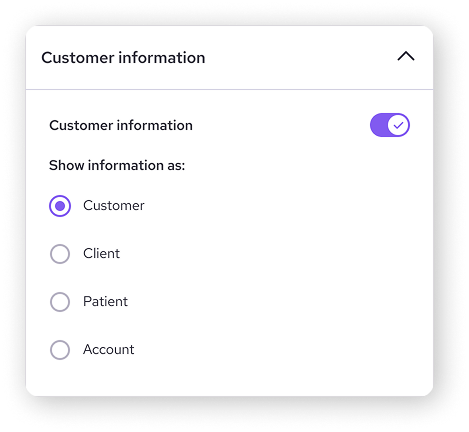
Customer information
Choose how you refer to customers on the invoice.
Turn on the Customer Information toggle to make the section visible.
Select an option for which term is used above the customer’s name (customer, client, patient, account).
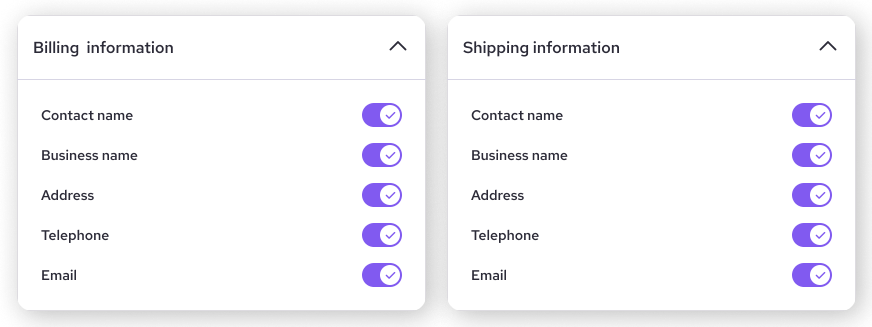
Billing and shipping information
Choose whether the following fields are visible under Customer (top-right), for both billing and shipping:
Contact name
Business name
Address
Telephone
Email
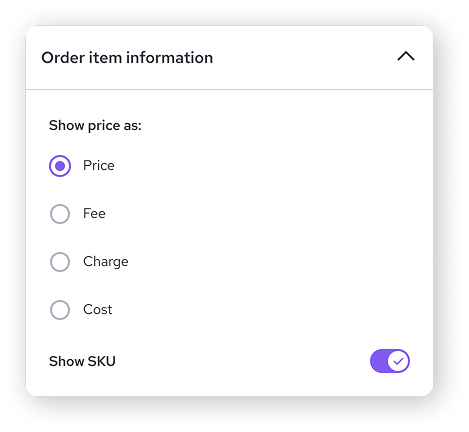
Order item information
Change how your items (products or services) are displayed on your invoice.
Choose the preferred name for the dollar amount of the item (e.g. price, fee, charge, cost)
Toggle Show SKU to reveal the the stock keeping unit (SKU) under the product name.
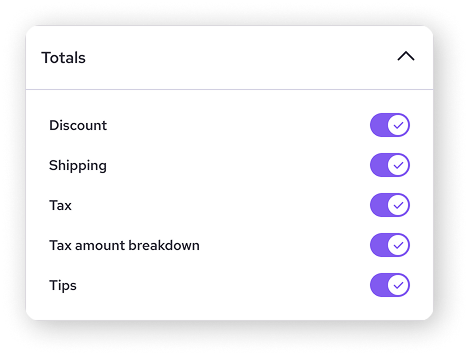
Totals
Choose whether the following line-entries are shown above the invoice Total (bottom-left):
Discount
Shipping
Tax
Tax amount breakdown (a dollar amount next to each individual tax percentage)
Tips
| The ‘Convenience Fee’ field will only show on your invoice if you’ve enabled surcharging with the Helcim Fee Saver. |
Footer
Include a closing message at the bottom of your invoice.
Enter a Title for your footer and your desired message in the Content box.
.png)
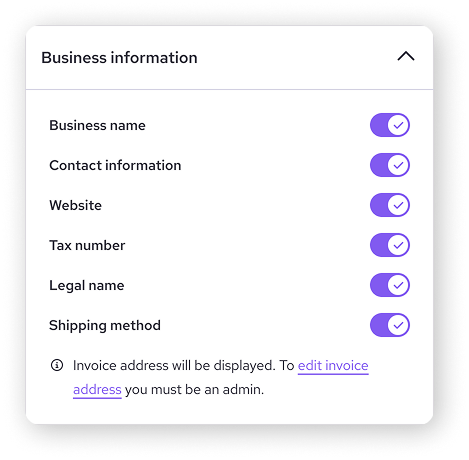
Business information
Choose which of your business details you want to display in the footer of your invoice.
Use the toggle buttons to select which details you want to include.
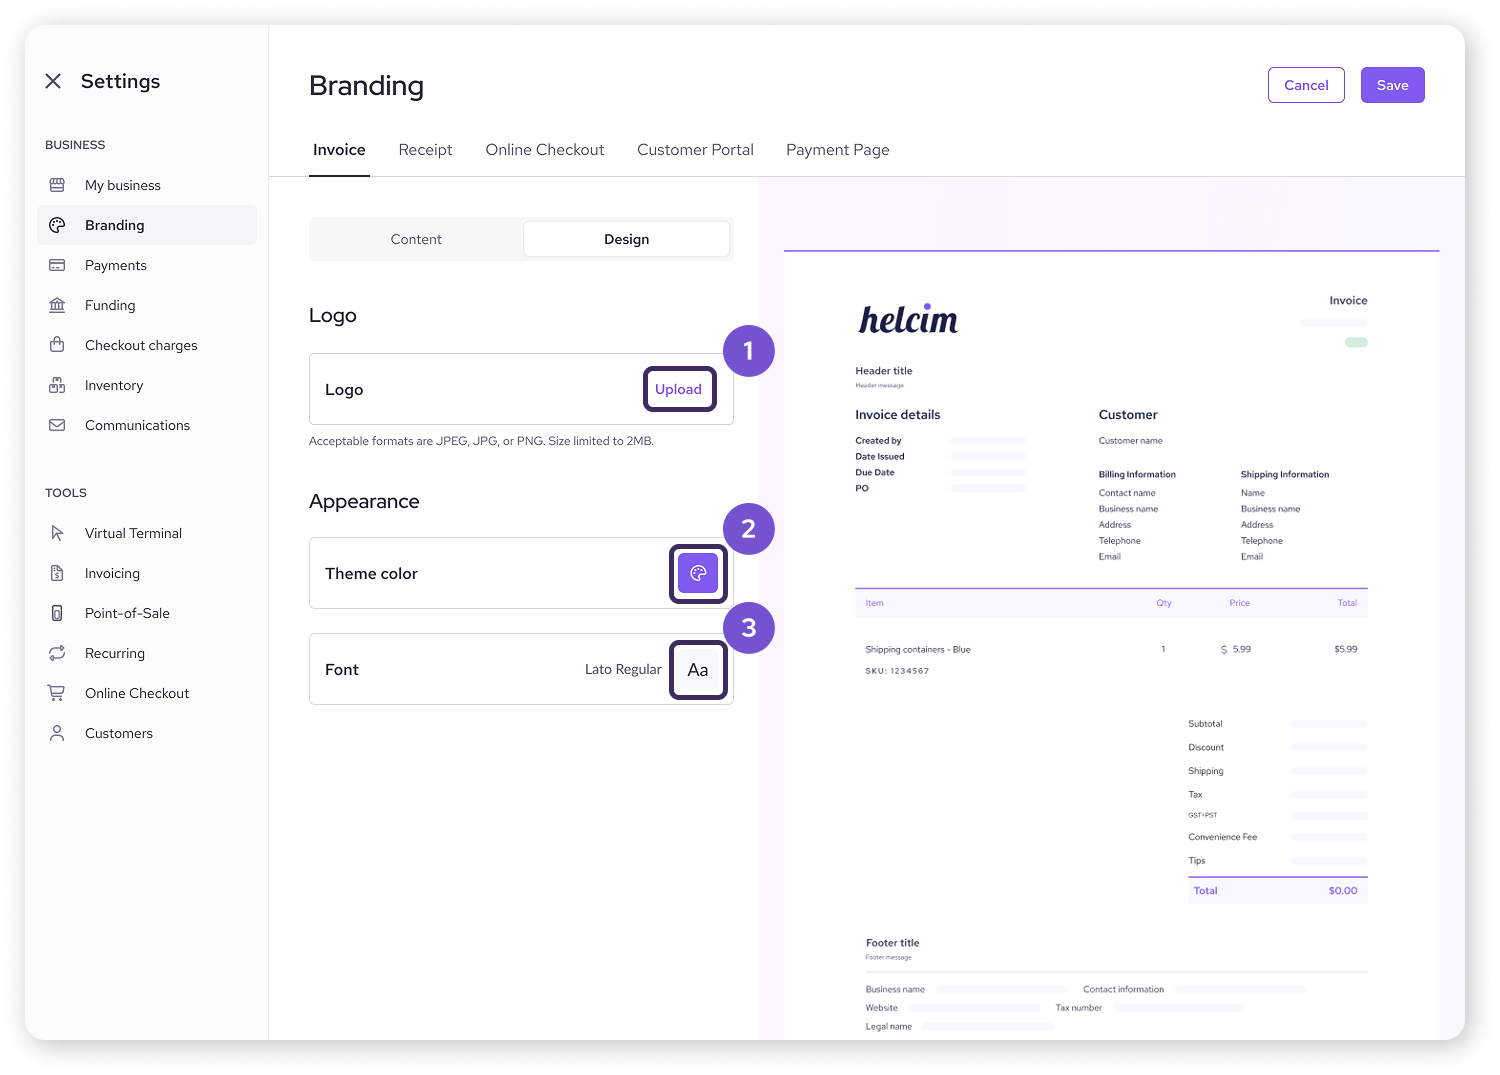
Using the Design tab
Click on the Design tab to adjust the look of your invoice.
In the Logo tile, select Upload your company logo.
Click the Palette icon to change the Theme color to match your brand.
Click the Aa icon to select a font for the invoice text.
Click Save in the top-right corner to save your changes.
| Tip: For best results, upload your logo as a .png file under 500MB. |
Next steps
Now that you’ve made your invoice template look and feel the way you like, it’s time to create one to send to a customer.
| Check out our next article on creating an invoice. |
FAQ & troubleshooting
Can I change the design of my invoices after I've already sent them out?
You can update the design of your invoices at any time. The changes made will reflect on:
Future invoices you generate
Saved invoices
PDF copies of invoices that were sent to your customers won’t update automatically.
Can I create different invoice designs for different customers or types of invoices?
Currently, Helcim Invoicing only supports one default invoice design for all customers and invoice types.
What if I need to add a field to my invoices that's not available in the Invoice Theme Designer?
You can use the Custom Fields feature to add any additional fields that you need to your invoices.
Can I revert back to the original invoice design if I don't like my changes?
Yes, you can revert back to the original invoice design by hitting Reset on the Invoice Theme Designer.