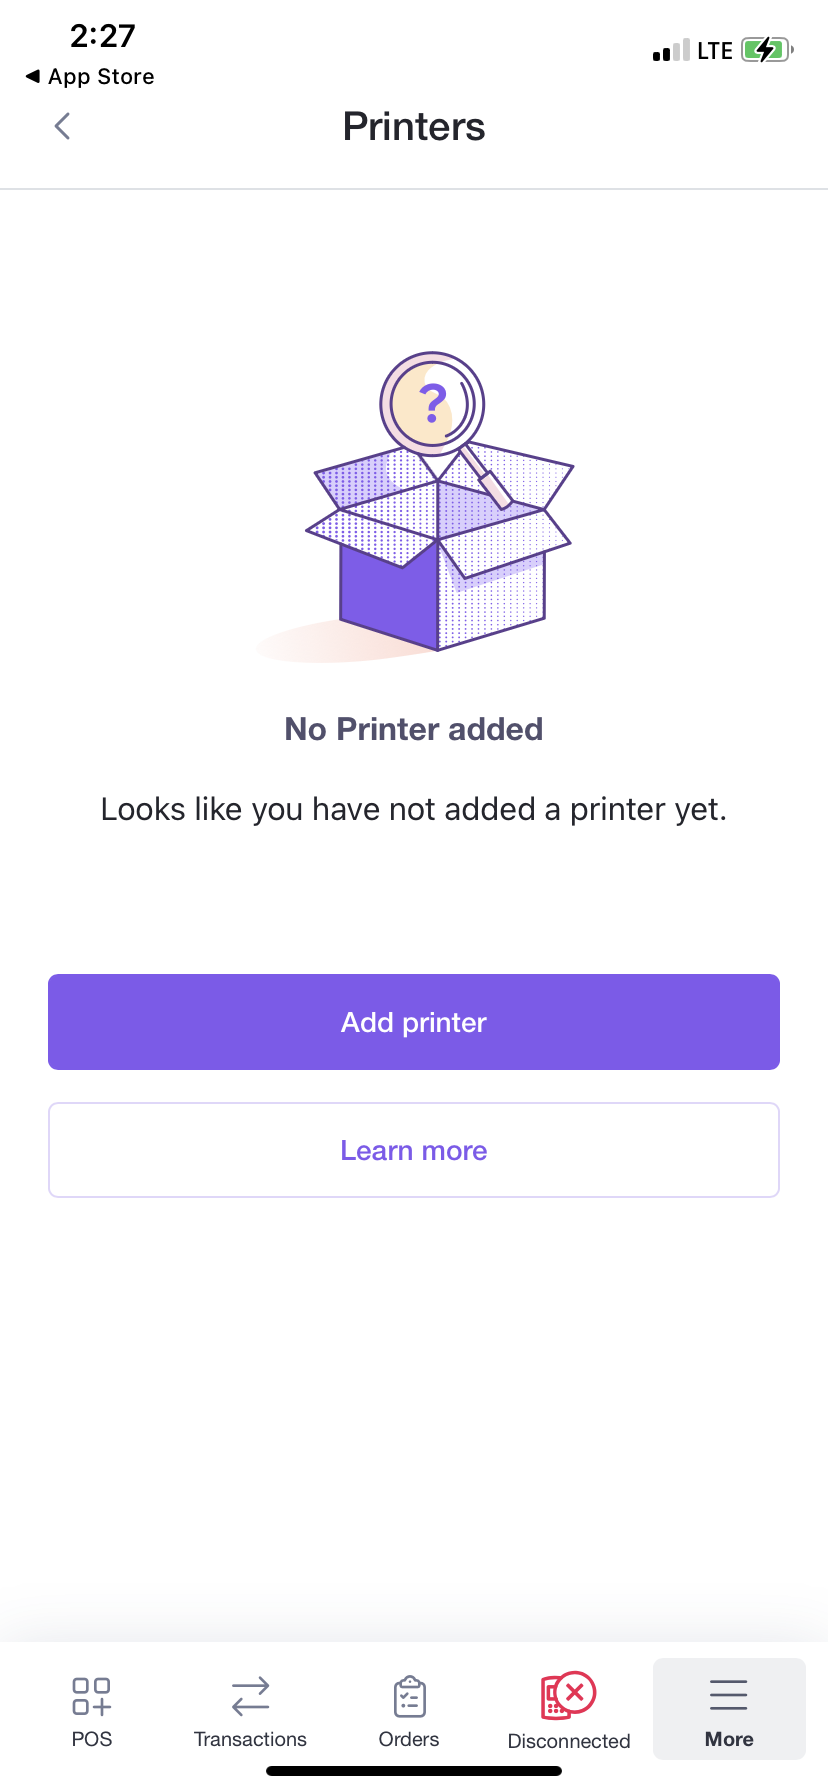
You can add a printer and a cash drawer to the Helcim Payments app to complete your Point-of-Sale setup. In this article you will find instructions for how to add each piece of equipment through the app.
Adding a Printer
Desktop App
Begin by powering your printer on, then on the device you have downloaded the Helcim Payments app on, go to your settings and turn Bluetooth On.
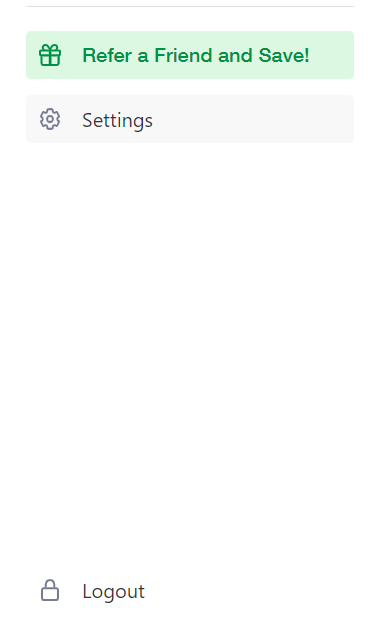
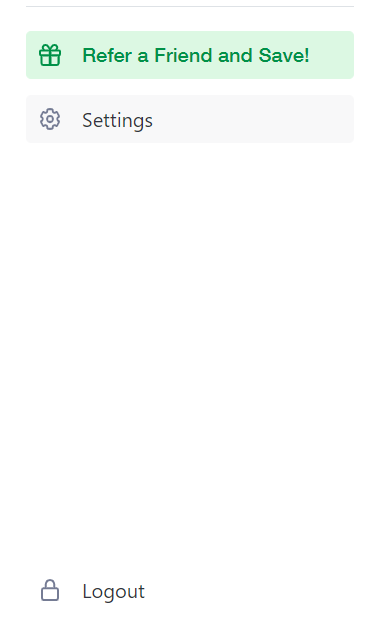
Once the printer is connected to your device, you can login to the Helcim Payments app, then click on the More Icon and Settings to view your app settings.

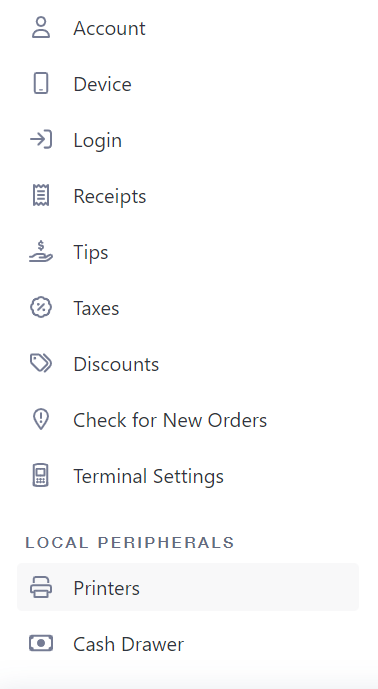
Next, click on Printers under Local Peripherals from the Settings menu.
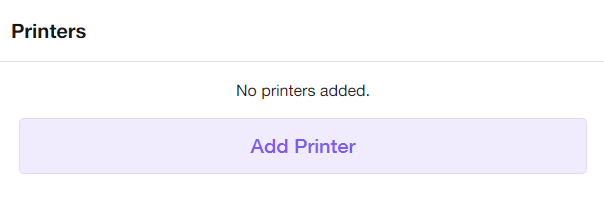
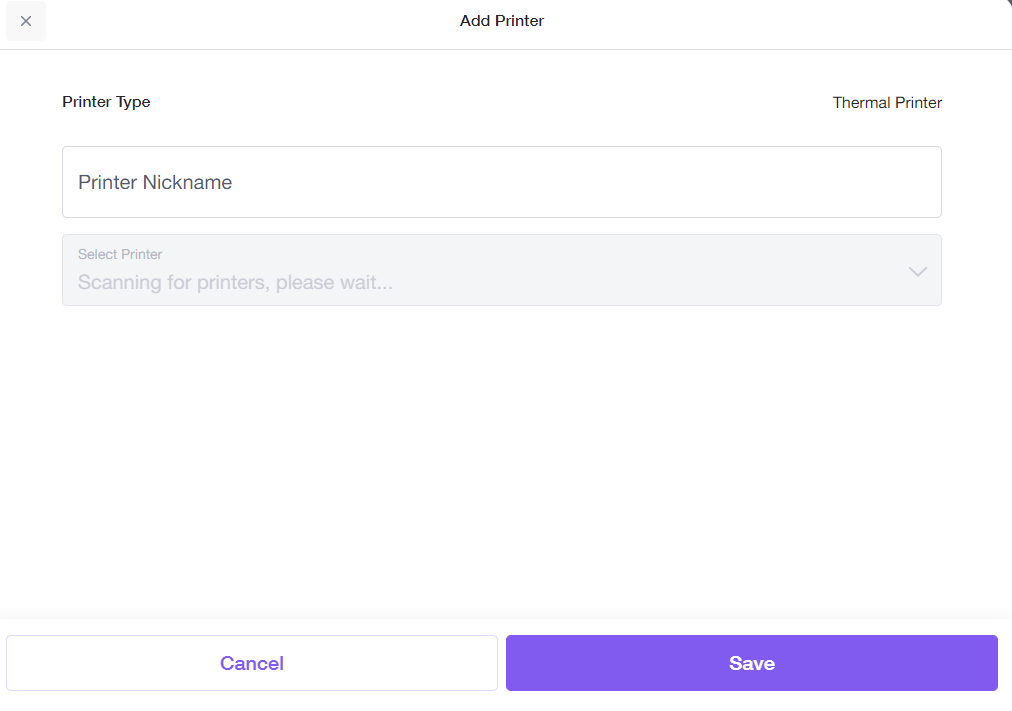
Click on Add Printer and enter a Nickname for your device. Select the desired printer in the available devices under the Select Printer dropdown menu, Ex. TSP100 - J0248. (The last 4 digits will be the last 4 of the serial number).
Mobile App
Begin by powering your printer on, then on the device you have downloaded the Helcim Payments app on, go to your settings and turn Bluetooth On.
Once the printer is connected to your device, you can login to the Helcim Payments app, then click on the More Icon and Settings to view your app settings.
.jpg)
Next, click on Printers under Peripheral Settings from the Settings menu.
.jpg)
.jpg)
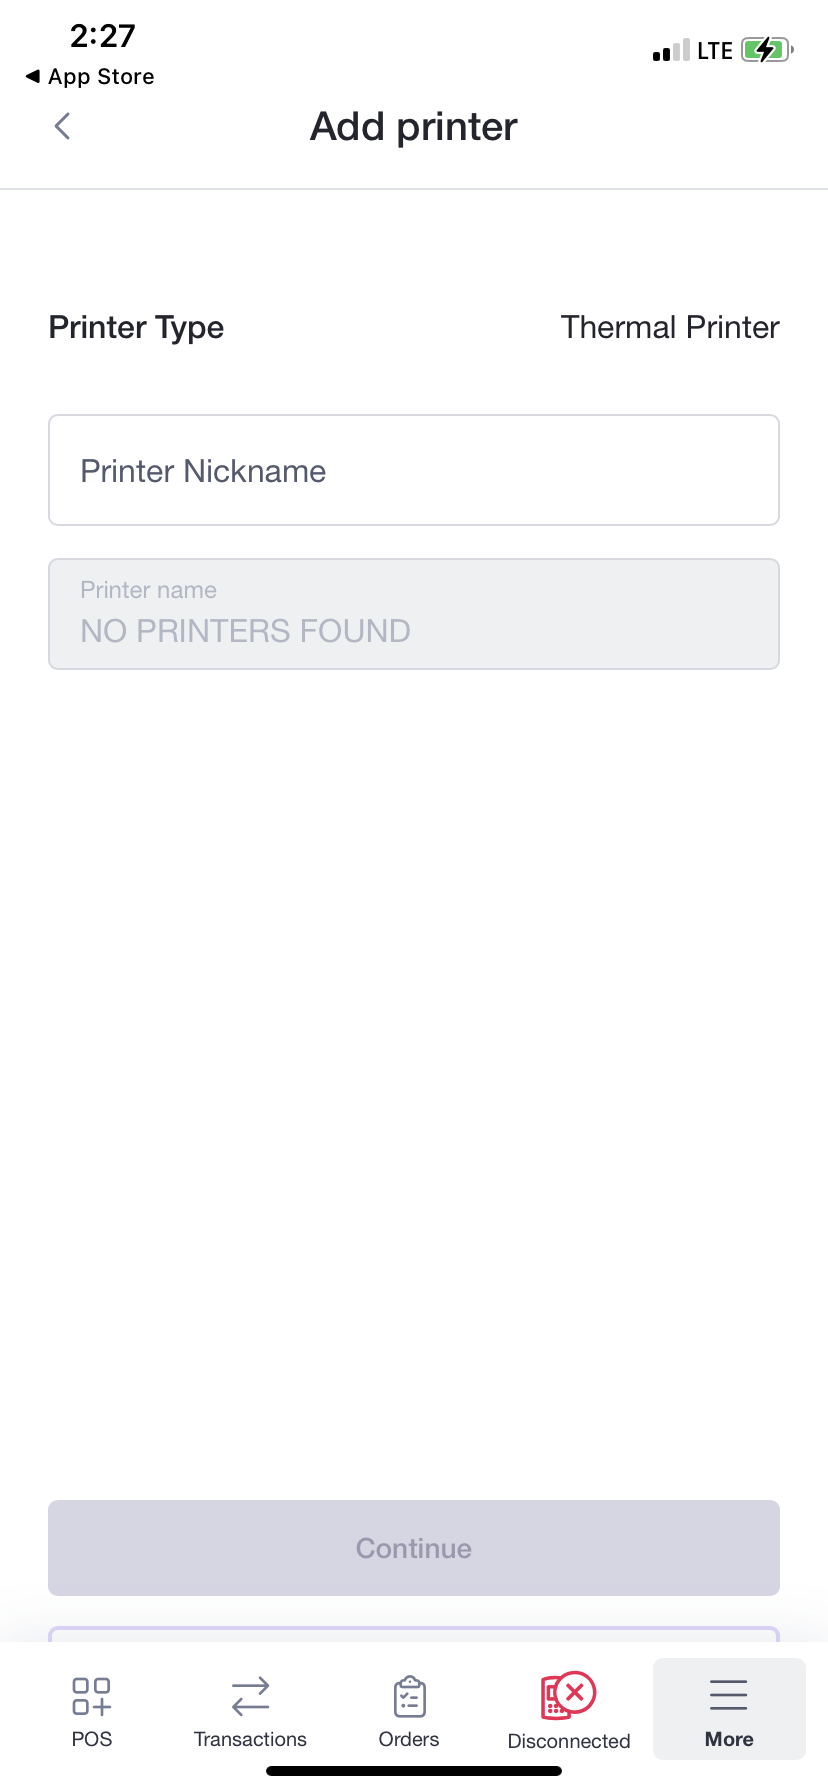
Click on Add Printer and enter a Nickname for your device. Select the desired printer in the available devices under the Select Printer dropdown menu, Ex. TSP100 - J0248. (The last 4 digits will be the last 4 of the serial number).
Adding a Cash Drawer
Desktop App
If you want to use a cash drawer with your printer, begin by attaching the cash drawer to the printer using the connector cord that it came with.
Next, log in to the Helcim Payments app, then click on the More Icon and Settings to view your app settings.

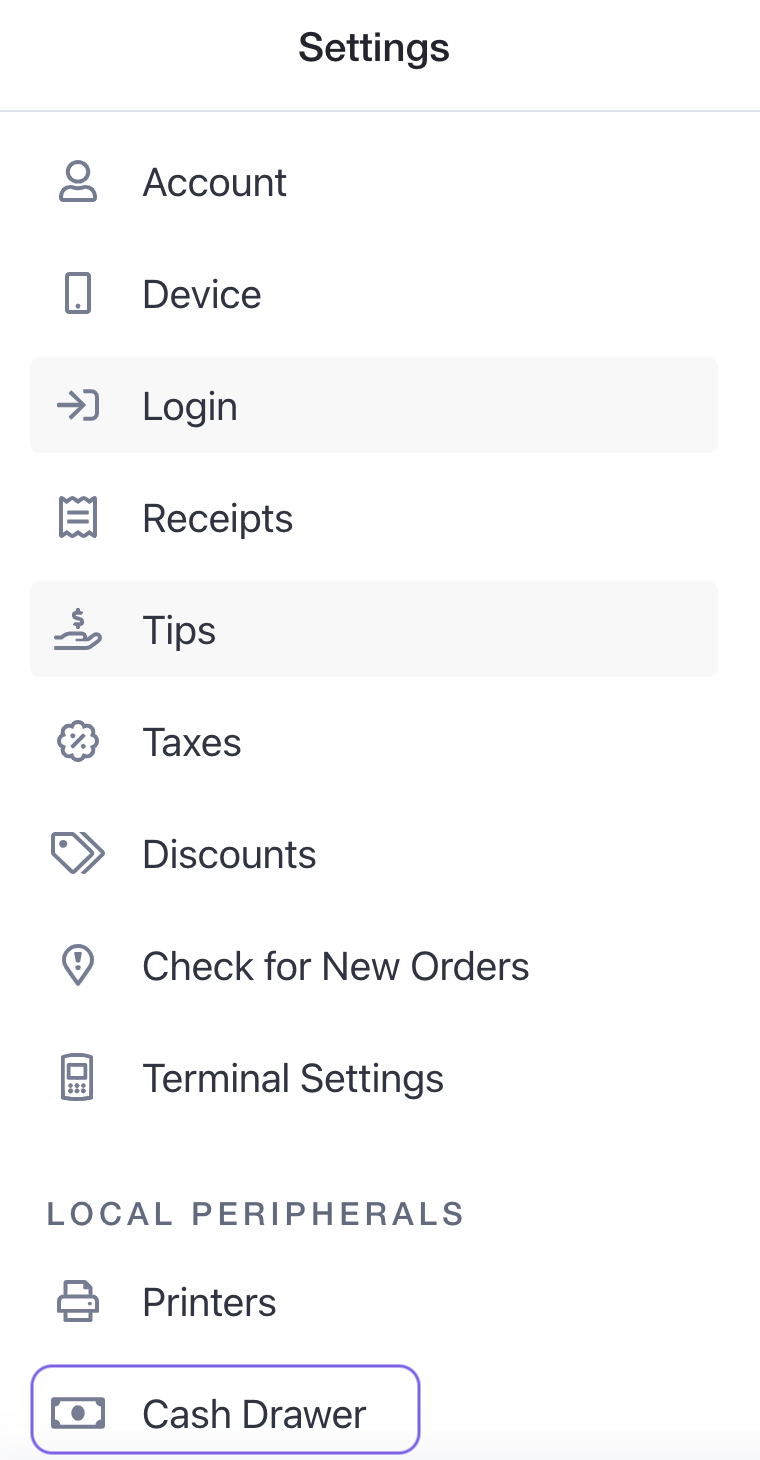
Next, click on Cash Drawer under Local Peripherals from the Settings menu.
Now you can configure your Cash Drawer Settings. Click on the button for Cash Drawer Linked to Printer, then toggle the radio-buttons on or off to specify when you want the cash drawer to automatically open.
You can choose whether you would like to automatically open the cash drawer on cash transactions only or if you want to automatically open the cash drawer after all transactions.
Mobile App
If you want to use a cash drawer with your printer, begin by attaching the cash drawer to the printer using the connector cord that it came with.
Next, log in to the Helcim Payments app, then click on the More Icon and Settings to view your app settings.
.jpg)
Next, click on Cash Drawer under Local Peripherals from the Settings menu.
.jpg)
.jpg)
Now you can configure your Cash Drawer Settings. Click on the button for Cash Drawer Linked to Printer, then toggle the radio-buttons on or off to specify when you want the cash drawer to automatically open.
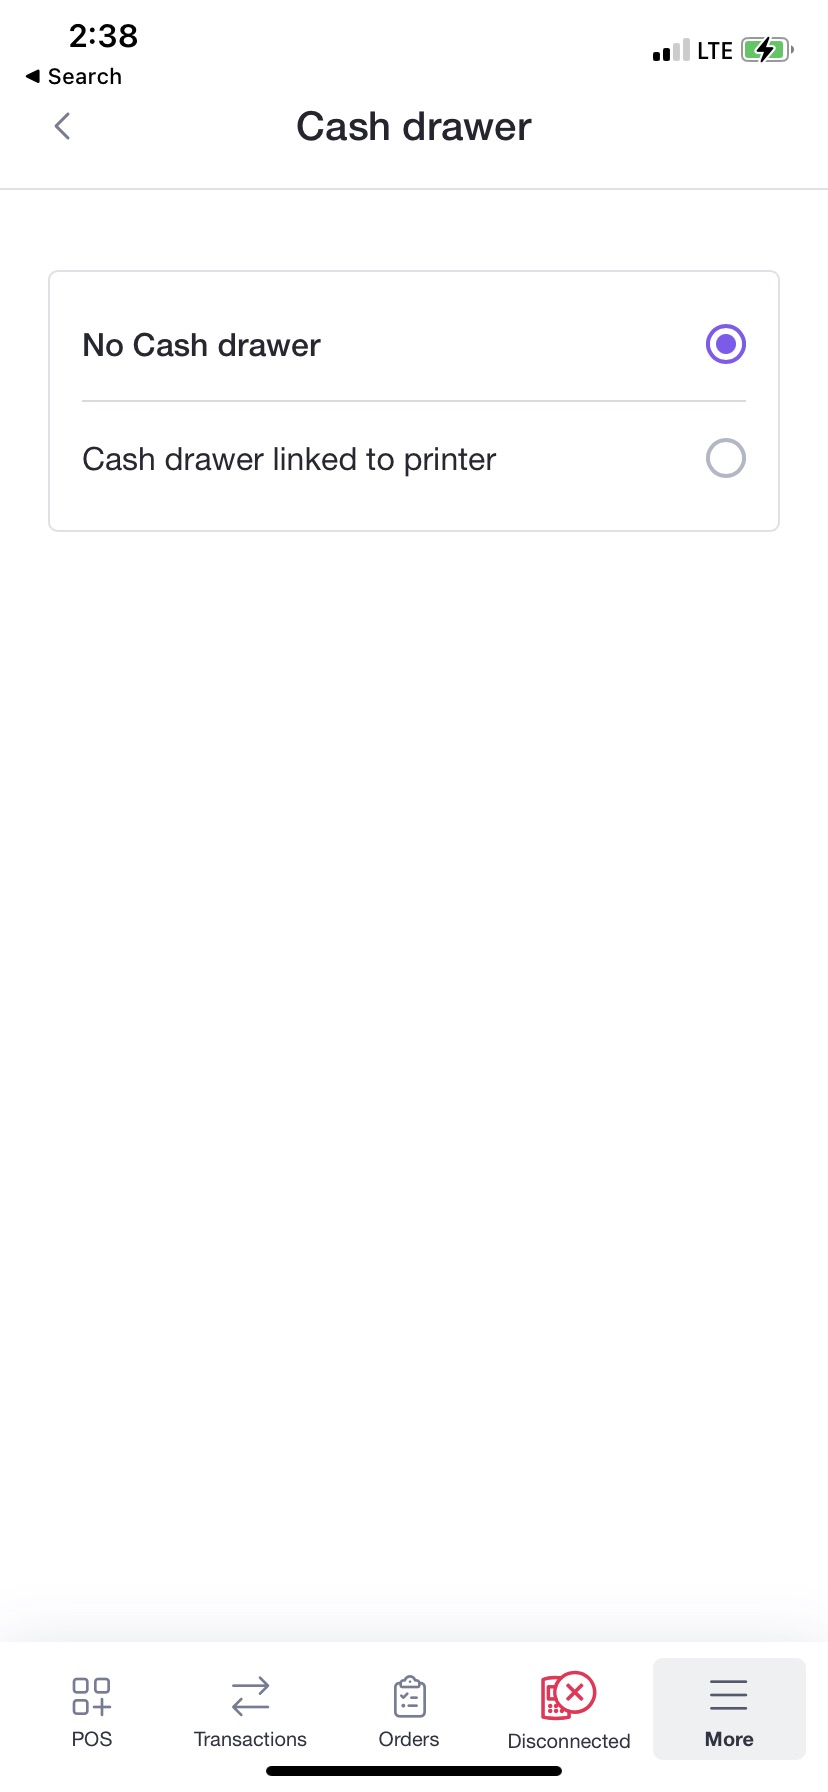
You can choose whether you would like to automatically open the cash drawer on cash transactions only or if you want to automatically open the cash drawer after all transactions.
Devices
You can purchase a printer and cash drawer that are compatible with the Helcim Payments app on Amazon or Syson, by clicking here for the Star Micronics printer, and here for the cash drawer or here for the cash drawer.
