When you first log in to your Helcim account, you'll land on the Merchant Dashboard. This is your home base for accessing all of Helcim's payment and business management tools.
Let's take a tour!
In this article
The Home tab
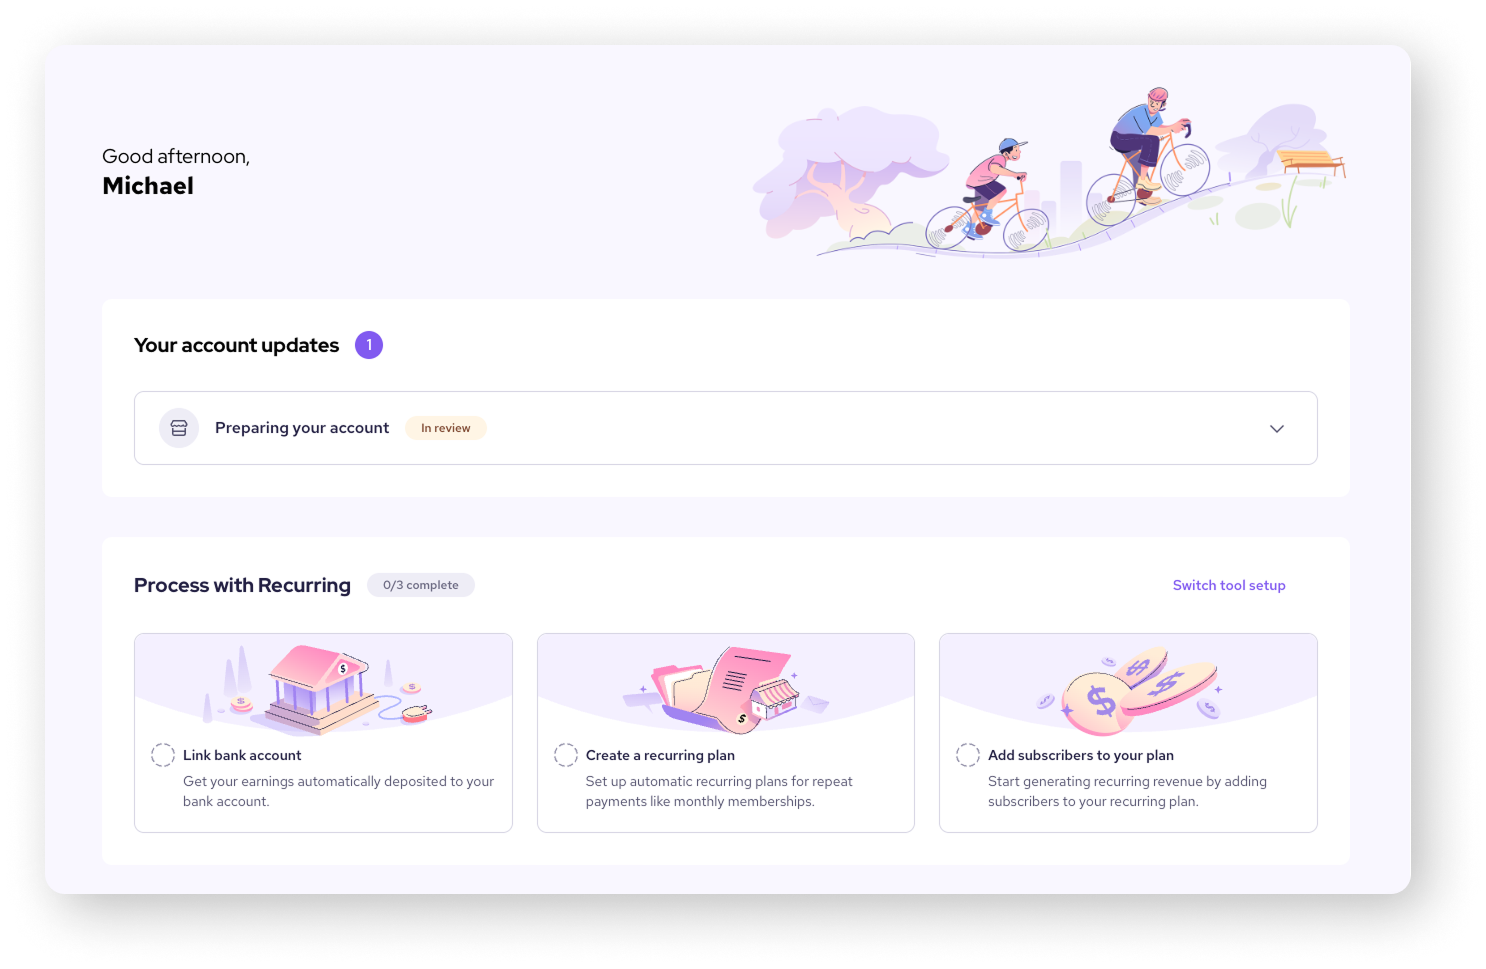
The Home tab is designed to give you a quick snapshot of your business and guide you to important actions.
The layout of the home tab includes the following sections.
Your account updates
At the top of the home tab, you’ll see updates about important events that need your attention.
| For example, updates will appear when your account is being reviewed, your bank account has been successfully linked, or when you’ve taken your first payment! |
Setup guide
When you first sign up, you'll see a personalized setup guide. This guide is tailored to your business needs based on your answers to our onboarding questions.
For example, if you indicated that you'll be primarily using invoicing, the setup guide will prompt you to:
Link a bank account
Customize your invoices
Create your first invoice
Get your invoice paid
Each step in the guide will take you directly to the relevant section of your Helcim account.
| You can also change the setup guide to focus on a different set of tools whenever you want. Click Switch tool setup and choose a new guide to follow! |
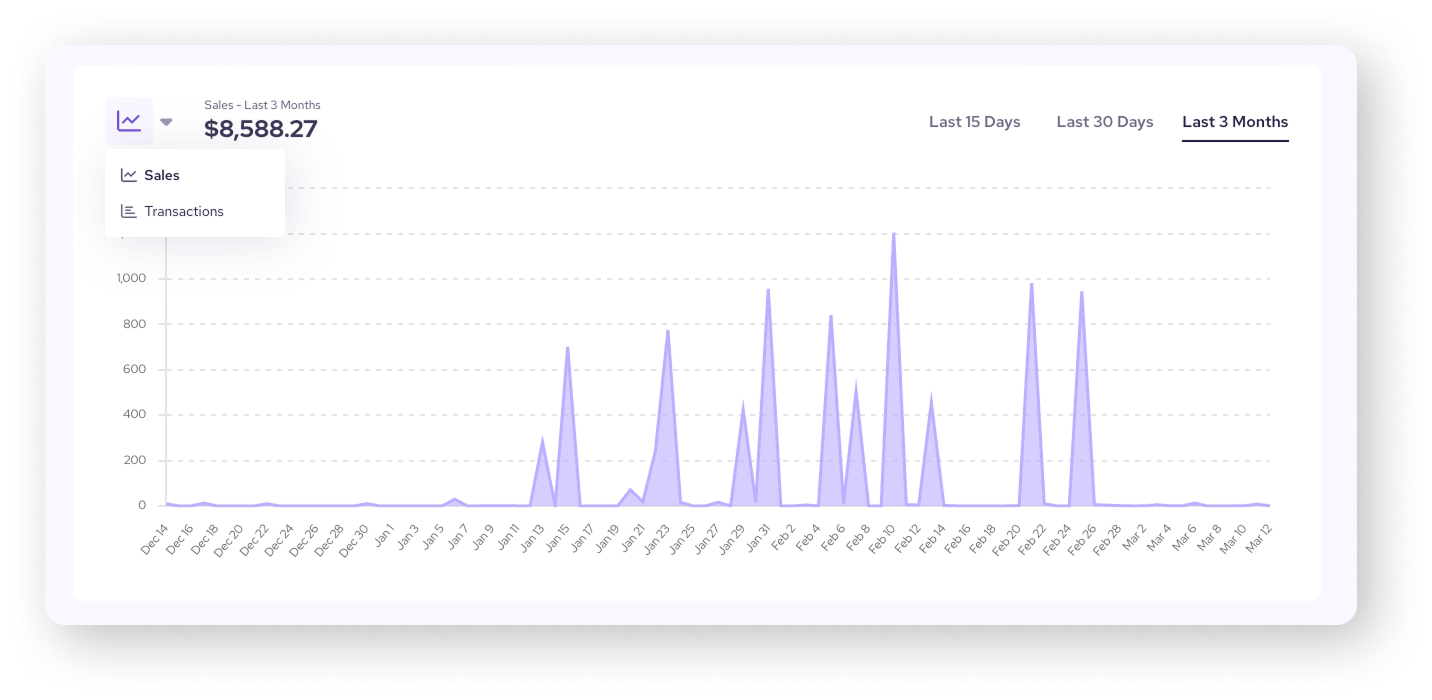
Sales & Transactions chart
Once you start processing payments, you can customize this chart to display total sales or transactions processed within a specific timeframe (15 days, 30 days, or 3 months).
This is useful for tracking revenue trends for your business, and for understanding the breakdown of payment methods used by your customers.
| To switch between sales and transactions, click the icon in the top-left corner of the chart and select an option from the dropdown. |
The “All Tools” menu
The All Tools menu is your gateway to all the features within your Helcim account.
On your desktop or laptop computer: Click on the
 All Tools icon in the top-left corner to open it.
On your mobile web browser: Tap on the
icon from the bottom navigation bar, and then select the All Tools tab.
List of tools
Tools are organized into three categories.
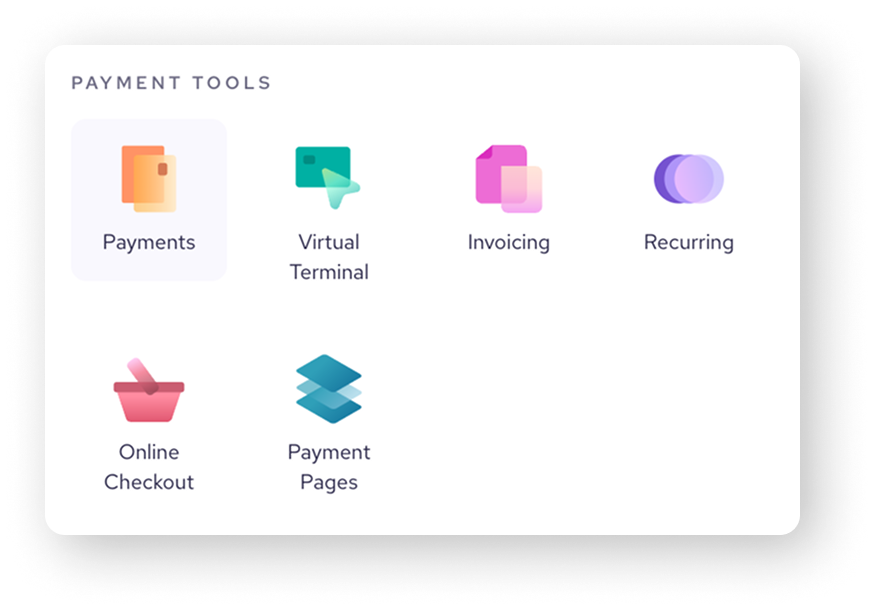
Payment tools
These tools help you take and manage your payments. Examples include:
Payments: View transactions, batches, payment requests, and more.
Virtual Terminal: Process payments online or over the phone.
Invoicing: Create and send professional invoices to your customers.
Recurring Payments: Set up automated recurring payments for subscriptions or memberships.
| For a deeper look at the payment tools category, check out this article. |
Merchant tools
These tools help you manage your day-to-day business operations. Examples include:
Customers: Store and manage customer information.
Products & Services: Create a catalog of your offerings.
Settings: Customize your Helcim account settings.
Reporting: Generate reports to gain insights into your business.
| For a deeper look at the merchant tools category, check out this article. |

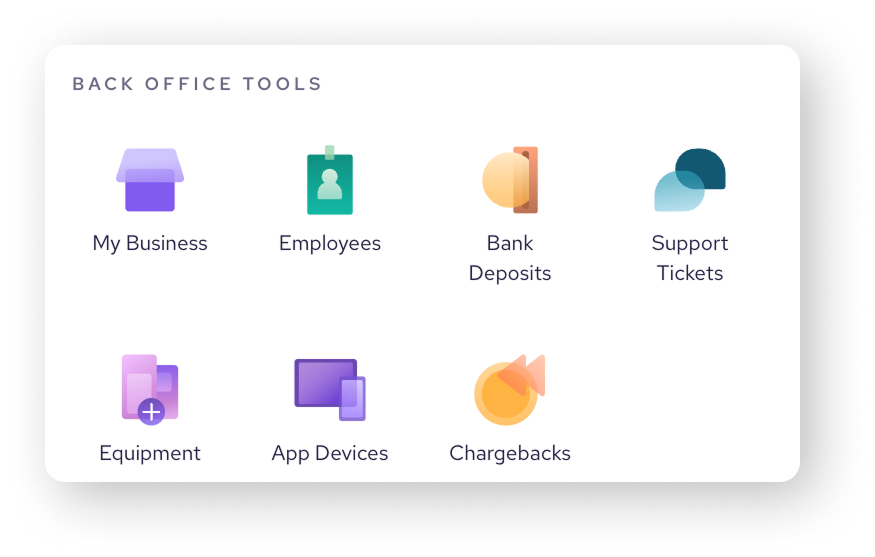
Back office tools
These tools help you manage the behind-the-scenes aspects of your Helcim account. Examples include:
My Business: Manage your merchant accounts, addresses, banking, and more.
Employees: Add and manage employee user accounts.
Support tickets: Contact Helcim support for assistance.
Chargebacks: Manage chargeback disputes.
| For a deeper look at the back office tools category, check out this article. |
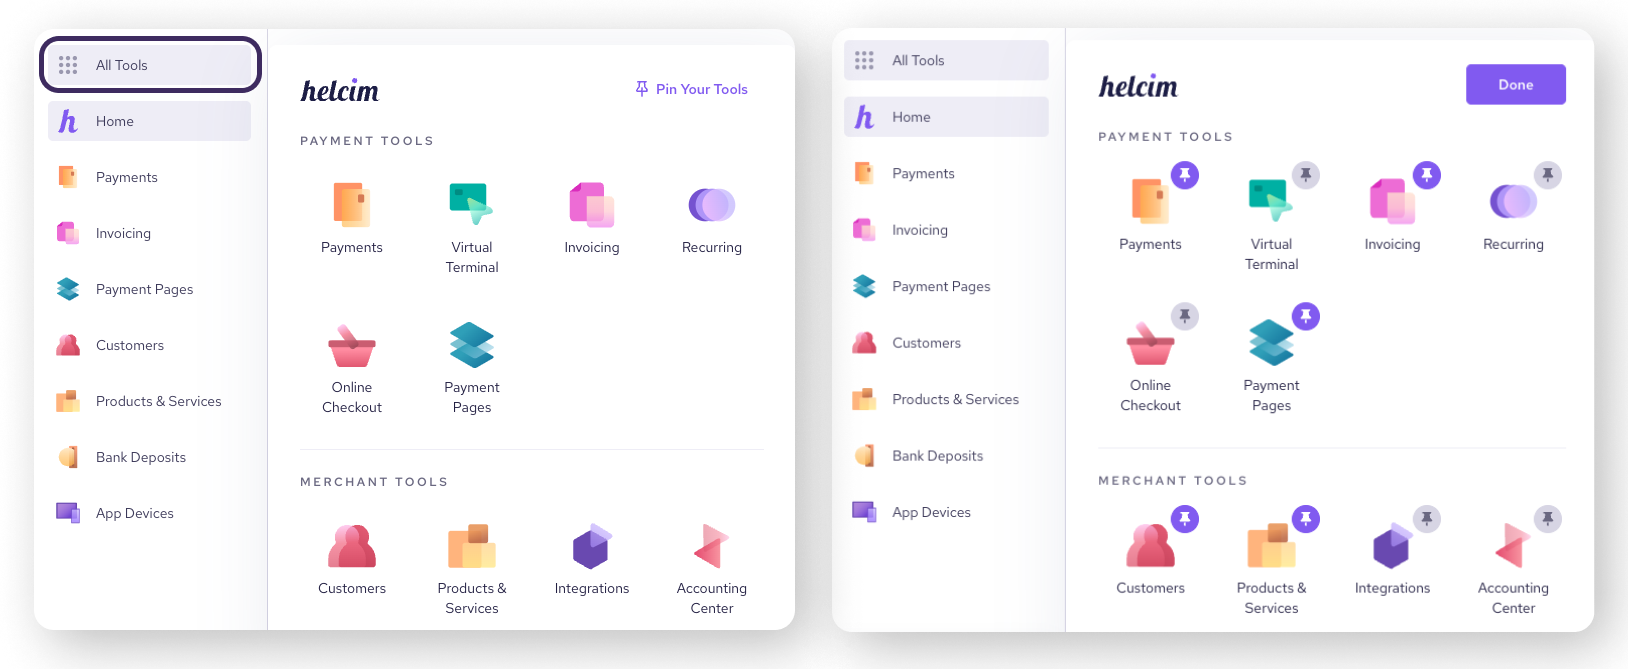
Pinning your favorite tools
To make it even easier to access your most frequently used tools, you can pin them to the side menu.
Open the All Tools menu
Click on the Pin Your Tools option.
Click on the greyed-out pins to select the tools you want to pin.
Click Done.
Your pinned tools will now appear at the top of the side menu.
You can remove pinned tools by clicking "Pin Your Tools" and then clicking the colored pin icon again.
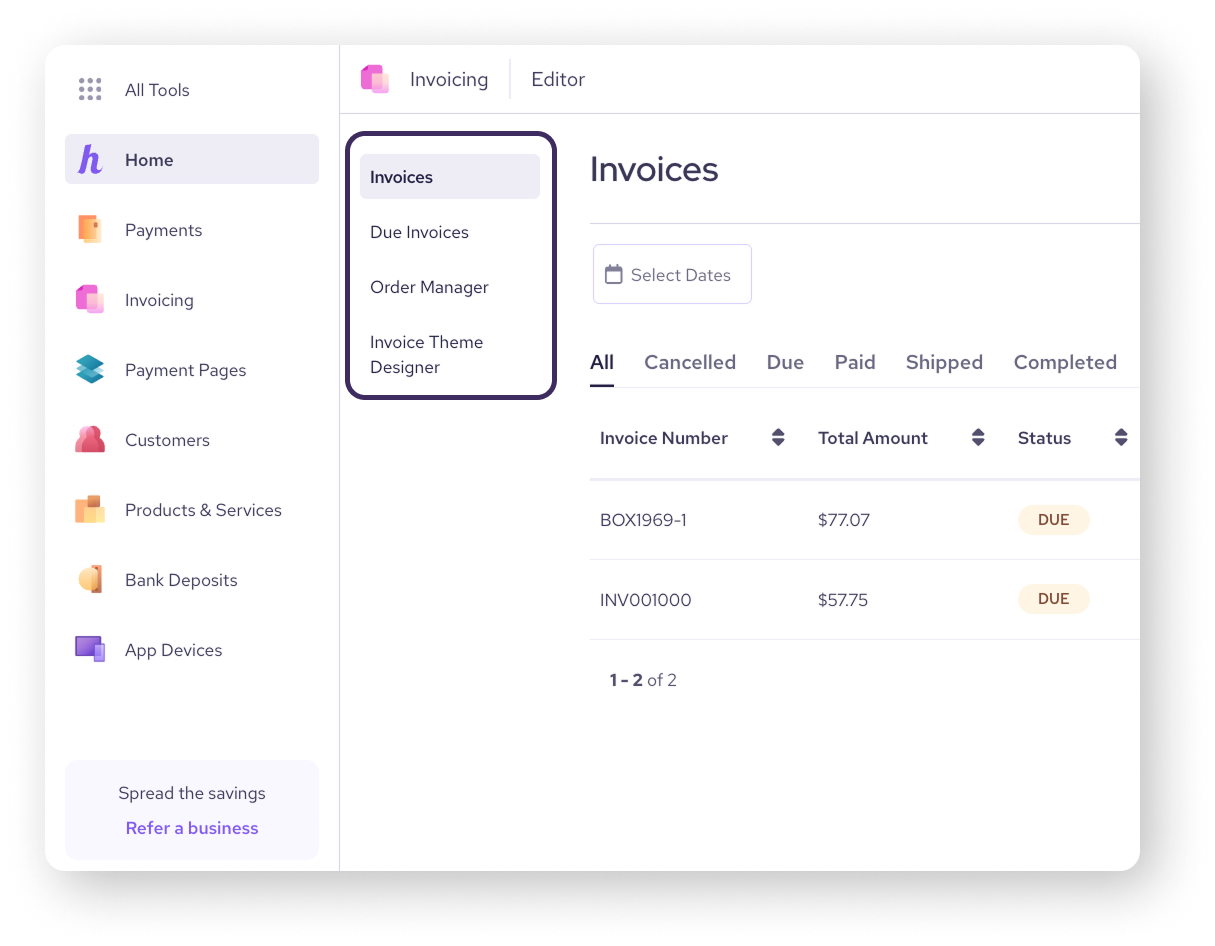
Navigating within tools
Once you've selected a tool from the "All Tools" menu, you’ll see the unique icon for the tool at the top of the page. Under that, you may see a new menu on the left-hand side of the screen, providing options and sub-tools related to that specific tool.
Use the back button to return to the main navigation page for that tool.
Refer a business
To refer another business and earn free processing, you can click on the Refer a business tile, above the My Account icon in the bottom-right corner.
| To learn more about our referral program, visit this article. |

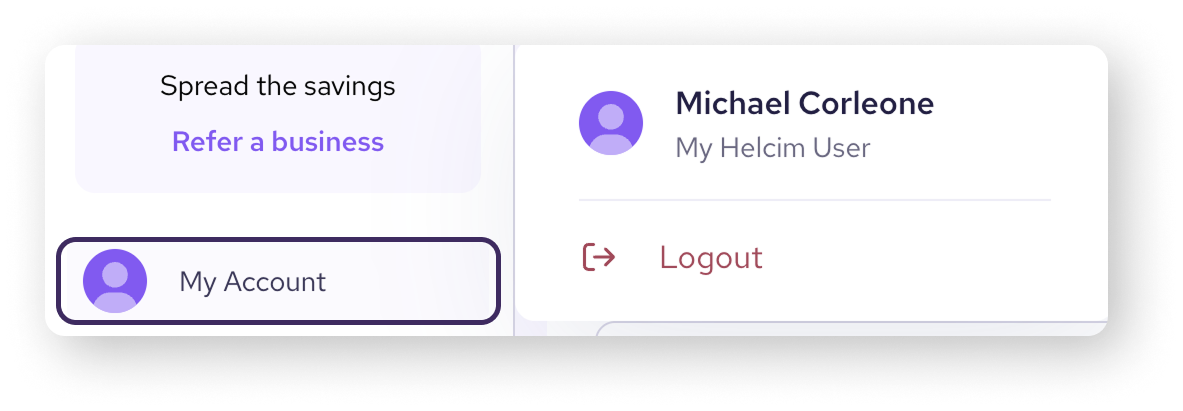
My Helcim User settings
To view or change your personal Helcim account settings, click on your profile icon in the bottom left-hand corner of the screen, and then click on My Helcim User.
Next steps
Now that you have a good grasp of the Helcim Dashboard layout, here are some next steps to continue learning how to use the platform:
FAQ & Troubleshooting
How do I find a specific tool in my Helcim account?
You can find any tool in your Helcim account by clicking on the All Tools menu in the top left-hand corner of your screen. Tools are organized into categories, such as Payment Tools, Merchant Tools, and Back Office Tools.
Can I customize my Helcim dashboard?
Yes, you can customize your dashboard in a few ways:
When you first sign up, you'll see a personalized setup guide that is tailored to your business needs. You can also change the setup guide to focus on a different set of tools whenever you want.
Once you start processing payments, you can customize the dashboard to display either total sales or transactions processed within the last 15 days, 30 days or 3 months.
You can also pin your most frequently used tools to the side menu for quick access.