Ready to get your physical items listed in your Helcim account? Adding your goods here is the first step towards smoother checkouts, smarter inventory tracking, and clearer reporting. This guide will show you exactly how to add your tangible products (what we call "goods") quickly and easily.
Let's get your items organized!
Before we start: a note on products, goods, and services
Before we dive in, let's quickly clarify some terms you'll see in Helcim:
Products: This is the main umbrella term for anything you sell.
Goods: These are items that you can track inventory for (like dog treats or skateboards).
Services: These are actions you can perform for a customer (like design work, consulting, or repair labor). They have their own article, which you can find here.
Adding a ‘good’
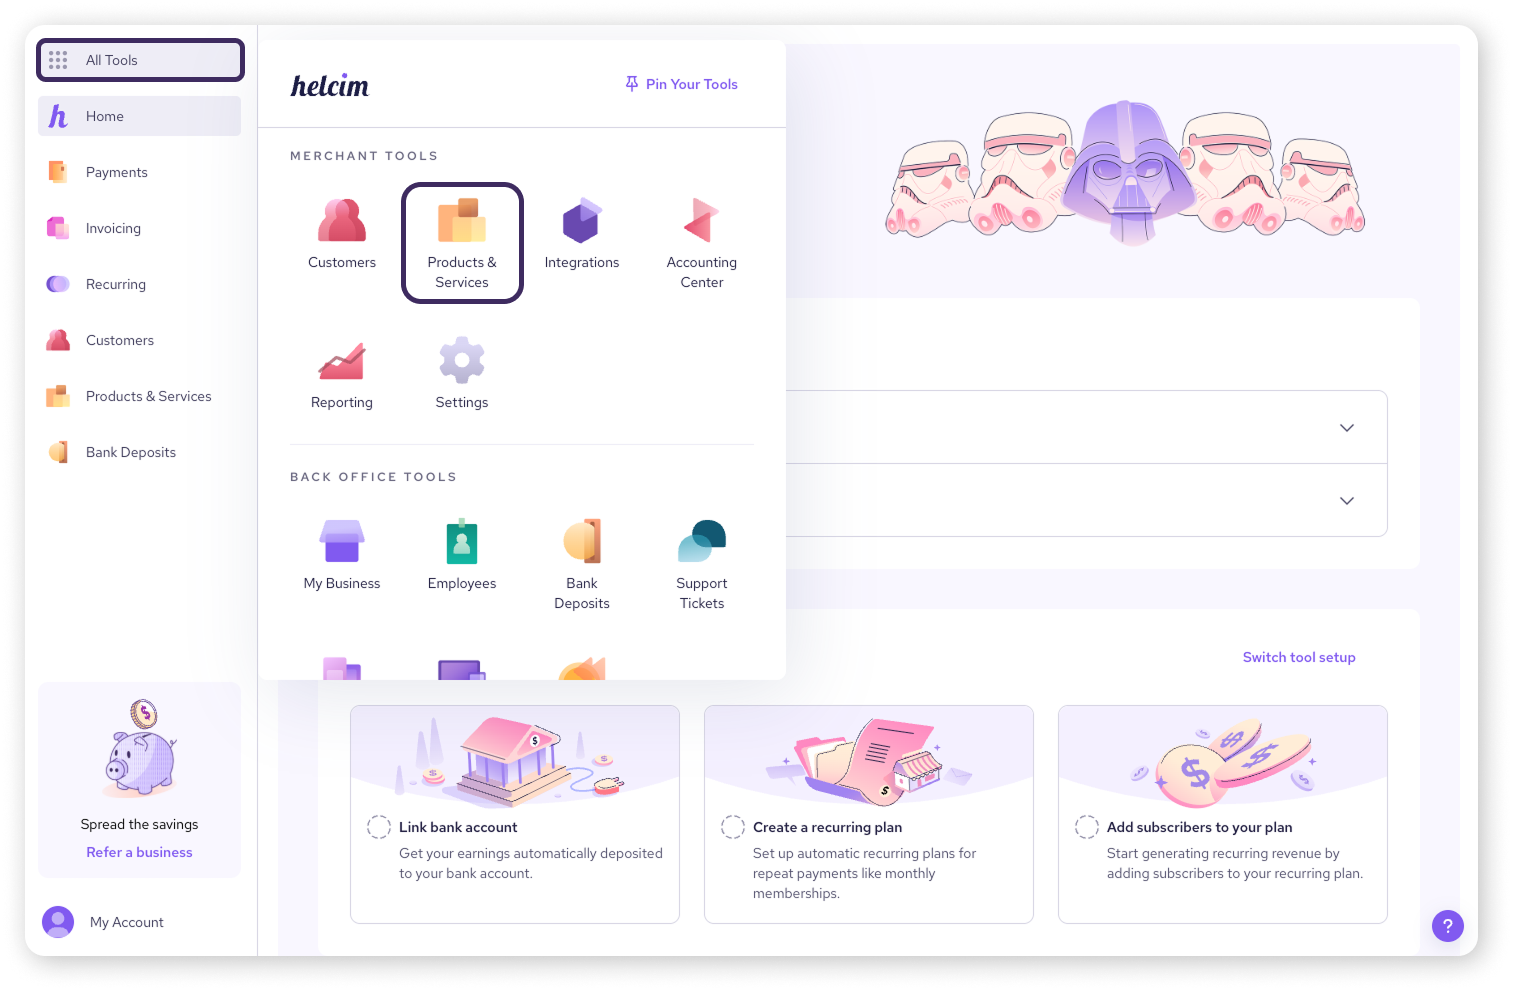
Step 2: Add a new product
In the top right-hand corner of your Products library, click the Create Product button.
Under Product type, Goods will be selected by default.
This opens the screen where you'll build your product listing. You'll enter information on the left and see it reflected in the Product Summary panel on the right.
.png)
Step 3: Enter core details
These are the basics needed to describe your good:
Name: Enter a clear, descriptive name your customers will see. (This is required!)
Description: Add more detail about the product. This will appear on your product listings within the Helcim POS and Helcim Online Checkout.
Category: Select an existing category or type a new one and click ‘Create new category’. Categories help organize your items. (See our Organize products article for more details).
Brand: Select an existing brand or add a new one, similar to categories. Helpful for organizing, especially within the Helcim POS.
Step 4: Set availability
Use the Availability toggle to determine whether your good is ready for sale.
You can also choose where the good is sold under Manage sales channel. Select from the following:
Point-of-sale App: makes the good available when selling from the Helcim POS app on your computer, tablet, phone, or your Helcim Smart Terminal.
Online checkout: makes the good available when selling from an online store, built with our Online Checkout tool.

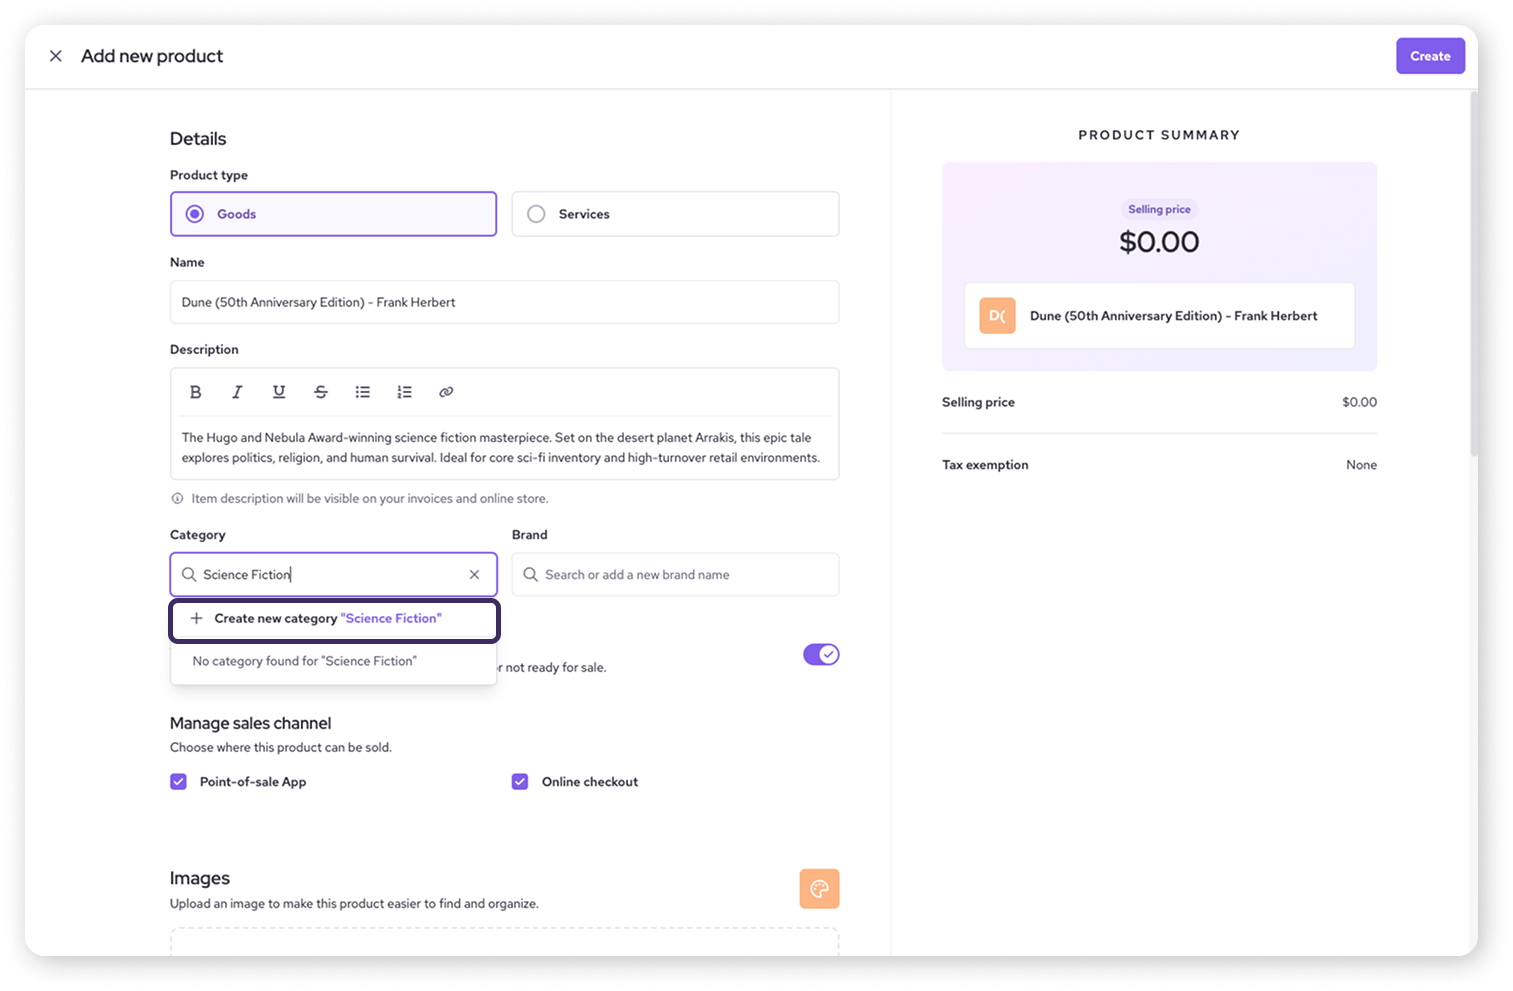
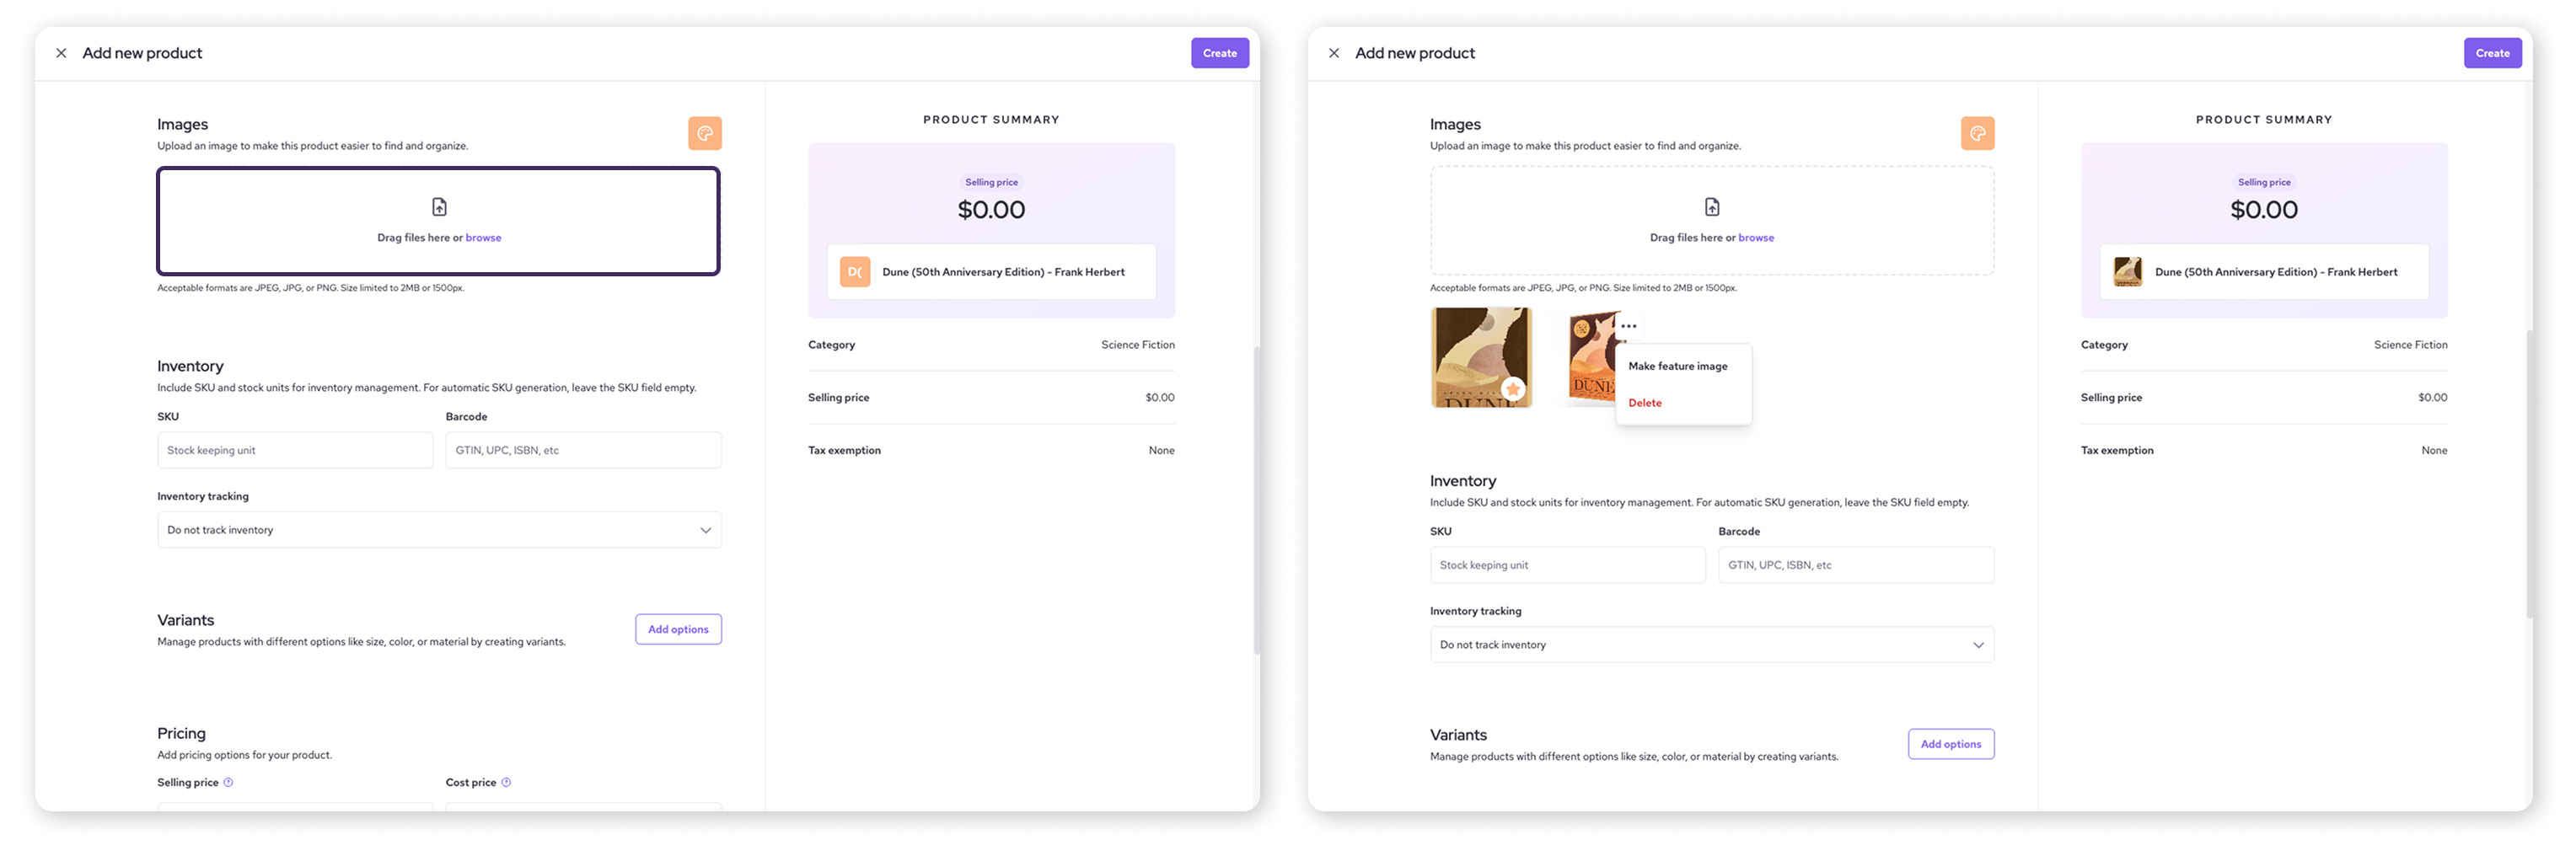
Step 5: Add images
A picture's worth a thousand words, right? Add an image that makes your product easy to spot.
Scroll down to the Images section.
Drag and drop image files onto the upload area, or click browse to select files from your device.
Tip: Acceptable formats are JPEG, JPG, or PNG, with a size limit of 2MB or 1500px wide.
If you upload multiple images, hover over the one you want as the primary image, click the corner options, and select ‘Make Feature Image’.
| Don’t have an image available? You can click the palette icon above the image upload area to choose a color placeholder for the product icon. |
Step 6: Add inventory information
This section is crucial if you need to track stock levels:
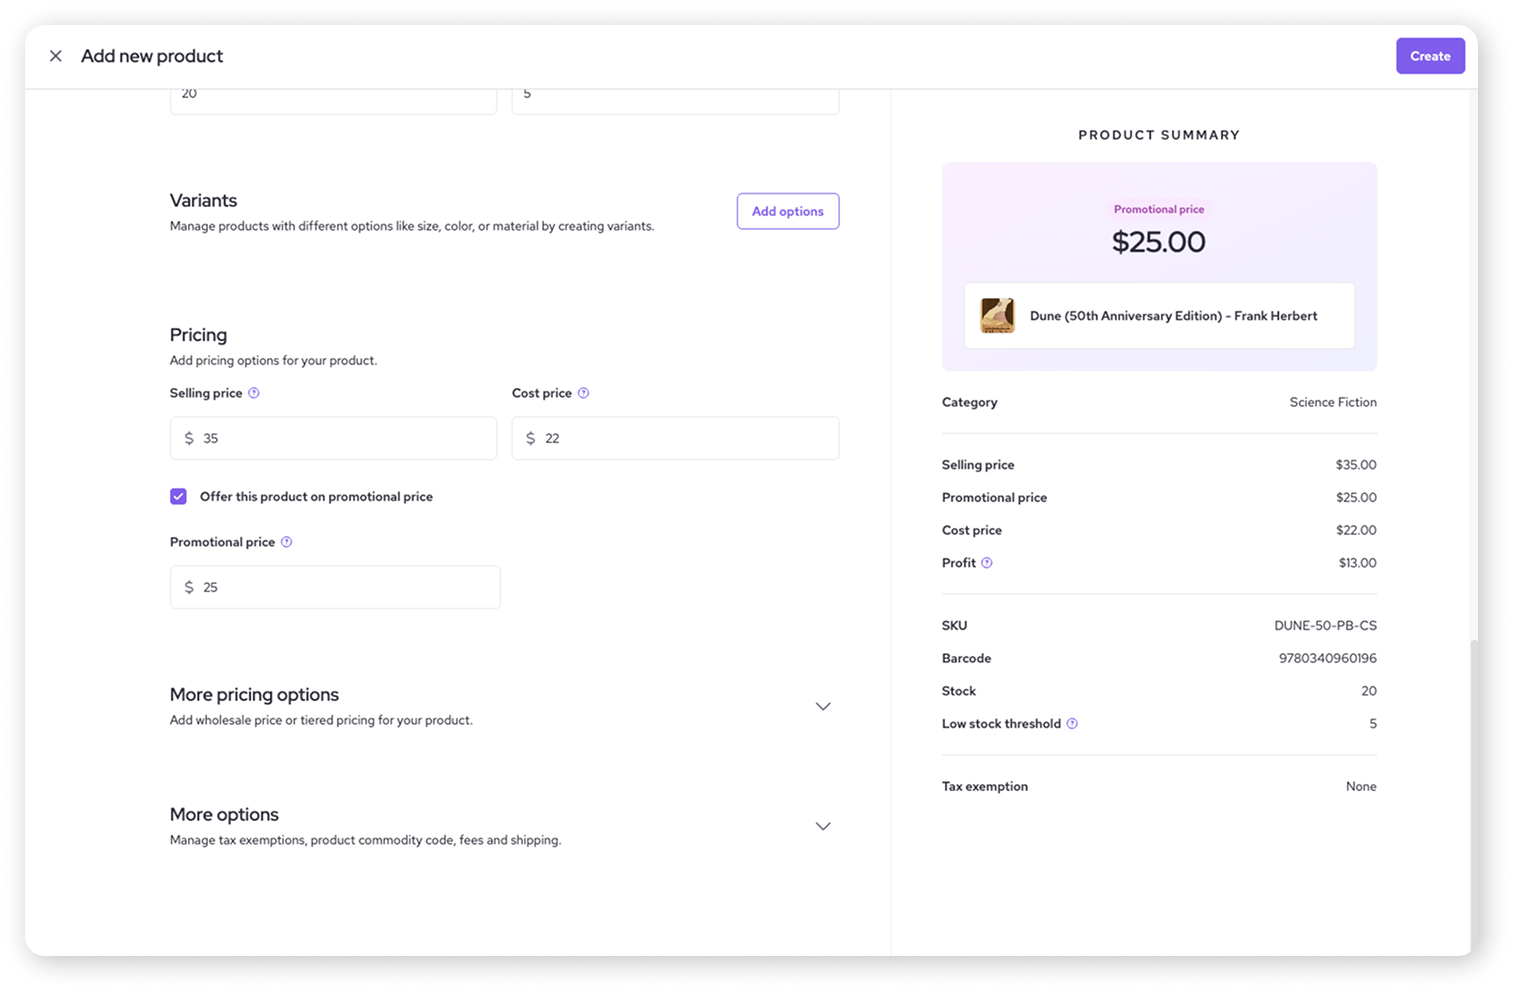
SKU (Stock Keeping Unit): Enter your unique identifier for this item. If you leave this blank, Helcim will automatically generate one for you. SKUs are used to track items through sales and reporting.
Barcode: Enter the product's barcode number (e.g., UPC) if applicable.
Inventory tracking: Select whether you want to track inventory at the product level, the variant level, or not at all.
If tracking at the product level, enter the starting stock amount under Stock units.
You can also set a Low stock threshold here to customize alerts (learn more in the Configure and manage inventory article).
If tracking at the variant level, see this article for more information on adding starting stock.
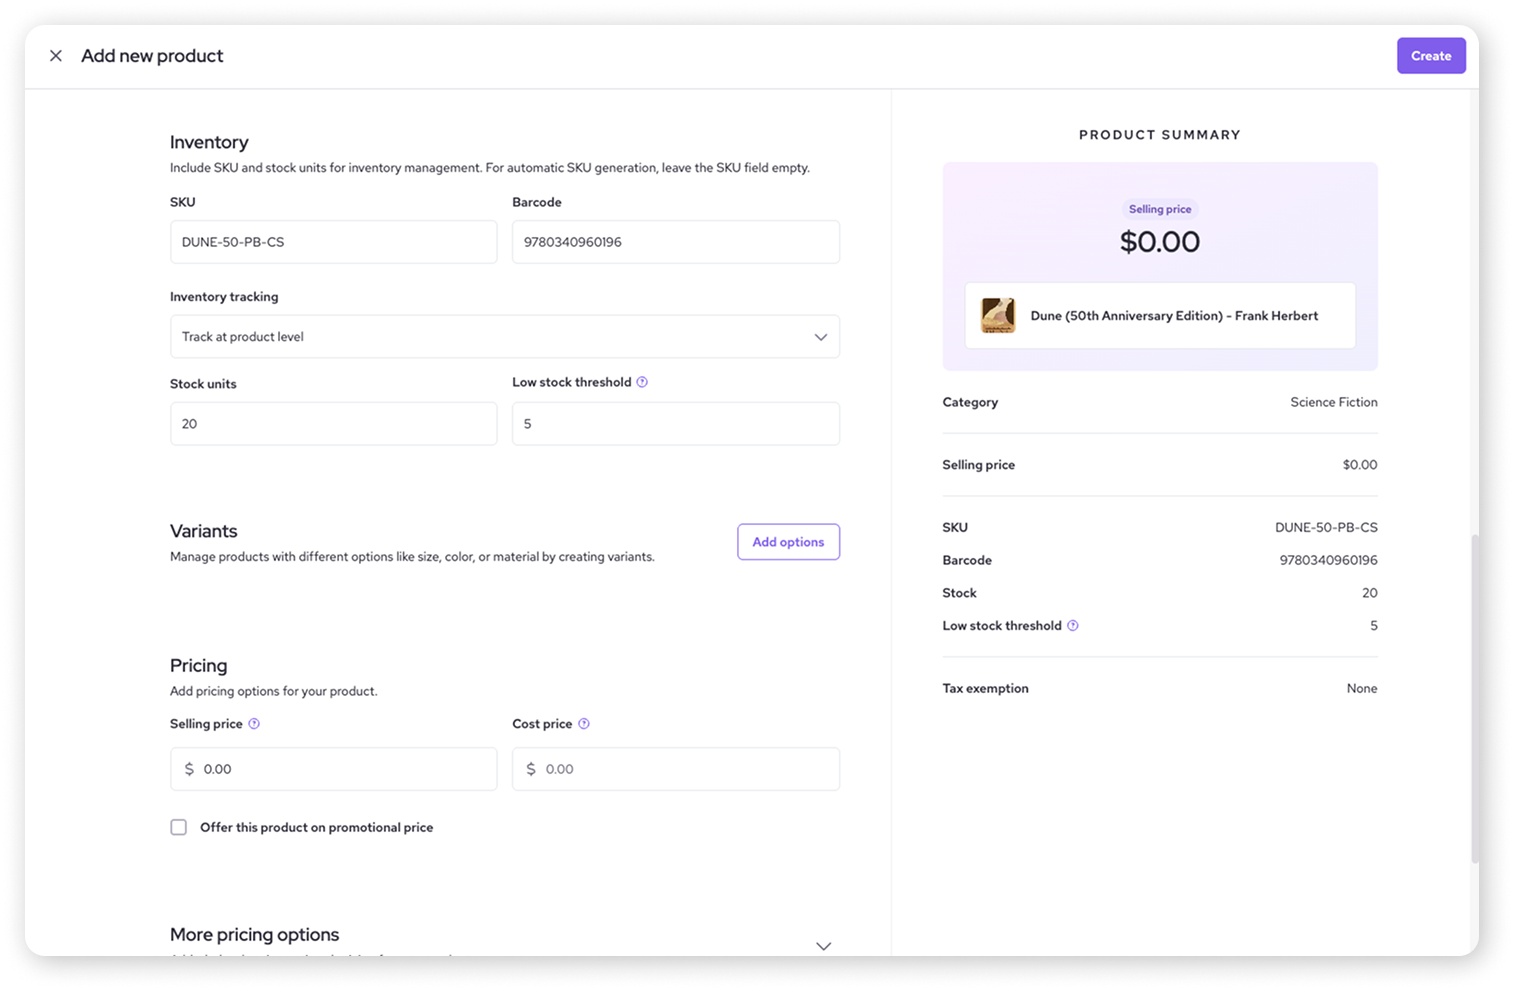
Step 7: Set pricing
Determine how much the item costs:
Selling price: Enter the regular price you charge customers.
Cost price: Enter what the item costs your business (this is optional, and is never shown to customers).
Offer this product on promotional price: Check this box if the item is on sale. A field will appear below for the Promotional price. This price overrides the regular selling price when active.
| Want to explore more pricing options, like wholesale or tiered pricing? We cover this in our advanced pricing options article. |
Step 8: Configure more options (taxes, fees, shipping)
Need to tweak a few more things? Expand the More options section at the bottom:
Tax exemption: Choose if this product has specific tax exemptions. Configure your main tax settings separately.
Product commodity code: If you run a B2B business that qualifies for Level 2 or 3 processing rates, you can enter your product’s unique commodity code here.
Fees: Check Add fees to this product to add an optional Deposit fee. These fees are typically tax-exempt.
Shipping: If the item needs shipping:
Enter the Weight (in the default units set for your account) to enable weight-based shipping calculations.
Check Exempt shipping fee on this item if this specific good should bypass calculated shipping fees.
Step 9: Save your work
Once you've entered all the details of your product, click the Create button in the top right-hand corner. Your new product is now added to your Products library!
.png)
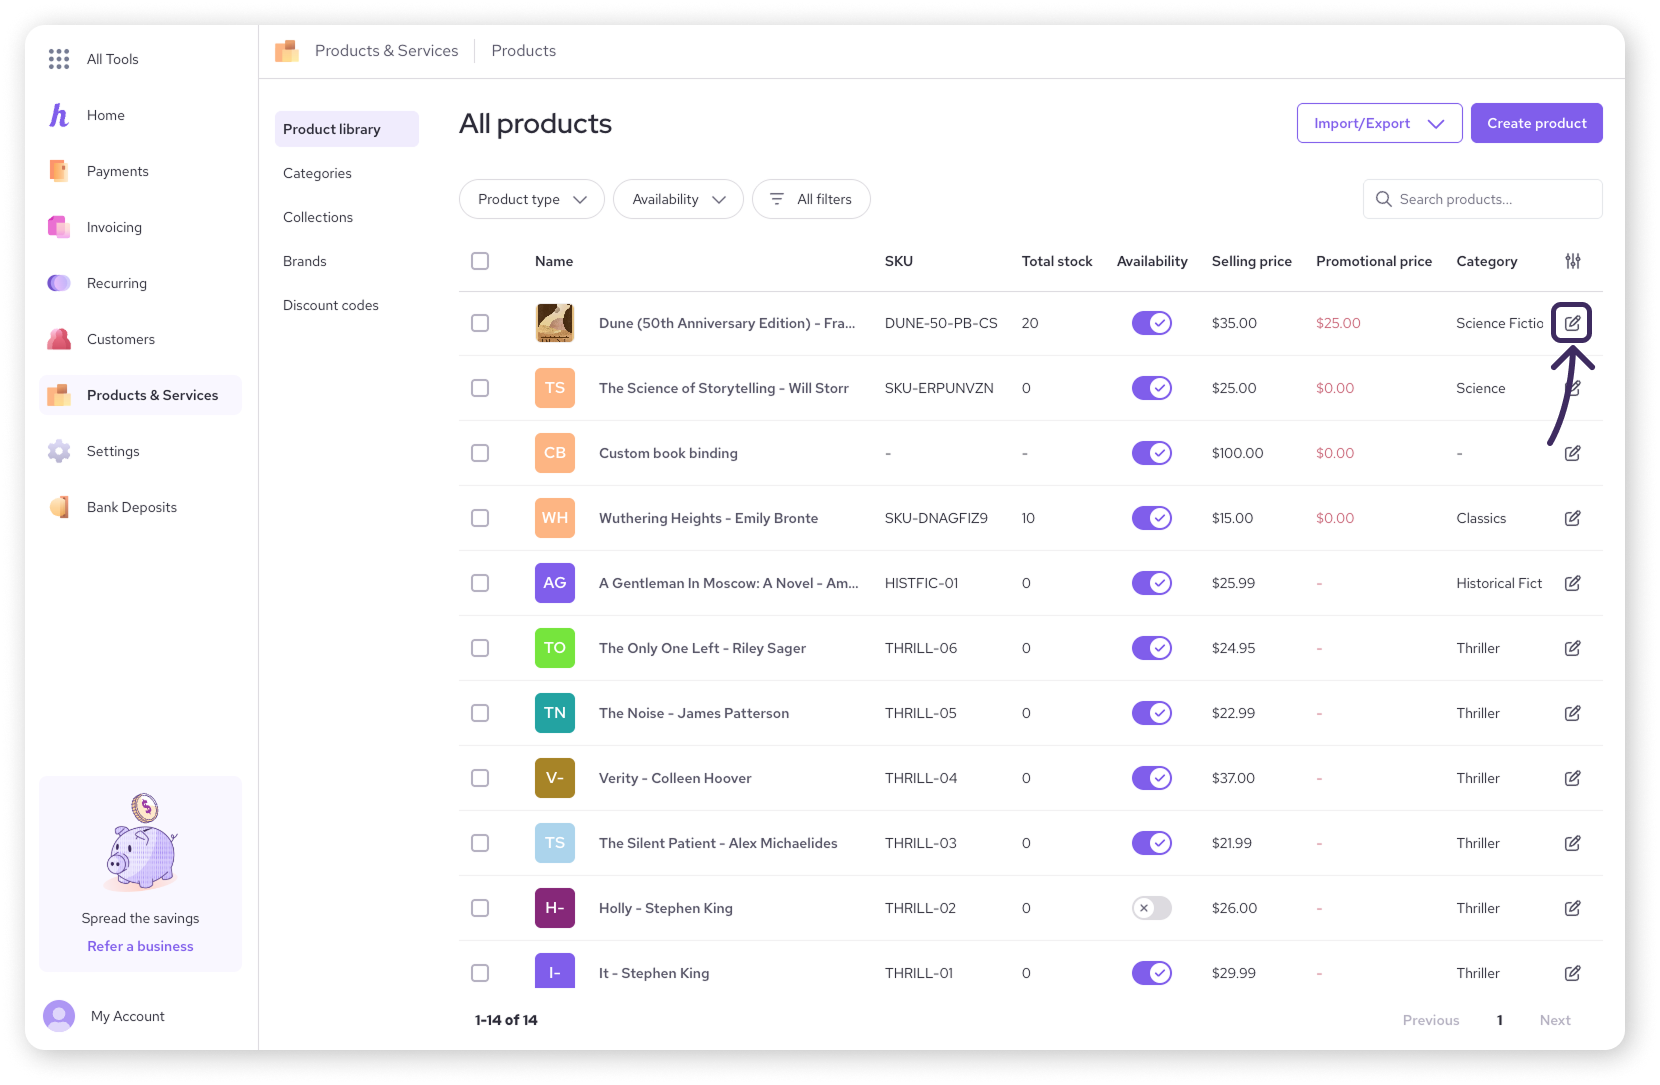
Edit or delete an existing good
Need to make changes to a product later?
Navigate back to your Products & Services library.
Find the good you want to edit (you can use the search bar if you have many items).
Click on
 on the right side to open the editor.
Follow the same steps above to make adjustments to your good.
Remember to click Save after making your changes.
Select Delete product to remove it from your product library.
Next steps
Learn how to add and edit a service.
Does your good come in different sizes or colors? See how to use variants and add-ons for products.
Moving products from elsewhere? Learn how to import products.
Dive deeper into configuring and managing your product inventory.
FAQs
What's the difference between Goods and Services?
Goods are physical items you sell (allowing for inventory/shipping settings). Services are intangible offerings. Both fall under the general category of "Products" in your Helcim account.
What happens if I don't enter an SKU?
No problem! Helcim will automatically generate a unique SKU for the product if you leave the field blank.
Can I change a product from a good to a service later?
Currently, the product type (Good or Service) is set upon creation. If you mistakenly chose the wrong type, you would need to delete the incorrect entry and create a new one with the correct type.
Where do I set up my main tax rates?
Overall tax settings are managed in your main account Settings, under Taxes. The Tax exemption option on the product page applies those existing rules.
To learn more, visit our article on setting up your taxes.