Once you have downloaded the Helcim Payments app to your Apple or Android Device, you are ready to configure your device and set up your Helcim Card Reader.
Configure your Device
Begin by clicking on the Helcim Payments app icon to open the app.

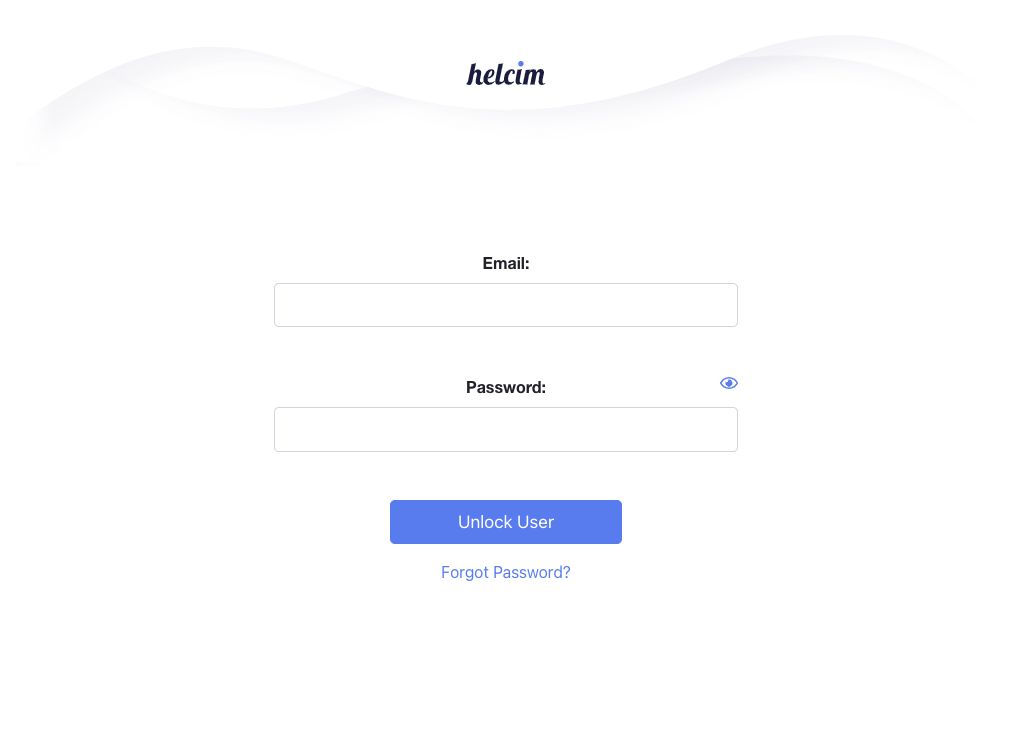
Next, log into the app using your Helcim username and password, these are the same credentials that you used to set up your account originally. Click on Log In when you're done entering the information.
 Now, you can configure your device using the text boxes, click on Save when you're done.
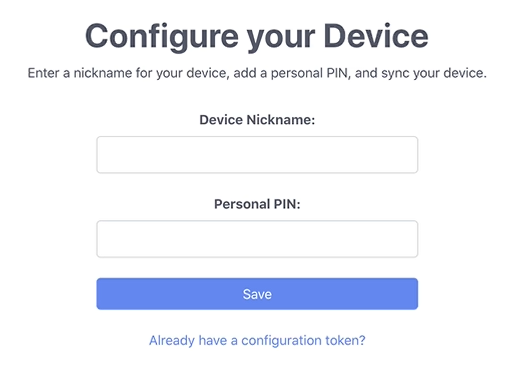 Device Nickname: Enter a recognizable name for the device if you're using multiple devices at your business. For example, Front Counter iPad.
Personal PIN: You can create a PIN to quickly log into the app, enter your preferred number sequence to create a PIN. You can enter between 4-10 numbers to create your unique PIN. If you have already created a PIN for your account, you will not be prompted to create one here.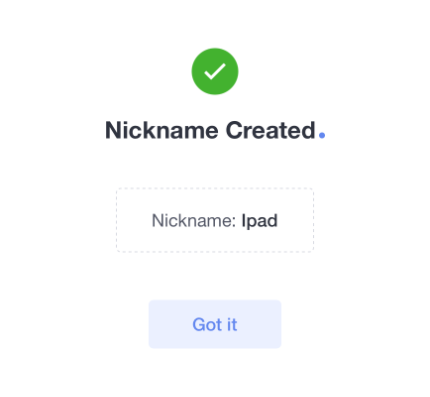 You will now see a confirmation screen confirming that your device has been saved. Click on Got it to continue to the next step.
If you are ready to Connect to the Helcim Card Reader, click on Connect.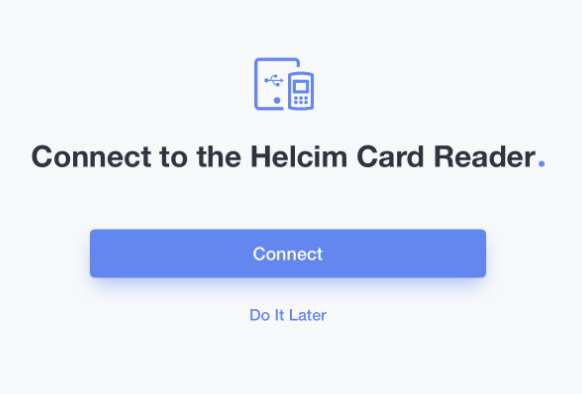
Next, you'll need to ensure the Card Reader is turned on before you begin. If your Card Reader is off, please hold down on the green button to turn the device on. Once your device is on, click Next.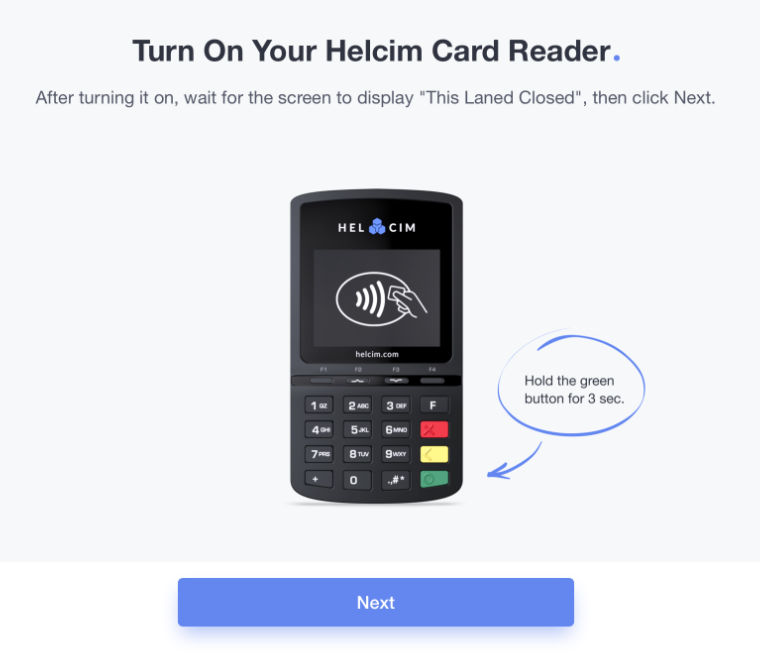
Bluetooth Connection
Now, you can proceed to connecting the Card Reader to your device via Bluetooth.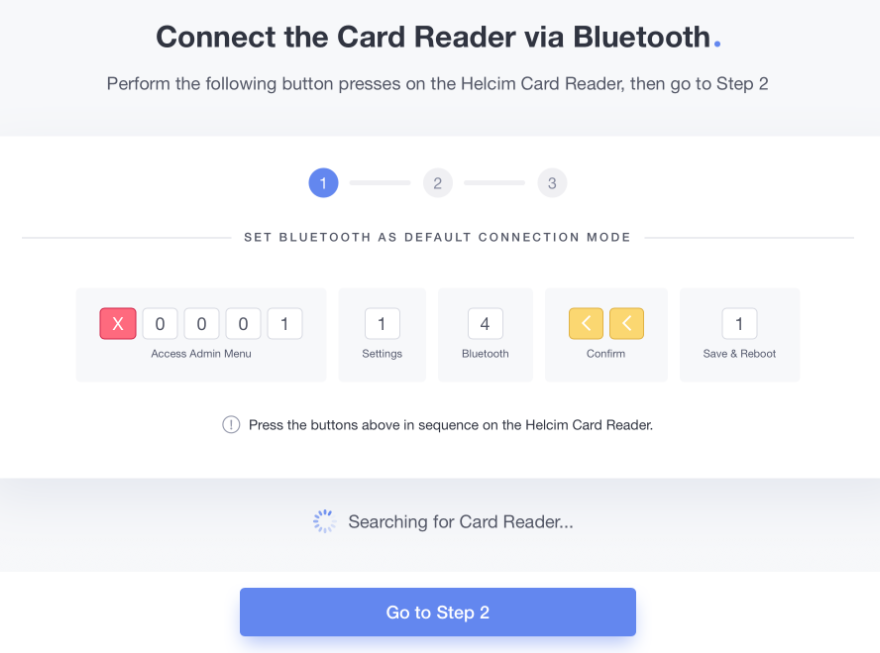
- Type 0001 into the Card Reader keypad to bring up the Admin Menu
- Press 1 to select Communication Type Settings
- Press 4 or scroll down to select Bluetooth then press the Green Button to select it
- Press the Yellow Button twice to change screens to the Save and Reboot screen
- Please 1 to save your selection and reboot the Helcim Card Reader
Once the Helcim Card Reader has rebooted, press Go to Step 2 on your tablet to continue the pairing process.
You will now pair your Helcim Card Reader with your iOS or Android Device. Follow the steps displayed in the Helcim Payments app to complete this step.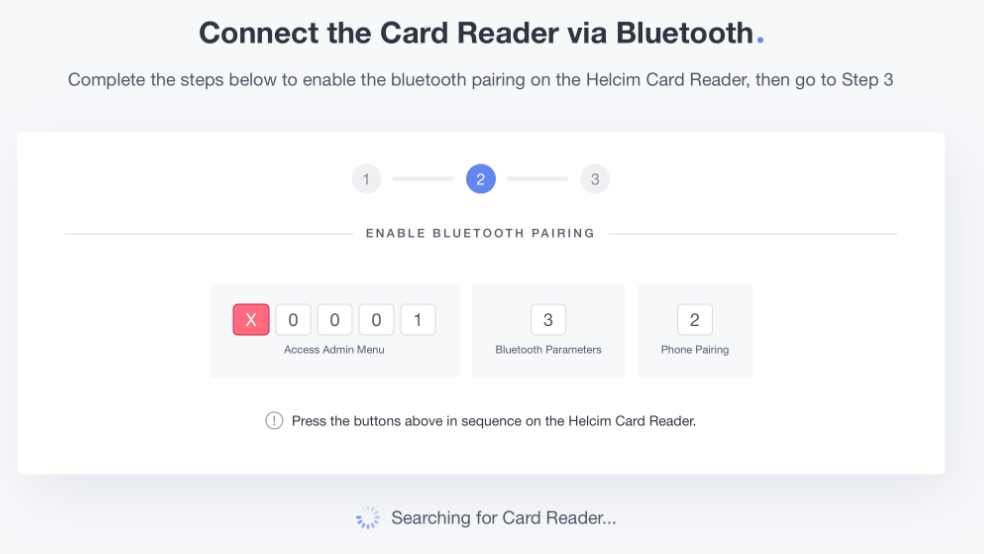
- Enter 0001 in the keypad of your Helcim Card Reader to access the Admin Menu
- Press 3 to select Bluetooth Parameters
- Press 2 to select Phone Pairing
Once you have completed these steps, press Go to Step 3.
Next, follow these steps on your device: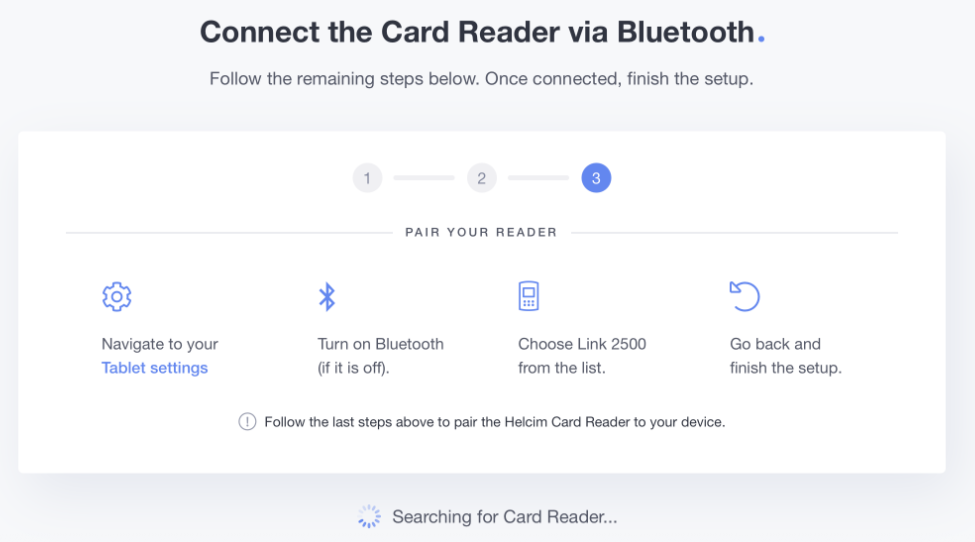
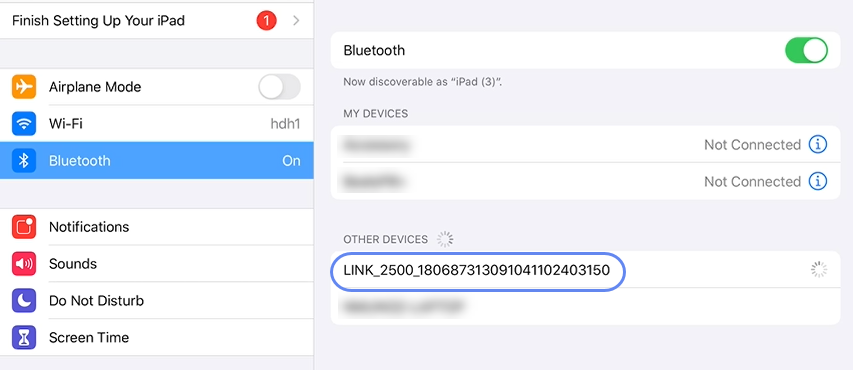
- Navigate to your tablet's Settings
- Turn on Bluetooth if it is not already on
- Choose the Link 2500 from the list of available devices
- Go back to the Helcim Payments App
The app will now complete the setup.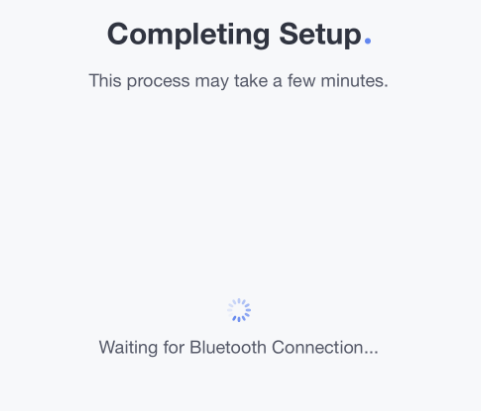
Please wait until the app displays the message Connection Established, then select Finish Setup.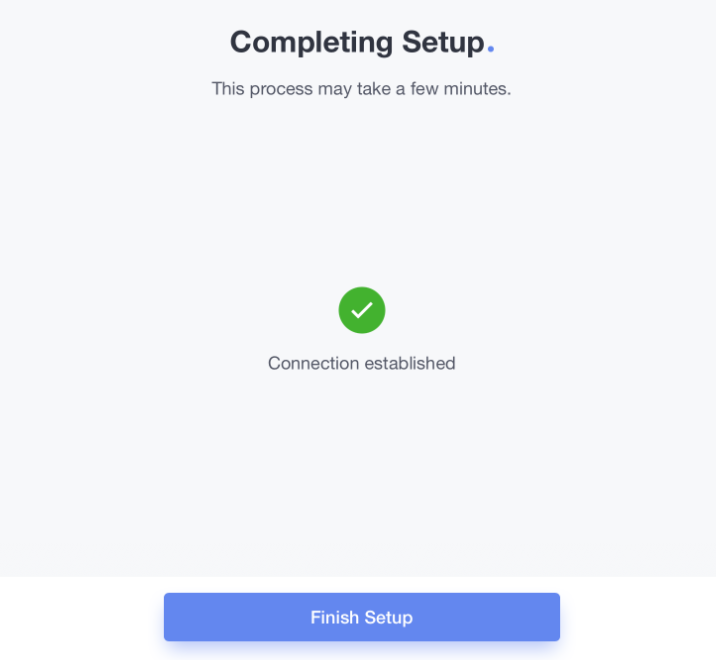
After you click on Finish Setup the app will sync the files with the Helcim Card Reader, this may take a few moments to complete.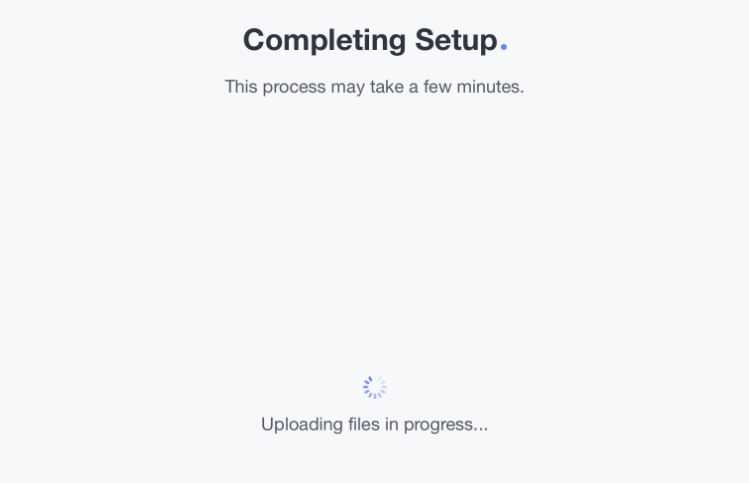
Your Helcim Card Reader is now setup and connected to your device via Bluetooth. You can select Go to Dashboard and begin accepting payments now.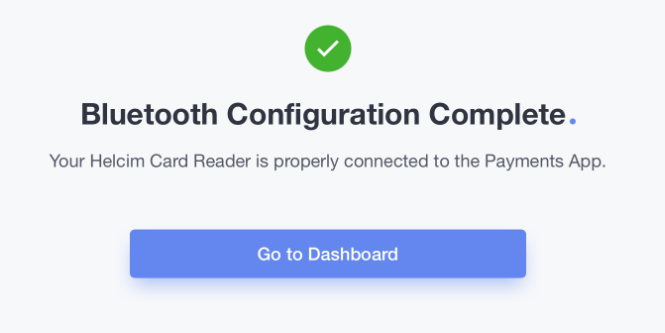
WiFi Connection
If you need a WiFi connection, you can select Connect via WiFi after you have completed the Bluetooth setup to switch the connection type.
Your WiFi network will be automatically populated in the first field for you, you will need to enter the password for your WiFi network.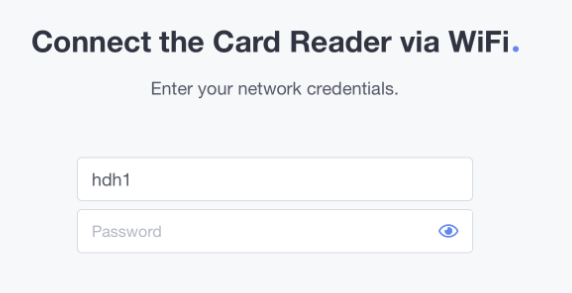
Once you have entered your password, click on Continue.
Please wait while the files upload again and the device connects to your IP Address.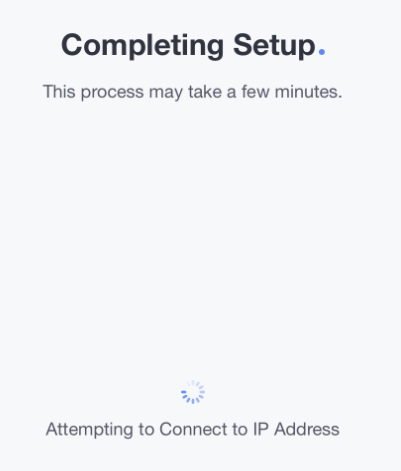
After the device connects, you will see the WiFi Configuration Complete screen. You can now click on Go to Dashboard.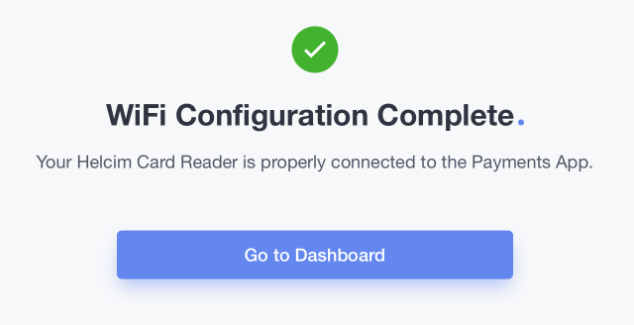
Troubleshooting Tips
Here are a few helpful tips that may help you troubleshoot any issues with the initial sync:
- If the Helcim Payments app stops responding, try closing the app completely and restarting it
- You can restart the Helcim Card Reader by pressing the * key and the Yellow Button at the same time
- If the device isn't connecting by Bluetooth, try removing the device from the list of available devices under your tablet's Bluetooth settings before then re-connecting it before moving forward with the instructions
- If you need to troubleshoot a Wifi connection, please click here and scroll to the bottom of the article