Let's walk through the steps of creating your first invoice!
We'll cover everything from accessing the invoice editor to adding payment details and sending the invoice to your customer.
In this article
Accessing the invoice editor
To get started, log in to your Helcim account and navigate to the Invoicing tab.
Select All Tools
Select Invoicing
| If you’ll be using the Invoicing tool frequently, you may want to pin it to your sidebar for easier access. To do this, select Pin Your Tools and then the pin next to the Invoicing icon. |
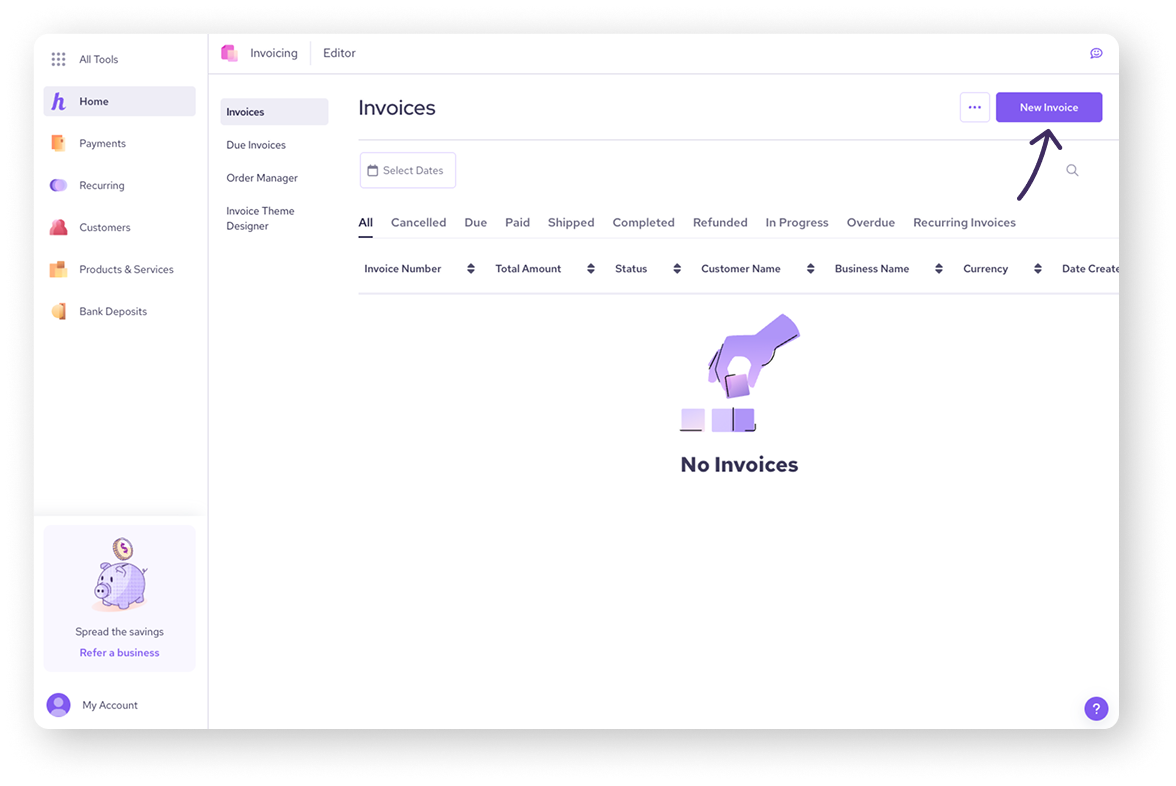
From there, click on New Invoice to open the invoice editor.
Filling in the invoice
The invoice editor is where you'll input all the necessary information for your invoice.
Primary fields
Start by filling the following fields.
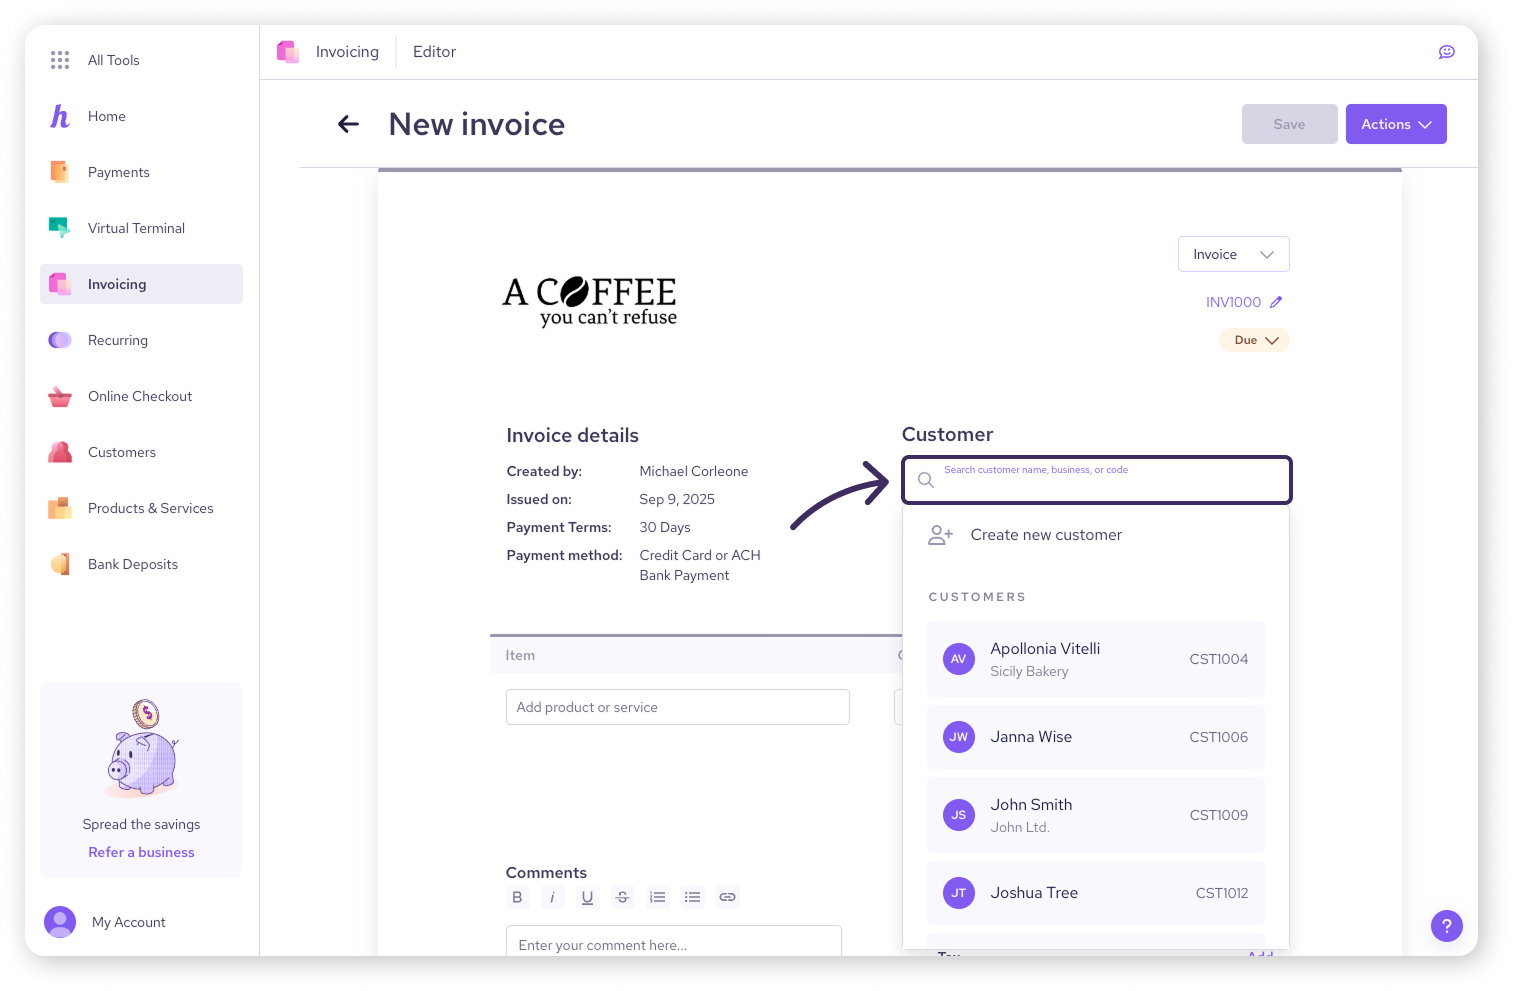
Customer
Select an existing customer from your list or add a new customer by selecting Create new customer and entering their details manually.
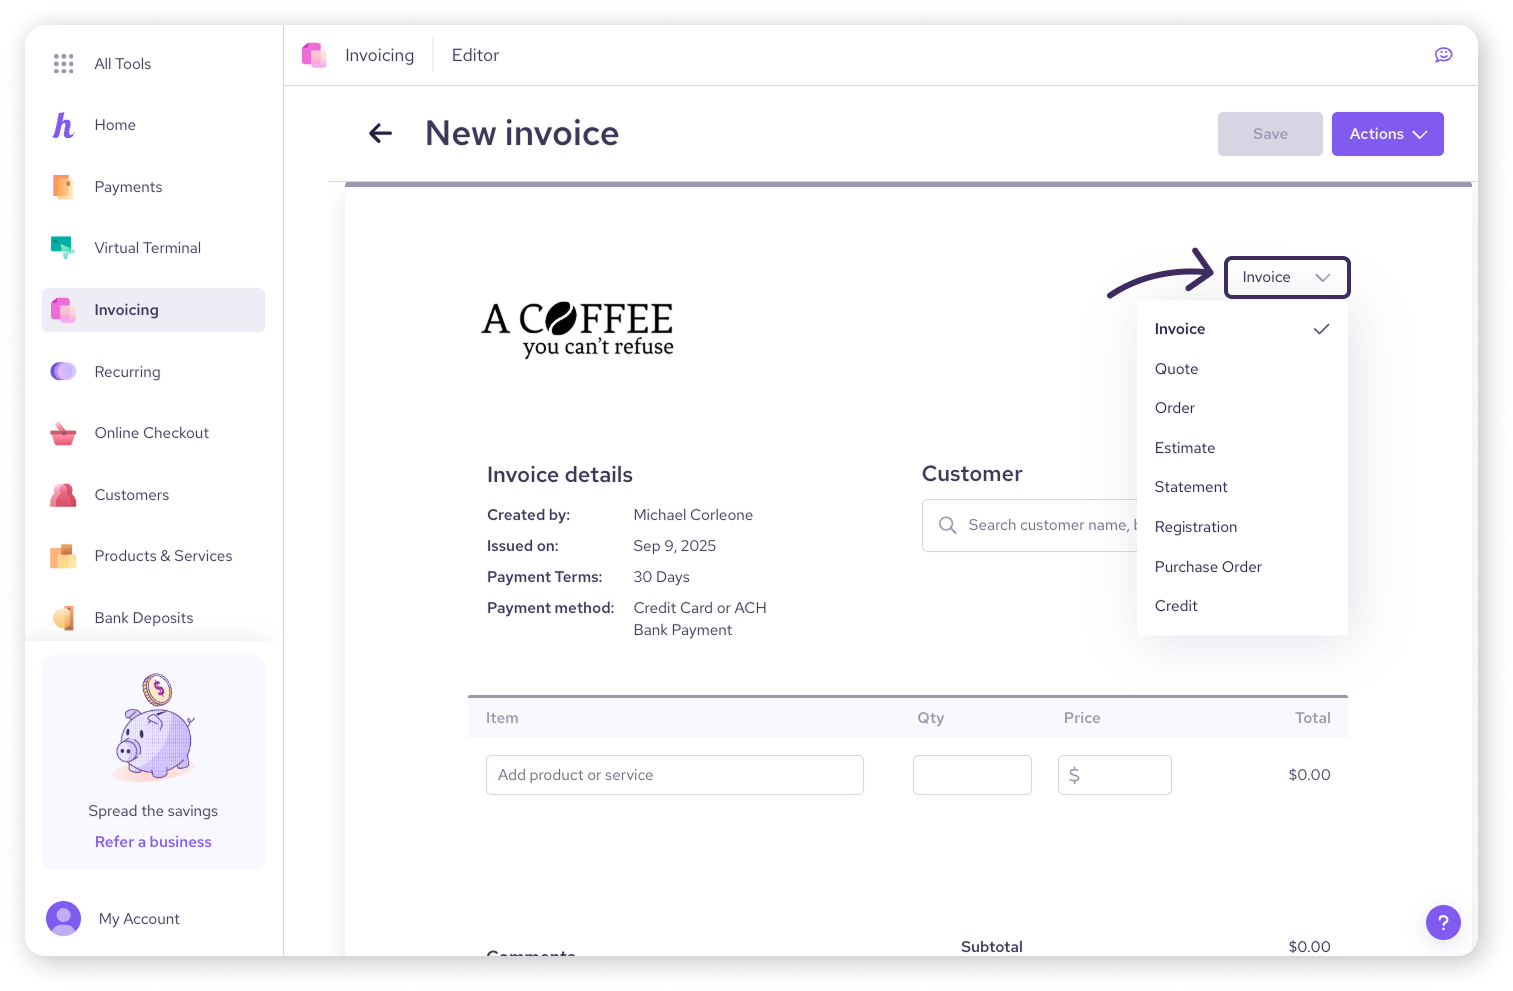
Invoice type
Choose the appropriate invoice type from the drop-down menu (e.g., invoice, quote, estimate). A full list of invoice types can found here.
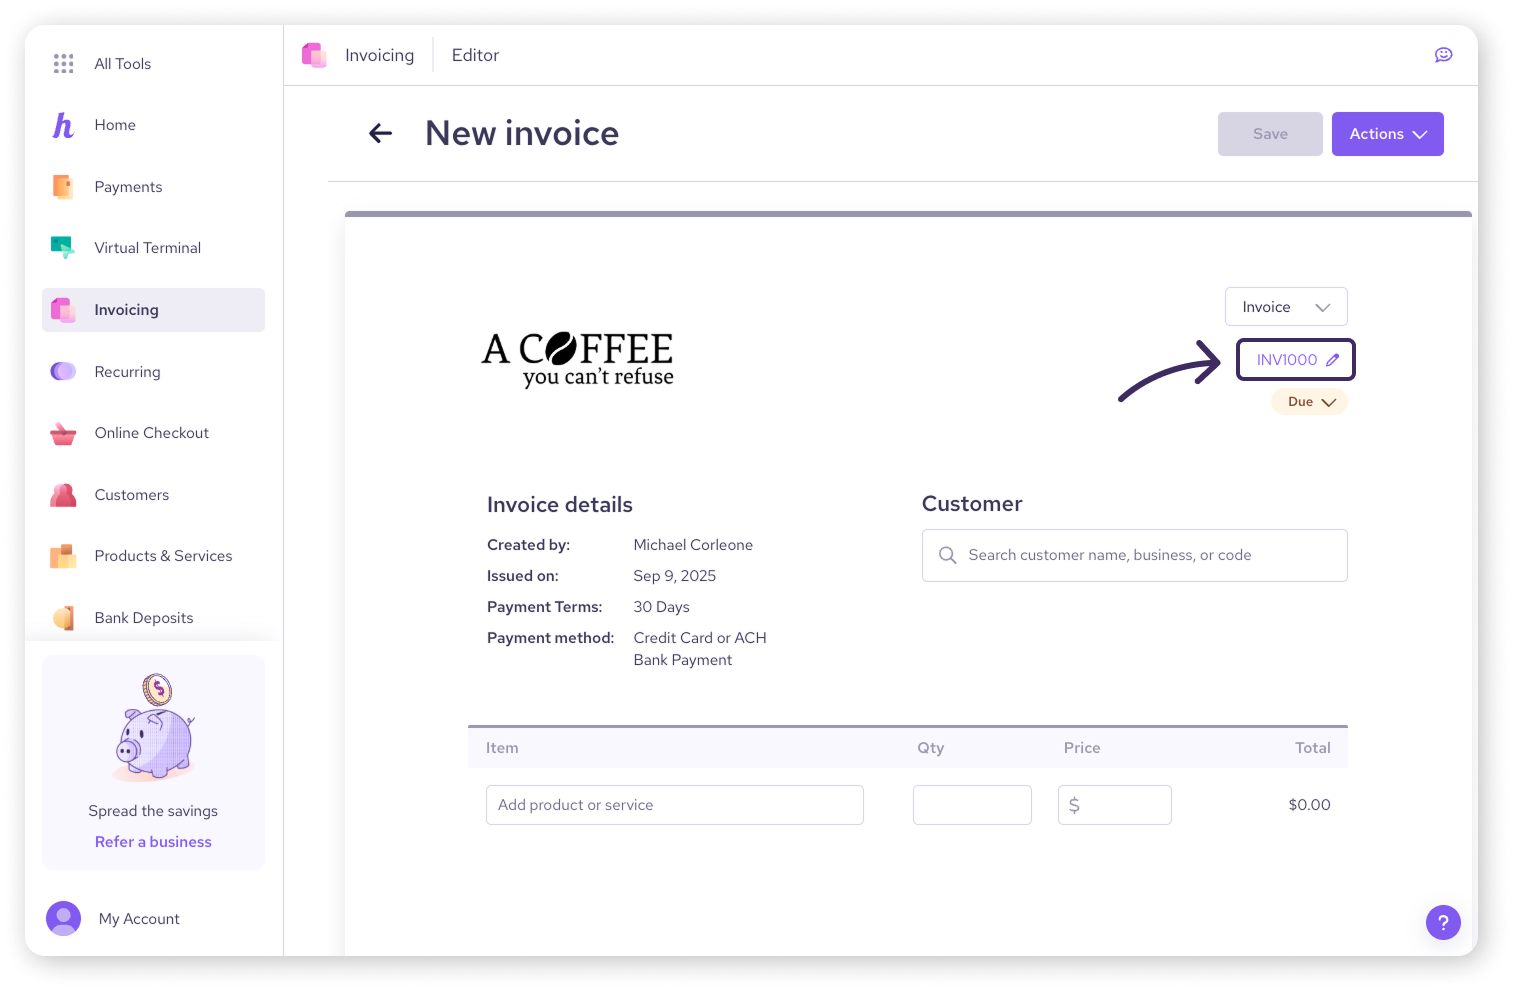
Invoice number
You can either manually enter an invoice number or let the system automatically generate one for you.
| You can change the format of your default invoice numbers in the Invoicing Settings page.
|
Invoice status
Choose the invoice status from the drop-down menu (e.g. paid, shipped, completed, etc).
| This status determines how your invoice will be sorted in the Invoices list. |

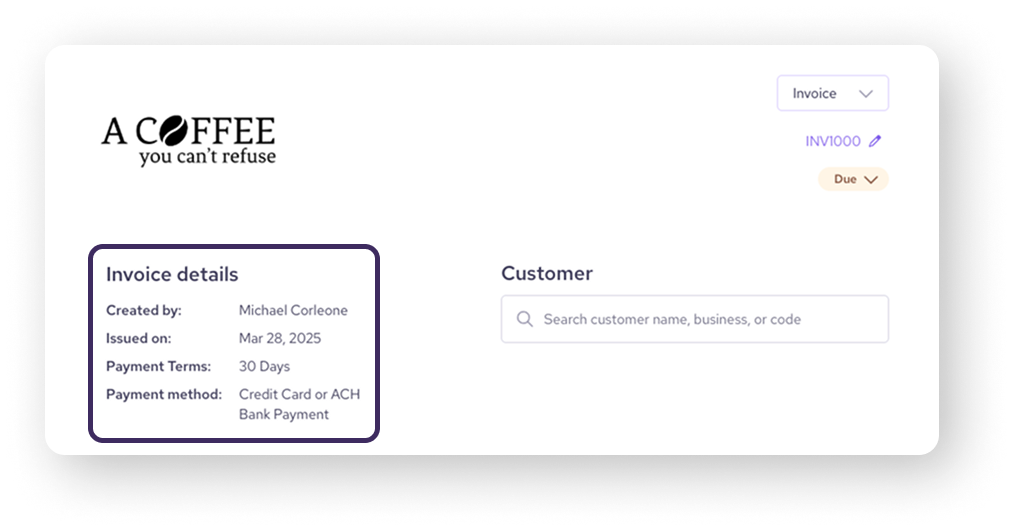
Invoice details
This is the block in the upper-left with key details about the invoice.
| This section may look different on your invoice if you’ve turned off any of the fields in the Invoice Theme Designer. |
To access and change these, hover your mouse over the Invoice details section and click on the pencil icon.
Issued on date: This will usually be the current date, but you can adjust it if needed.
Paid on date: If an invoice has been paid, you can select a date in the edit window to show on the invoice.
Payment term: Specify when the payment is due (e.g., upon receipt, within 30 days).
PO number: If applicable, enter the customer's purchase order number.
Payment method: Choose whether the invoice will be paid by a credit card or ACH bank payment. You can also provide both options to your customer.
Adding products or services
Next, you'll add the products or services that you're invoicing for. You can either select existing products from your Helcim account or add custom items manually. For each item, you'll need to specify:
Quantity: Enter the quantity of the product or service being purchased.
Price: Enter the price per unit.
| To learn how to add products to your catalog in your Helcim account, visit this article. |
.png)
Calculating totals
Once you’ve added all the products and services you’d like, it’s time to determine a total for the invoice.
Add taxes
Helcim Invoicing automatically calculates taxes based on your tax settings. You can adjust the tax rate or exempt specific items from tax if needed.
To add a tax:
Click Add next to “Tax”
Select a tax preset from the dropdown
Alternatively, you can select Manual and enter a custom percentage and label
Click the Add button
| To learn more about configuring your tax settings, visit this article. |
.png)
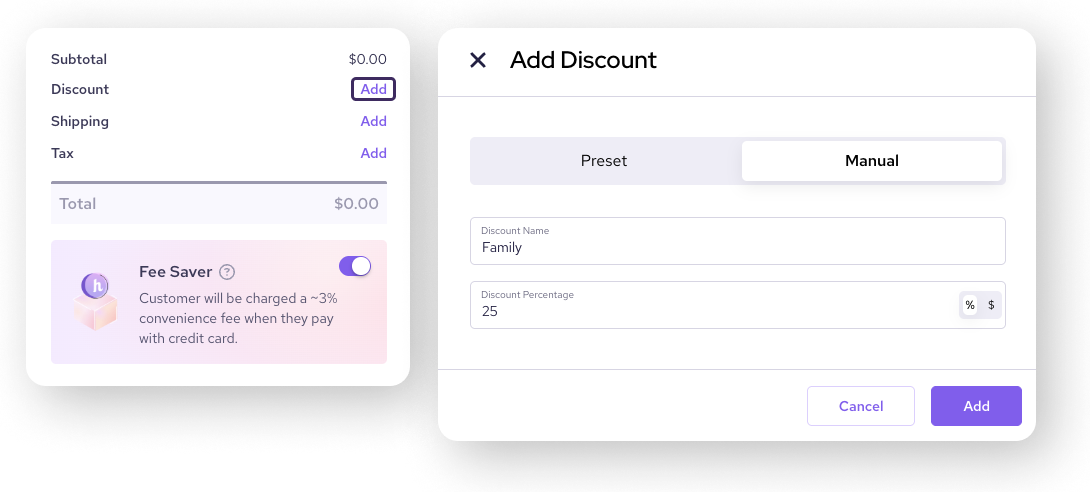
Apply discounts
If you want to offer a discount on the entire invoice, you can do so in the Subtotal section. You can either use an existing discount code or create a manual discount.
To add a discount:
Click Add next to “Discount”
Select a discount from the dropdown
Alternatively, you can select Manual and enter a custom percentage and label
Click the Add button
| To learn more about creating discount codes, head to this article. |
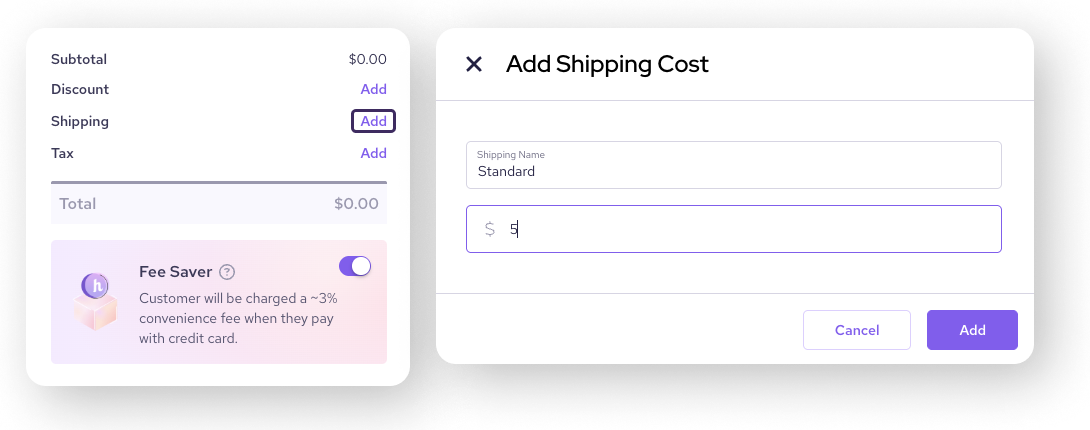
Add shipping costs
If you need to add shipping costs to the invoice, you can do so in the Shipping section.
Click Add next to “Shipping”
Add a dollar amount and label
Click the Add button
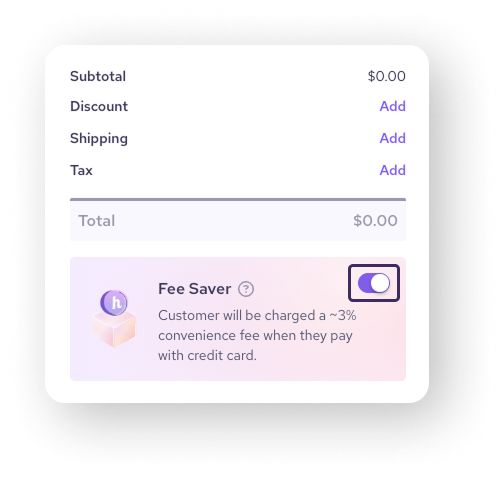
Toggle Helcim Fee Saver
If you have Helcim Fee Saver enabled, you can choose to turn it off for a specific invoice.
| Click the toggle in the Fee Saver tile to enable or disable it. |
Saving the invoice
Once you've entered all the necessary information, click Save (in the top-right corner of the invoice) to save the invoice.
At this point, you can also attach any images or files to the invoice.
After saving, scroll down to the bottom of the invoice
You’ll see a separate page with an image uploader under Add Photos
Drag an image file into the box or click browse here to upload an image

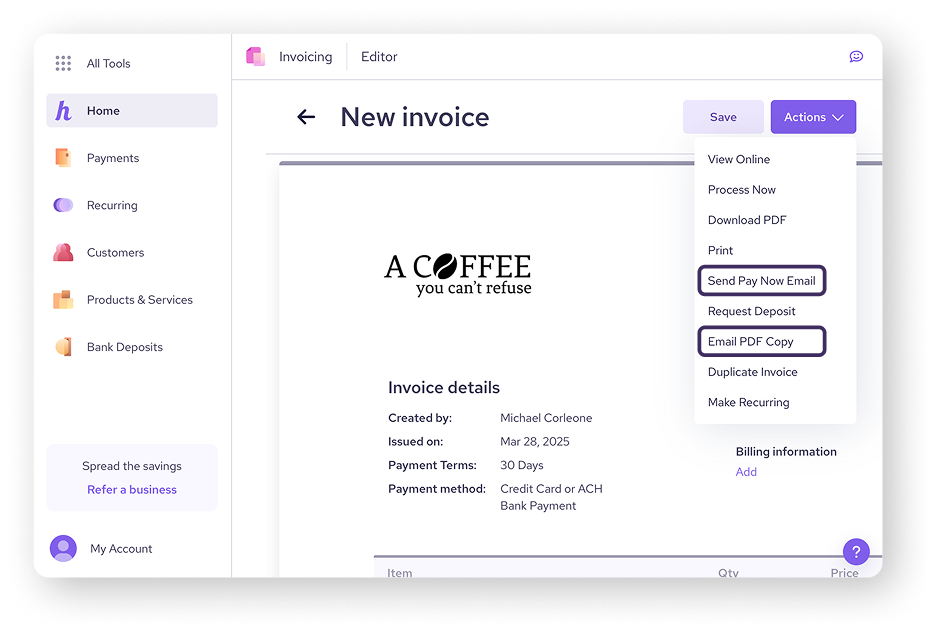
Sending the invoice
You can send the invoice to your customer in one of the following ways:
Send a PDF copy (no payment link): click Actions and select Email PDF Copy.
Send a payment link: click Actions and select Send Pay Now Email.
Next steps
Now that you know how to create, save, and send an invoice, it’s time to make sure you get paid for it.
| Check out our next article on processing a payment for an invoice. |
FAQ & troubleshooting
Can I create an invoice on my phone?
Yes, you can create and manage invoices on the go using the Helcim mobile app. The app is available for both iOS and Android devices.
Can I save my products or services to use again later?
Yes, you can save your products or services in your Helcim account to easily add them to future invoices. This can save you time and ensure that your pricing is consistent. To learn more, head to this article.
Can I customize the look of my invoices?
Yes, you can customize the look of your invoices using the Invoice Theme Designer. You can add your logo, change the colors and fonts, and rearrange the fields to match your brand.
What should I do if I make a mistake on an invoice?
If you make a mistake on an invoice, you can edit it at any time before sending it to your customer. Simply open the invoice, make the necessary changes, and then save it again.