Your online store is an extension of your brand! Now that you've set up the basics, it's time for the fun part: customizing the look and feel.
This article will guide you through changing your store's design, from brand colors and logos to adding promotional banners and social media links. Let's make your store uniquely yours!
In this article
Understanding your store domain name
Your store needs an address on the web. By default, your domain name is your DBA (Doing Business As) based on your sign up application with the extension .helcim.app (e.g. your-business-name.helcim.app).
If you would like to update the ‘your-business-name’ part of your domain name, please contact our Support team at help@helcim.com or call 1-877-643-5246.
You cannot remove the .helcim.app from the domain name, but the subdomain can be updated.
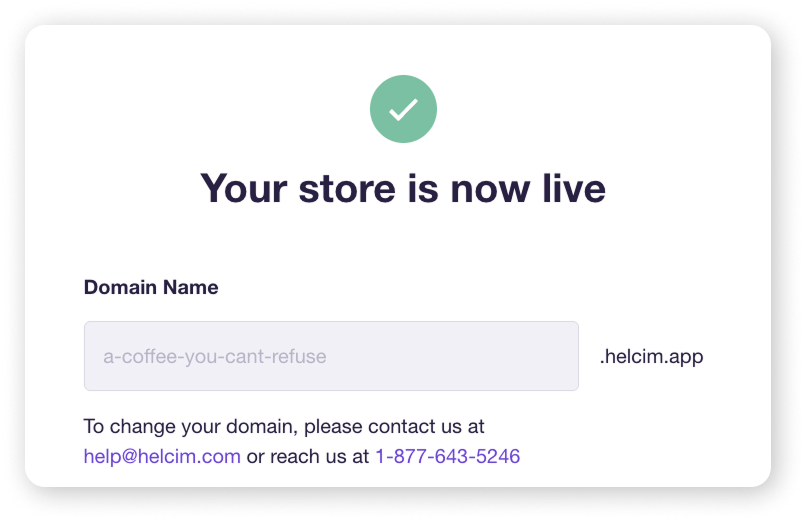
| For example, business-name-ltd.helcim.app might be updated to business-name.helcim.app or businessname.helcim.app. |
Accessing your online store designer
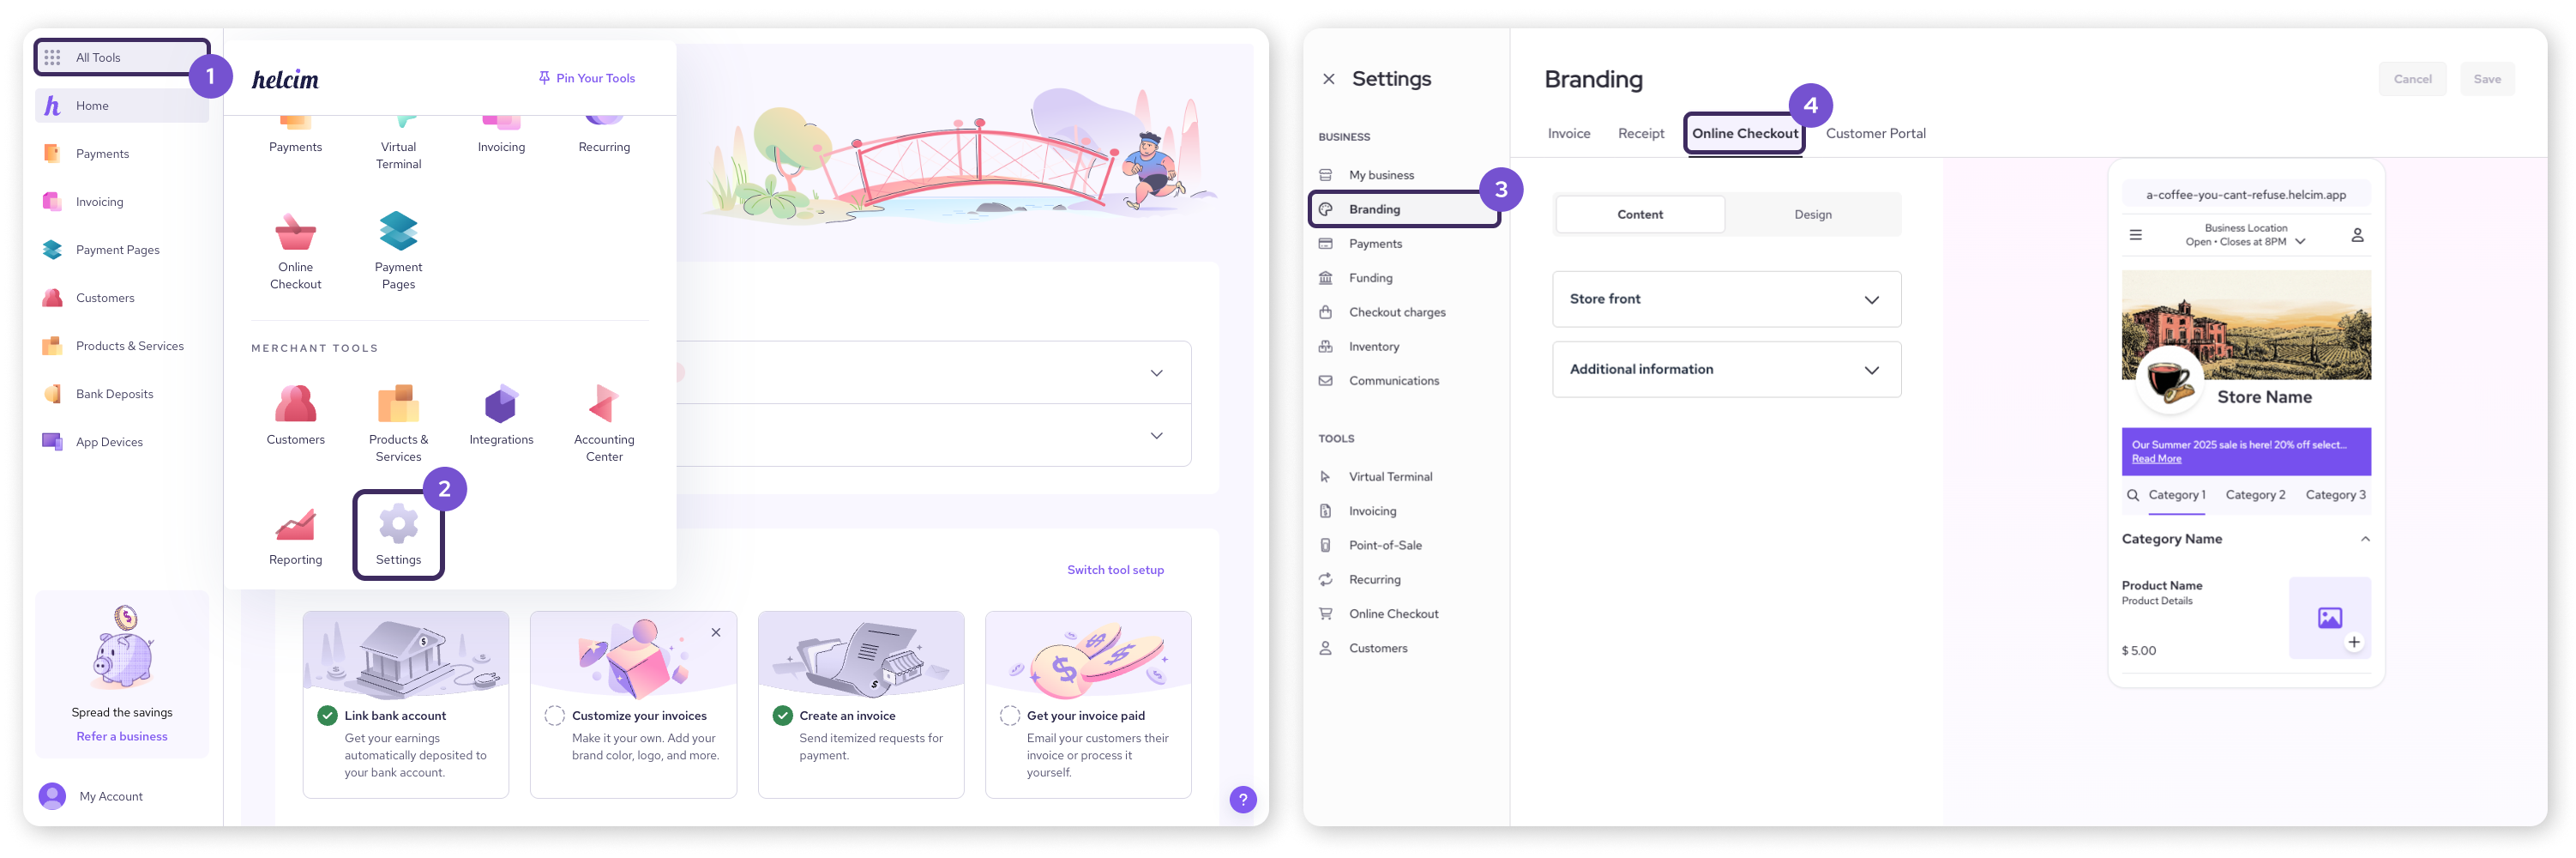
To start customizing, you'll first need to get to the right place in your Helcim account. To find your online store designer, follow these steps:
Select All Tools.
Select Settings.
Select Branding from the left-side menu.
Select the Online Checkout tab from the top.
Customizing store style
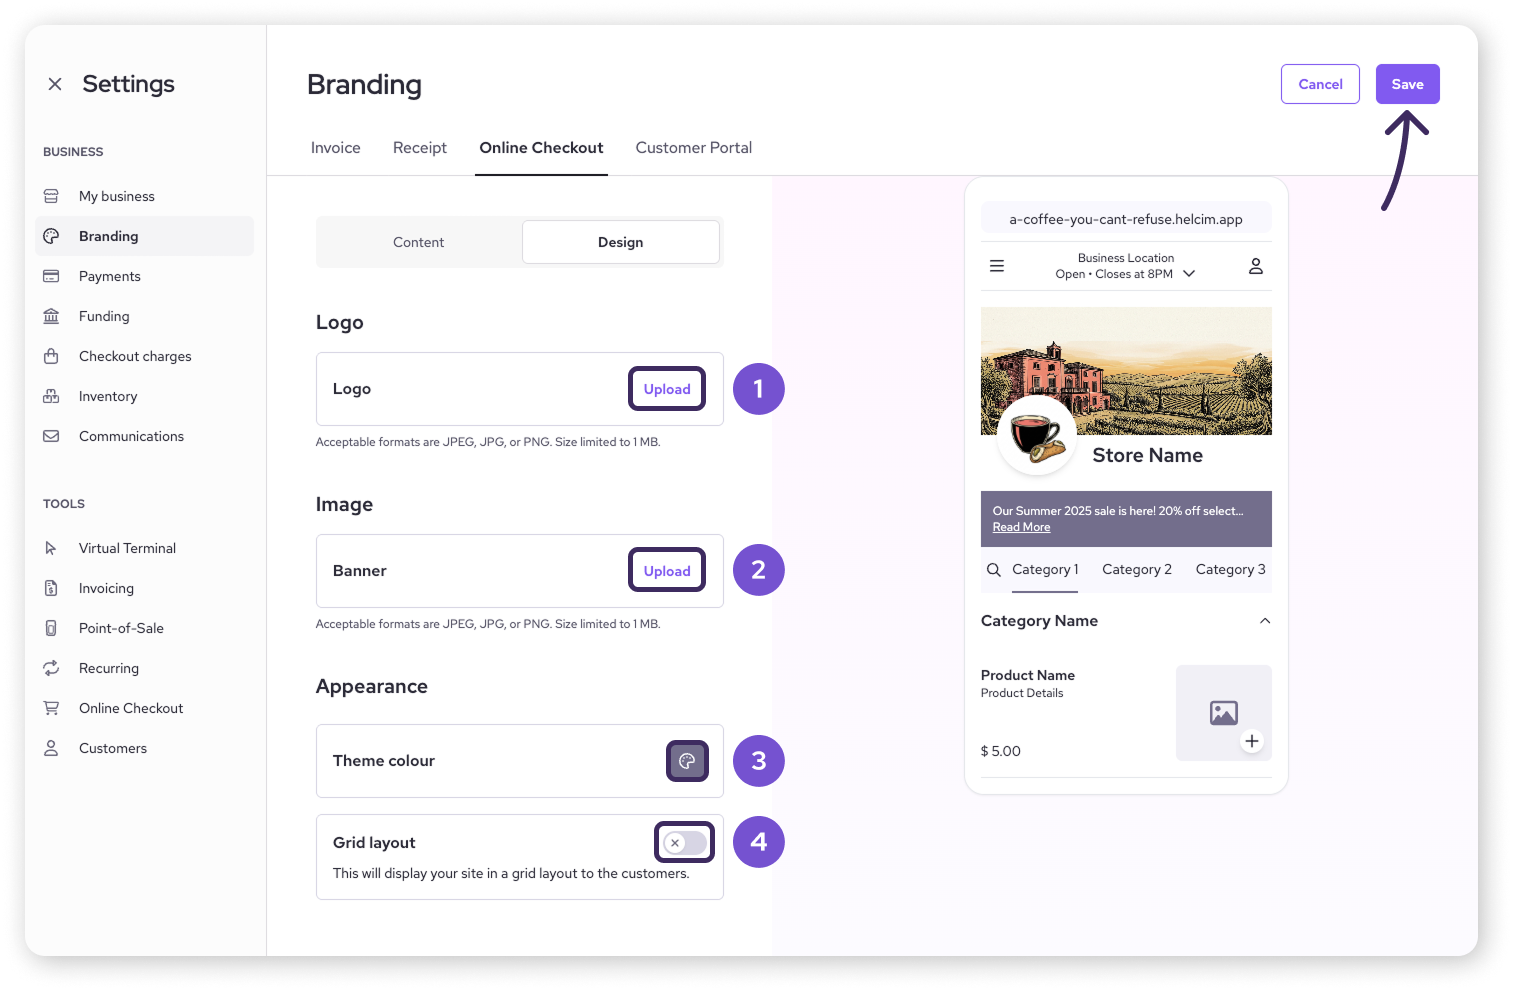
This is where you get to play with the visual elements of your store to match your brand. You'll find these options under the Design tab in the customization menu.
Logo: Upload your business logo here (max 1 MB). This will appear next to the name of your store.
Banner image: Add an image (max 1 MB) to display across the top of your store page.
Theme color: Select a primary color from the palette for your store.
Grid Layout: You can select how you want your products to appear by toggling Grid Layout on. Disabling this will display your products in the default List view.
Once you’re done making changes, hit Save in the top right corner.
Adding store content
Beyond the basic style, you can add more information and links. Switch to the Content tab in the customization menu to find these options.
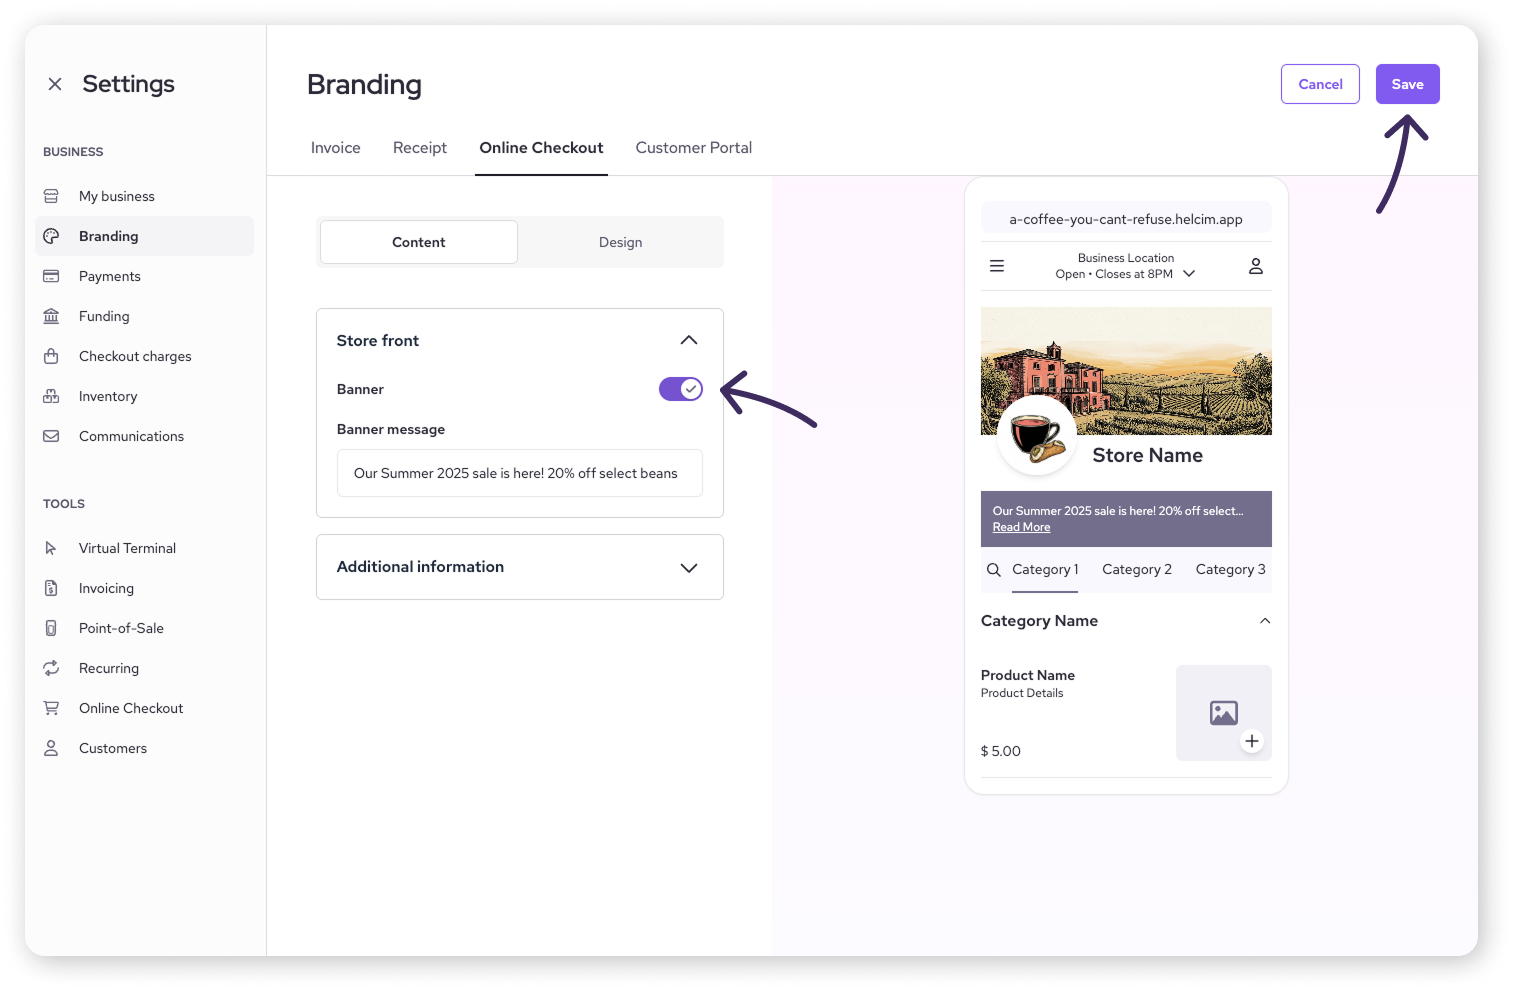
Store front
Click on Store front to reveal your options. Here, you can add a banner under your store header to inform your customers about promotions, special offers, and notices.
Toggle the Banner option on.
Enter a message in the Banner message field.
Click Save in the top-right corner.
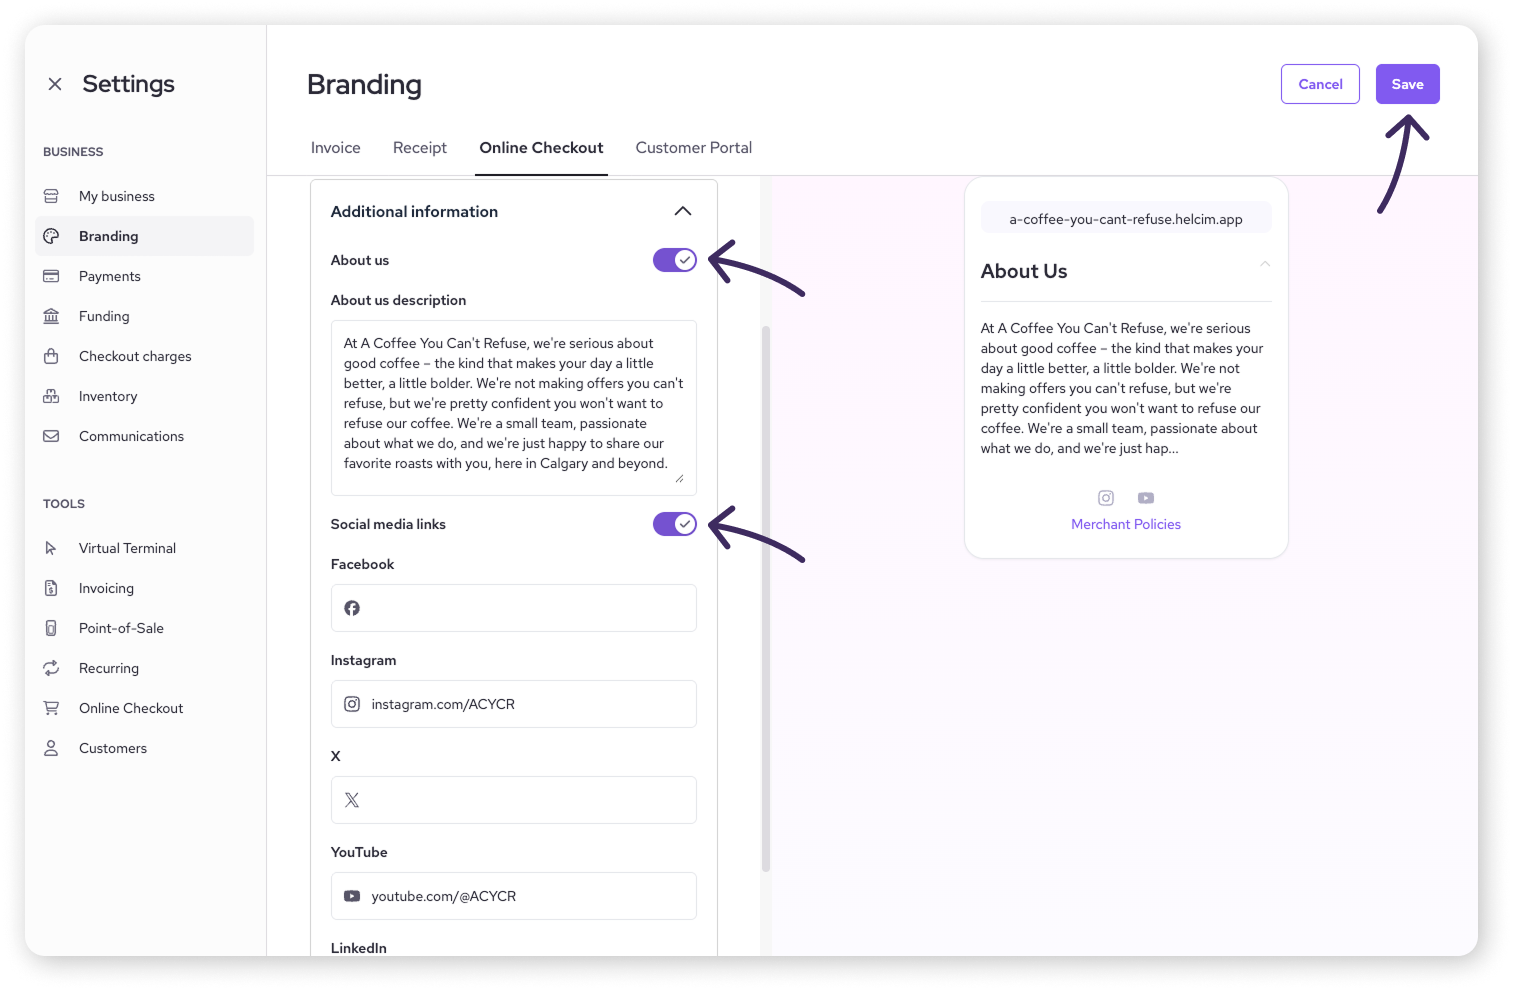
Additional information
Click on Additional information to reveal your options. This information is available to your customers if they click on the hamburger icon in the top-left corner of your store.
About us: If you want to add information about your store, toggle About Us on. Enter your description in the field.
Social media links: You can also add links to your social media accounts by toggling Social media links on and entering your profile URLs.
Next steps
Your store is looking great with its new design! Now, it's time to fill it with your products.
| Head over to our guide on how to add products and publish your online store. |
FAQs
What are the recommended sizes for logos and cover images?
While specific pixel dimensions can vary based on your image, aim for a clear, high-quality logo that’s under 1 MB in size.
For cover images, a landscape orientation generally works best, as long as it’s also under 1 MB in size.
Can I change my store design after I publish?
Absolutely! You can return to Online Checkout > Store Settings > Store Design and click Customize to make changes anytime. Just remember to Save or Publish your updates again.
Where does the 'About Us' information appear?
The 'About Us' content is typically displayed on your store's main landing page or on a dedicated section, helping customers learn more about your business.