Whether you’re just unboxing your very first reader or you’ve been a Helcim merchant for years, we want to make sure you have the right tools to get paid. Because we’re always looking for ways to make your checkout experience faster and more affordable, our hardware has evolved over time.
This directory will help you identify which version of the Helcim Card Reader you’re using and point you toward the right setup and troubleshooting steps.
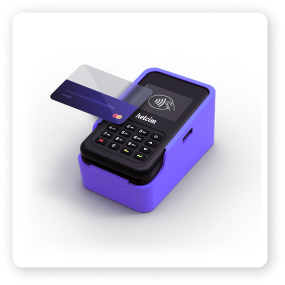
3rd Generation Helcim Card Reader
.png)
Our latest reader is built for modern businesses. It pairs with your Helcim POS app on a desktop or laptop computer using an API connection. It also supports Helcim Fee Saver, allowing you to pass on credit card processing fees to your customers.
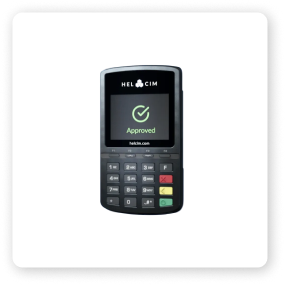
2nd Generation Helcim Card Reader
 While the 2nd Generation reader is no longer available for purchase, it remains a reliable device for many of our merchants. It connects to your smartphone, tablet, or computer via Bluetooth or USB. We continue to offer full support and troubleshooting for this device.
1st Generation Helcim Card Reader
If you’ve been with Helcim since the early days, you might have our 1st Generation reader. Although this model is no longer available for purchase, it is still fully supported by our platform for both mobile and desktop setups.